
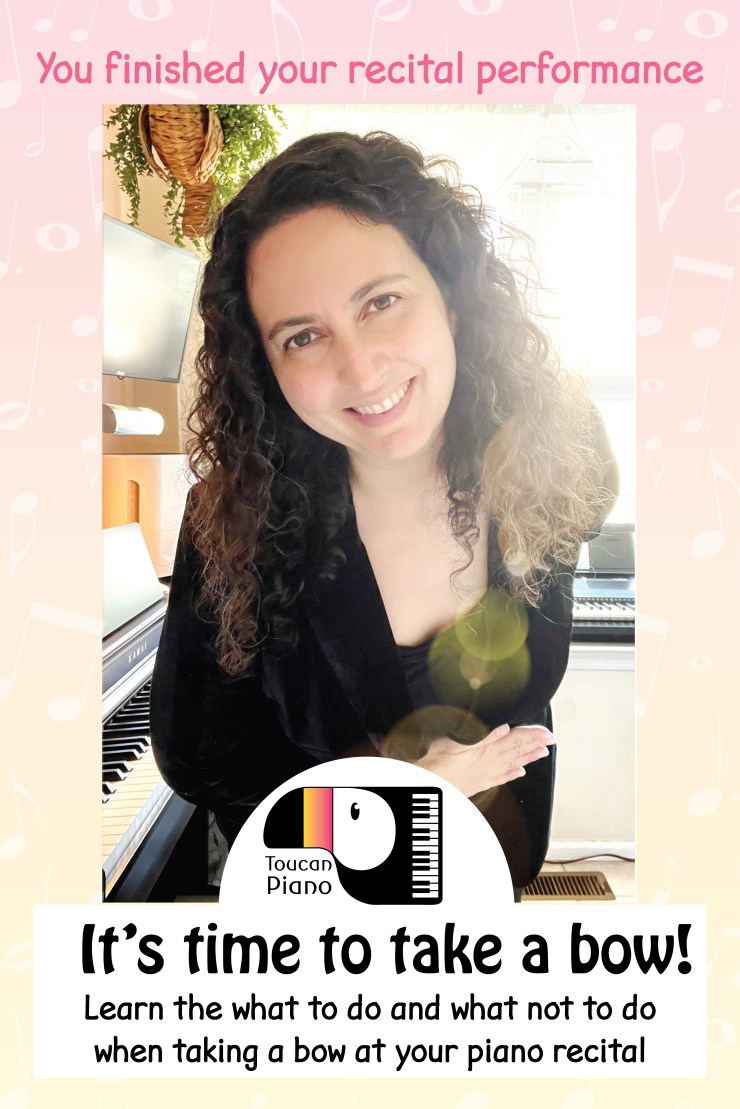
You’ve just finished playing your piano recital pieces and now the audience is clapping, what do you do now??! It’s time to take a bow and enjoy the adulation for all the hard work you put into learning your pieces.
Bowing isn’t hard but it can be a little nerve-racking for a self-conscious or shy student. It’s important to practice bowing in the weeks leading up to the recital so that you feel totally comfortable and at ease with the process.
You can find a free printable summarizing how to bow at the Toucan Piano shop. It’s a great way to remind your students how to bow and to encourage them to practice bowing before a recital.
Why all the fuss about bowing?
There are many reasons to care about how you bow. A bow is a silent exchange between a performer and the audience. It’s a moment for each to recognize the other. It is a special moment and it should be savored and enjoyed.
A bow shows appreciation and respect for the audience. Nobody is obligated to clap for a performer.
Applause is a gift the audience is giving to the performer to show how much they enjoyed their performance.
A proper bow also shows self-respect. You have dedicated countless hours to your instrument and spent weeks or even months preparing your recital piece(s).
A nice bow is a way to give the music and your hard work the dignity they deserve.
I will go over a few different options for bowing, but first the basics!
The Basics
I teach my students five rules that all bows must have no matter which one they end up choosing:
1. Feet should always be together
A solid foundation for your bow is key. Your feet should be facing forward and the insides of your feet should be gently touching. It is not necessary for the heels to touch because this can cause tension in the knees and glute muscles. Your body should be relaxed when bowing, too much tension can throw off your balance.

2. Bend from the Hips
Your body should bend at the hip joints, not from the back, the neck, or the knees. The bow from the hips should be deep enough that your gaze will fall upon your feet without having to look down.
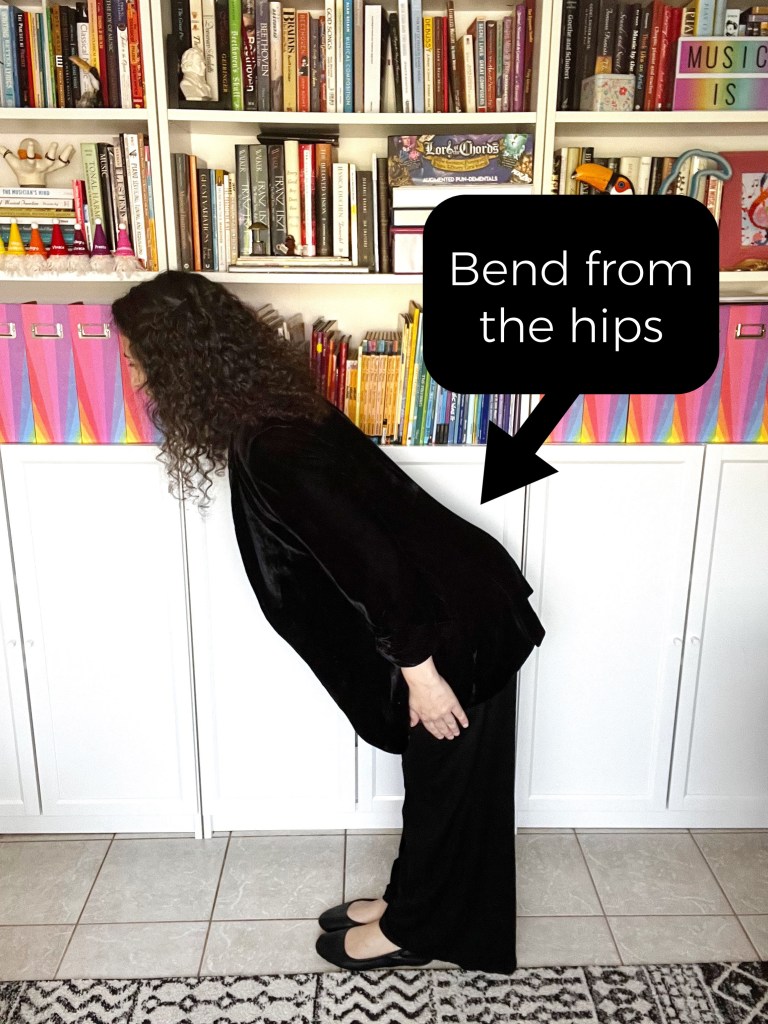
3. Knees and Back should be Straight
Both your knees and back should be straight throughout the process of bowing. A curled back and bent knees gives the impression of a stomachache and bad posture.

4. Count Slowly to 3
The bow should look intentional and not rushed. As you are bending forward, slowly count to 3. Since your back is straight, your eyes will be facing forward and by the count of 3 you should see your feet. Then slowly count to 3 again as you return to an upright position.
5. Always Smile at the End of the Bow
This is your big moment!! Enjoy it! When you are finished bowing, smile to your audience.

The Bow
I teach my students three different bows and let them pick which one they like best. The three options follow all the basic rules above and differ only in what the performer decides to do with their hands. Try them all out and see which one feels the most natural to you!
Bow no. 1
Place your hands at your sides. Your arms should be relaxed and your hands in an open position (no fists) with your palms in contact with your outer thighs. As you bow, your elbows will bend slightly so your hands do not move much from where you placed them on your legs.


Bow no. 2
Place your hands on the front of your thighs. Your arms should be relaxed and your hands in an open position (no fists) with your palms in contact with your legs. As you bow, your elbows will bend slightly so your hands do not move much from where you placed them on your thighs.


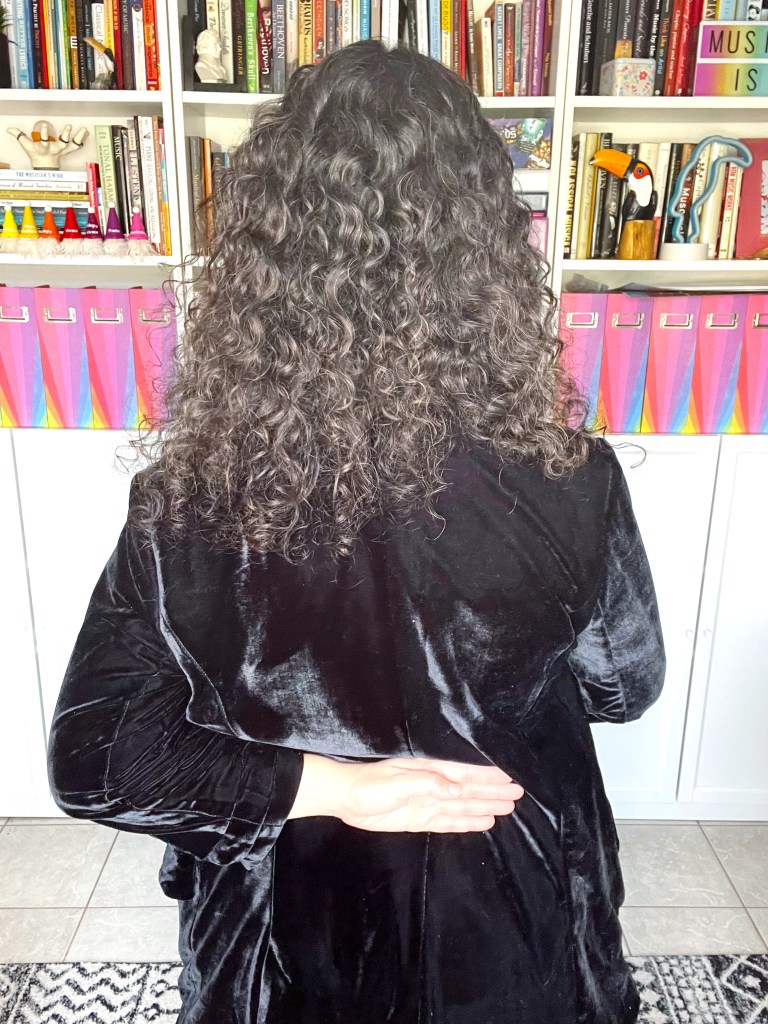
Bow no. 3
This is the bow most of my students end up picking! Place one open hand on your stomach. Your palm should be in contact with your body. Your other hand will be placed behind you so the back of your hand is touching the middle of your back (open hand, palm facing away from your body). Your arms and shoulders should remain relaxed as you bow.

Practicing your bow is of fundamental importance!
In a situation like a recital, where our nerves can sometimes get the best of us, it’s important to have routines that we can rely on to help us. There is nothing more intimidating than getting up from the bench and having hundreds of eyes looking straight at you. If you practice bowing, your body will remember what to do and it will be easier to just follow through on the big day.
After every practice session in the weeks leading up to the recital, take a bow as you leave the piano. Make it a habit to practice your bow and you will see how natural and comfortable you will feel bowing at the recital!
Even though we rehearse our bows before our recitals, some interesting bows tend to sneak in during our rehearsals! Here are some of my favorite ways NOT to bow.
You can download a summary of this blog post for your students at the Toucan Piano Shop.

- Rainbow Manuscript Paper
This colorful manuscript paper is available in the Toucan Piano shop as a free printable! They are available in three sizes, so they can be used for a variety of ages and activities, like writing out original compositions, explaining music theory concepts, music dictation, games, and so much more! - Compose a Ringtone
Ringtones are helpful but what if we could make them special too?! This is a fun and quick project that even the most reluctant students can get behind. - Chord Snowblast
Build chords and collect points while trying to avoid the snow blast! Kids will test their knowledge of building chords AND they will actually be hoping to get all chords with sharps and flats!!

Let’s stay in touch, join the list!
As a “toucan” of our appreciation download a free set of note flashcards (link in our Welcome email)!
We are a participant in the Amazon Services LLC Associates Program, an affiliate advertising program designed to provide a means for sites to earn advertising fees by advertising and linking to Amazon.com. As an Amazon Associate we earn from qualifying purchases.

[…] Get up from the bench and take a deep bow (check out my blog post on how to bow after a performance) […]
LikeLike
[…] How to Bow at a Piano RecitalYou’ve just finished playing your piano recital pieces and now the audience is clapping, what do you do now??! It’s time to take a bow and enjoy the adulation for all the hard work you put into learning your pieces. Here’s the step-by-step on nailing the perfect piano recital bow! […]
LikeLike