At our last group lesson, we worked on our chord building skills! Some students were learning chords for the first time while others already had experience playing chords in their music. Three Chord Dash offered an even playing field for everyone and it was a blast to see them try to be the first to collect all of the pitches.
- To play, you will need
- Game Set-up
- How to Play
- Make it harder!
- How to Make the Wooden Circles with Pitch Names
- Let’s stay in touch, join the list!
Three Chord Dash is a versatile, fast-paced chord building game to help your students memorize the pitches that make up a given chord. It can be used in both private lessons or group lessons by students of all skill-levels (because it’s always a good idea to drill chords!). Students can be tested on any type of chord and/or inversion.
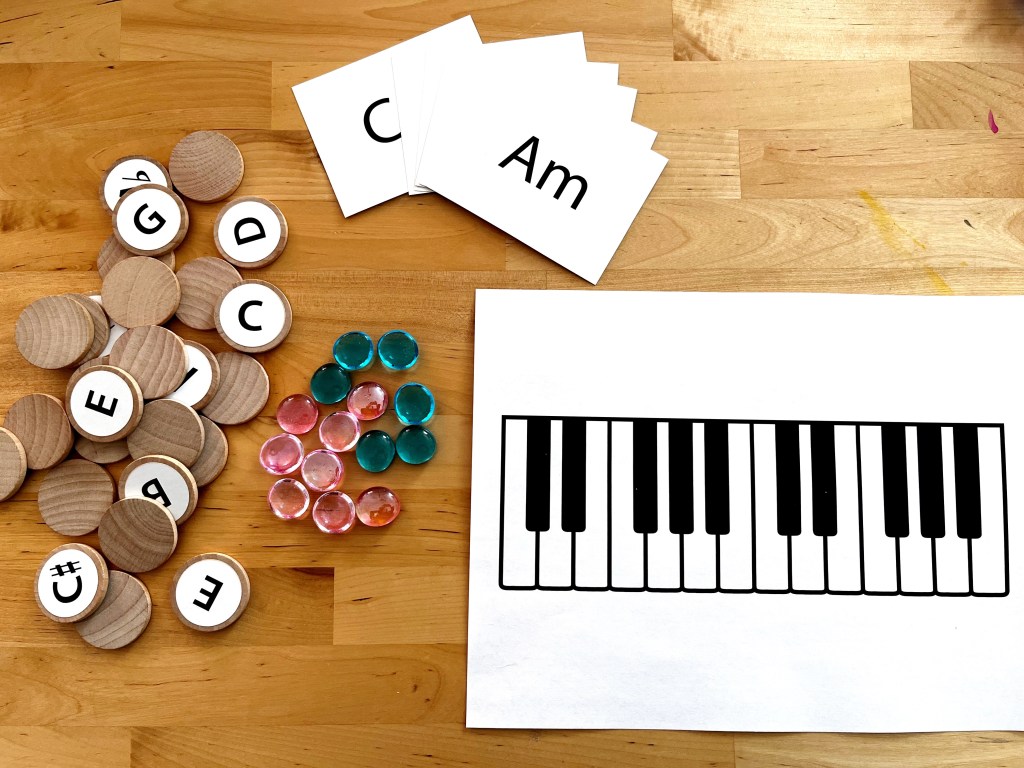
To play, you will need
- Chord flashcards (I used mine, available in the Toucan Piano Shop for download). Alternatively, you can simply call out the chords you would like to drill or use an app like Decide Now! (Check out my blogpost on how to use the Decide Now! app)
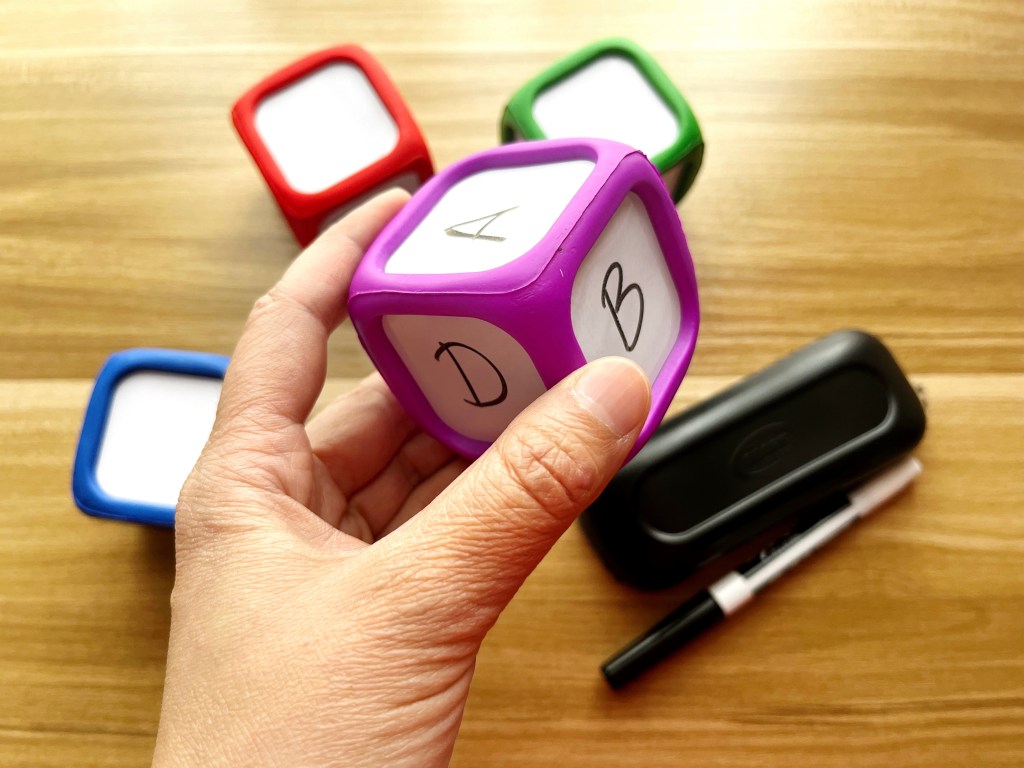
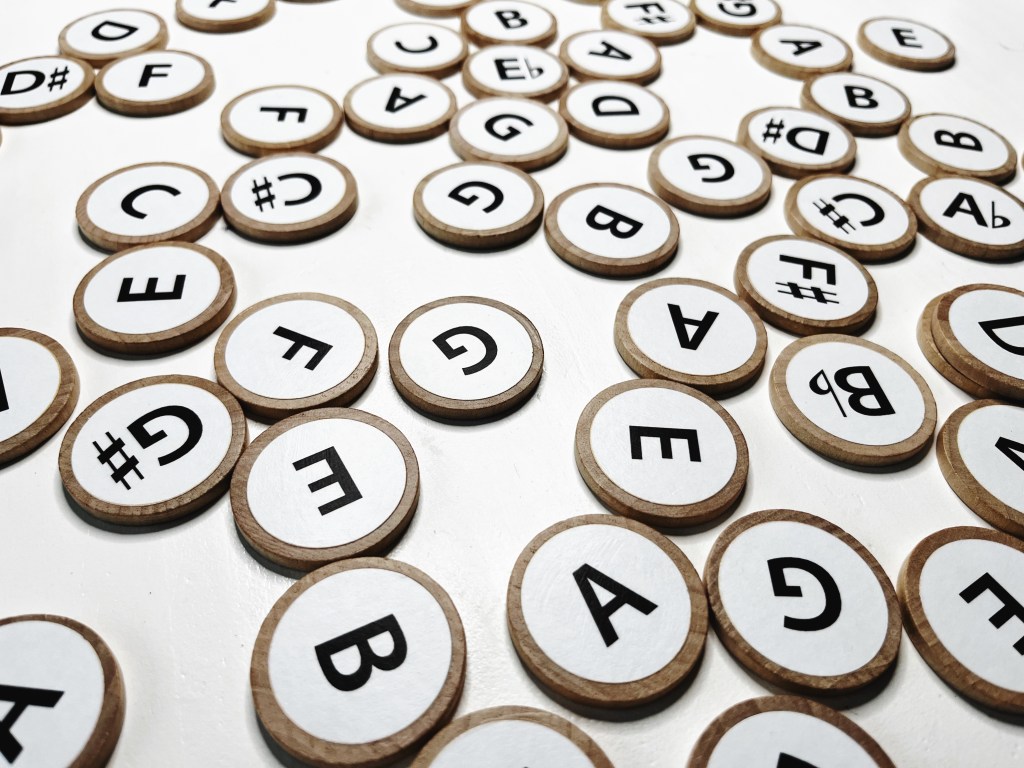
- Pitches on wooden circles
- Keyboard print out (one for each player or team) – A great option are these dry erase keyboard/staff sheets (they are made from a cardstock-like material. They are double-sided, which make them great for a wide variety of tabletop games).
- Mini-erasers, gems, or any other gamemarker (3 per player or 3 per team)
If you’d like to see how I prepared the materials for the game, jump down here.
Game Set-up
Give each player or team a keyboard print out and 3 gamemarkers (mini-erasers, gems, etc.).
The wooden circles should be placed in the center of the table, pitch side down. Scramble the wooden circles.
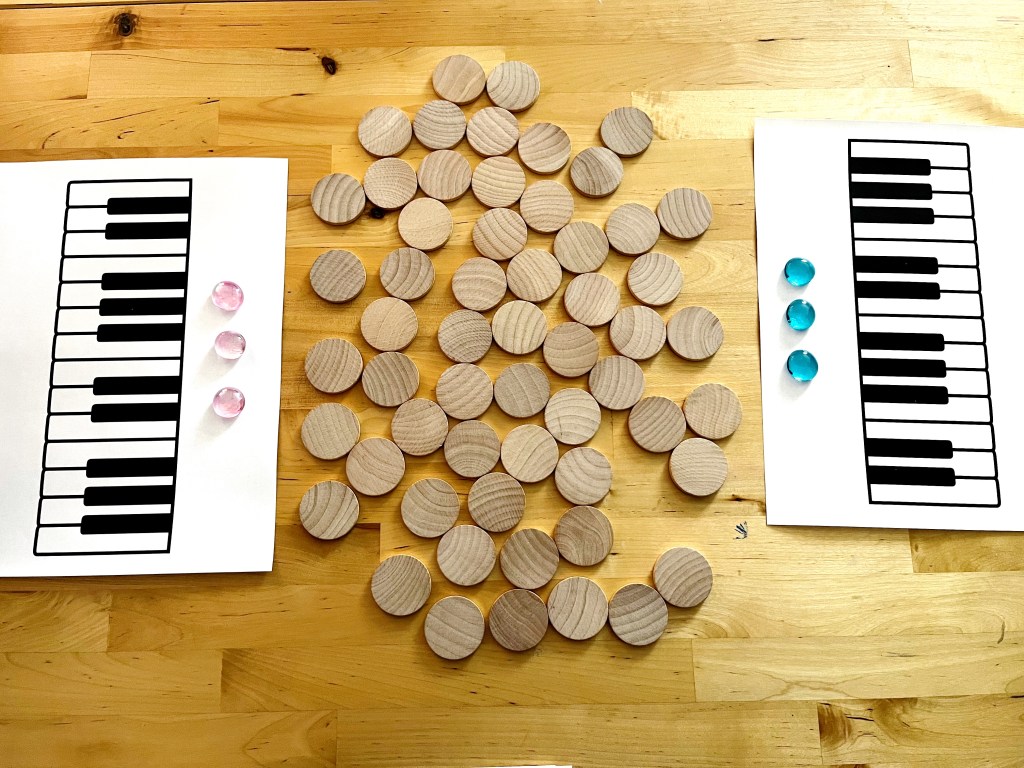
Shuffle the chord flashcards and place them to the side.
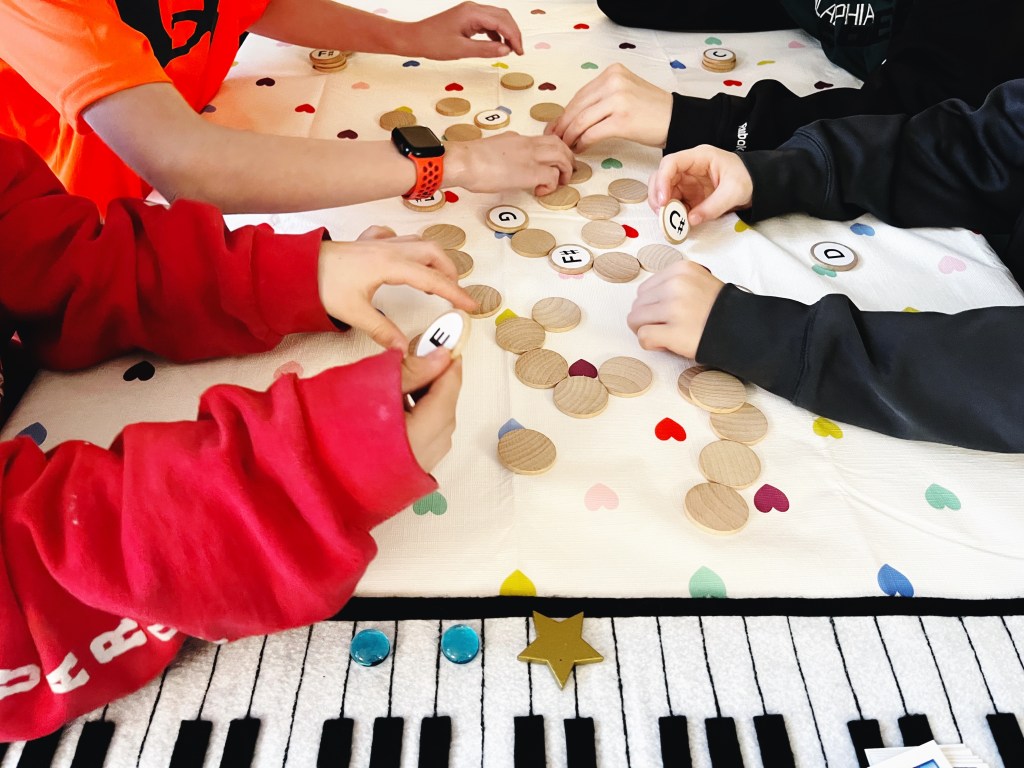
How to Play
The game will be explained for two players. To play with a group, each action explained below should be performed by the group working together.
The teacher flips over the top card of the chord flashcard pile.
Players analyze the chord. Using the keyboard printable, players place a gamemarker on the each keys that makes up the chord. The teacher verifies their work and makes any corrections necessary.
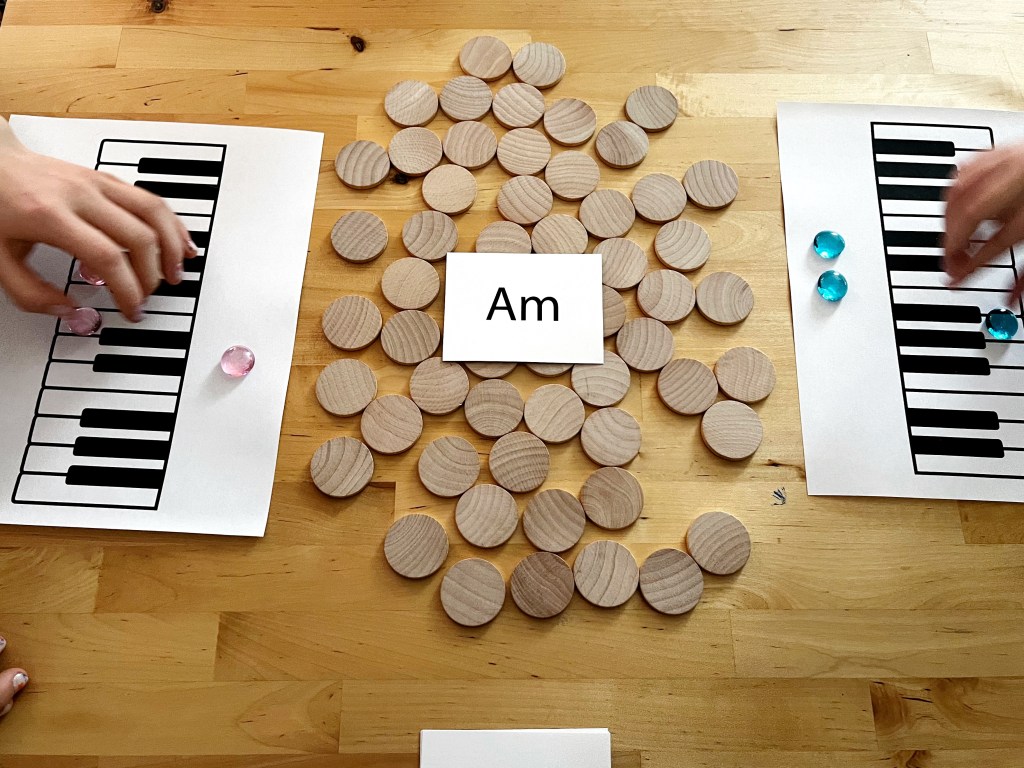
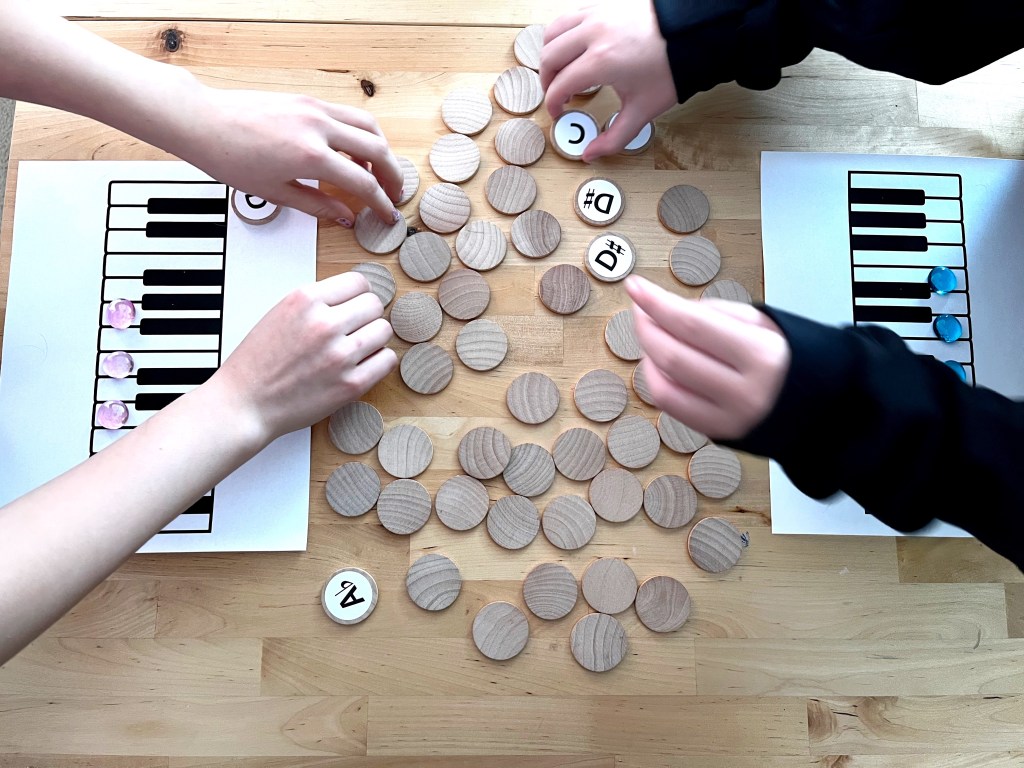
It is now a race! Players simultaneously flip over the wooden circles to try to find the pitches they need to complete the chord. When a pitch is found, they place the circle in front of them and continue searching for the remaining pitches.
The first player to complete the chord wins the round. The player who completes three chords first is the winner of the game!

Make it harder!
If your students are very familiar with chords, you can play Three Chord Dash without the keyboard printable and gamemarkers.
Simply flip over a chord card and start the race! Whoever successfully finds the correct pitches and lines them up properly wins the round.
Take it a step further and have students build the chords in a different inversion each round!
How to Make the Wooden Circles with Pitch Names
Kids love manipulatives and I use the wooden circles over and over again for a variety of games and activities at my studio. And they are very durable! Which is important in fast-paced games like Three Chord Dash since kids are frantically grabbing at them and flipping them over.
I purchased these 1.5″ wood coins in bulk (since I needed to create more than one of each pitch).
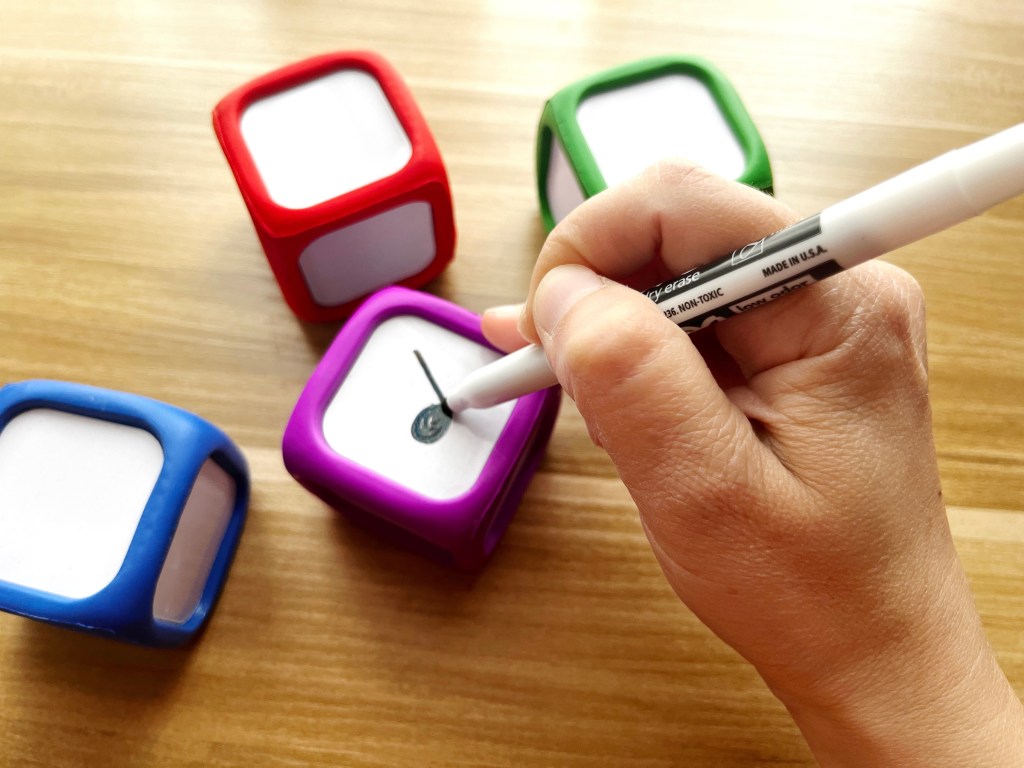
There are many different ways to the make the pitch circles. The simplest and quickest way is to use a permament marker and write the names of the pitches directly on the wood coins.
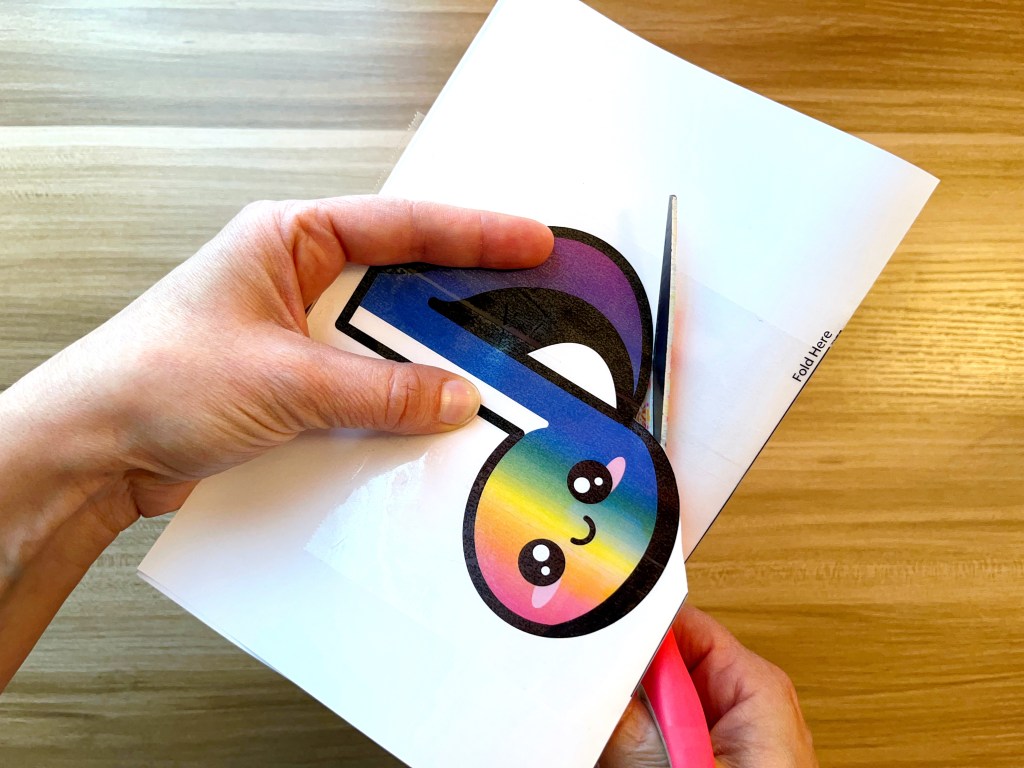
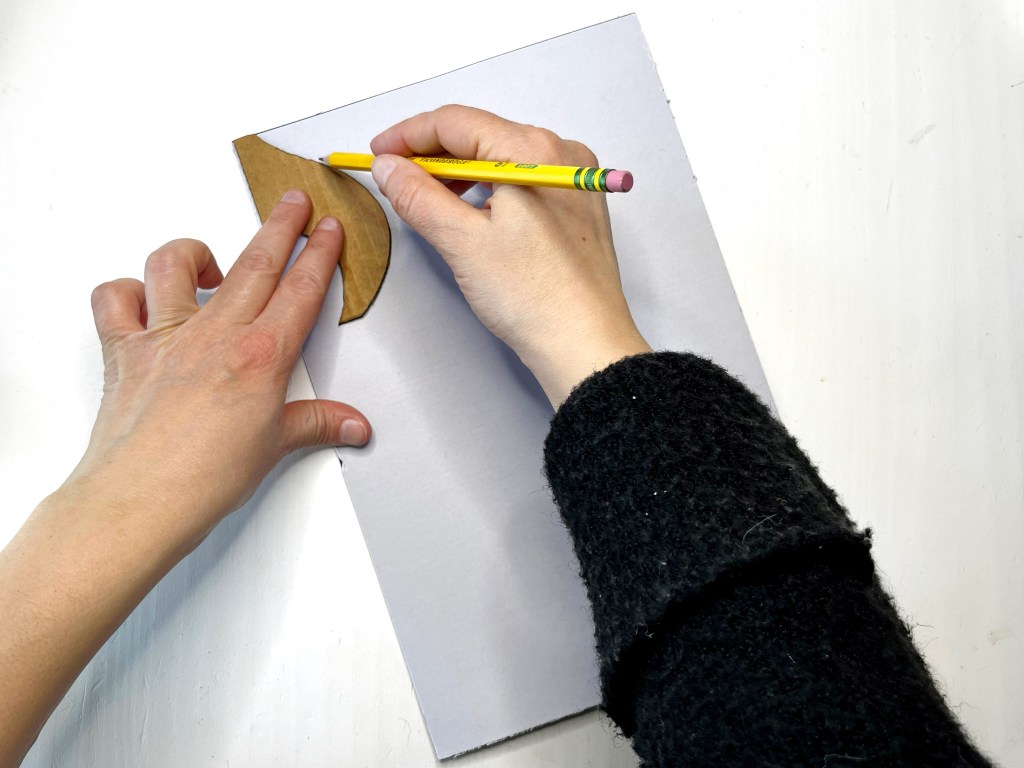
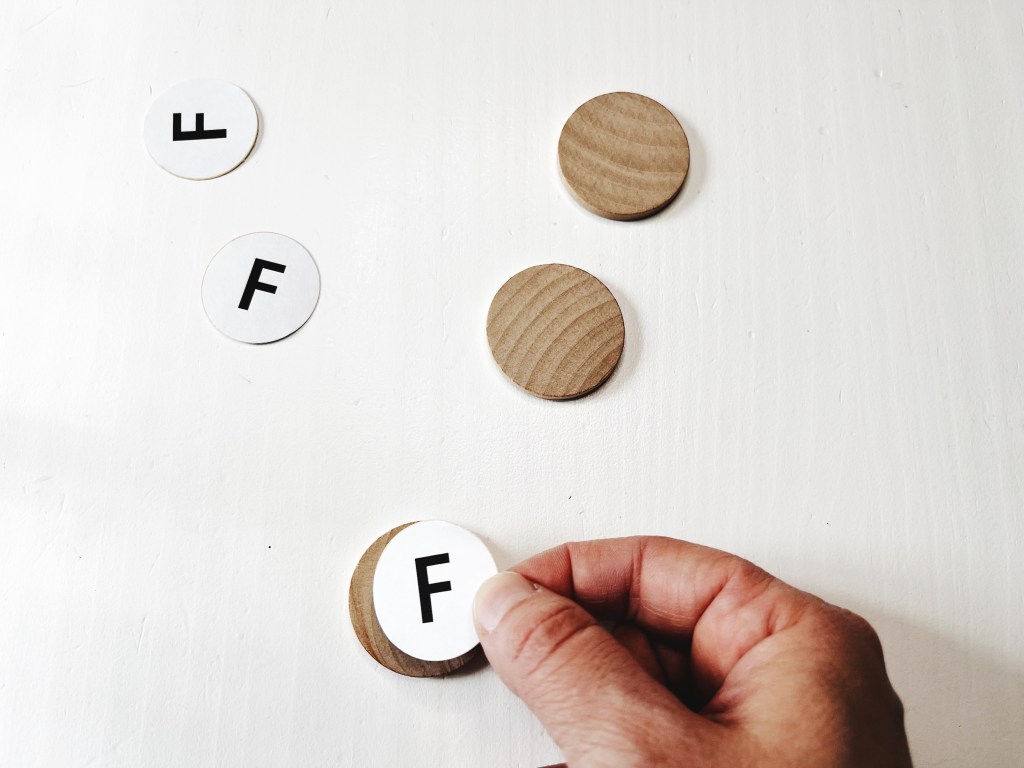
If you would prefer to have the pitches be printed, I used 2″x4″ Avery Shipping Labels. Three pitch names fit on each label (I used Adobe Illustrator to make the circles and align everything, but Avery has a template you can download from their website which would work just as well, minus the circles).
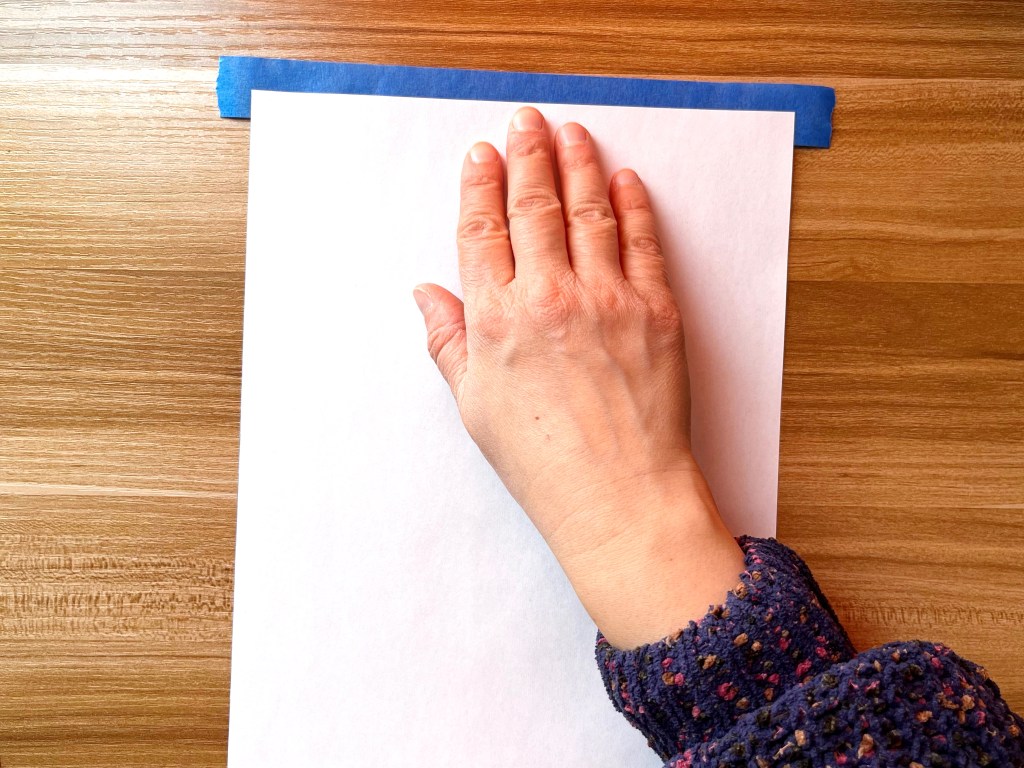
Cut out the individual labels.

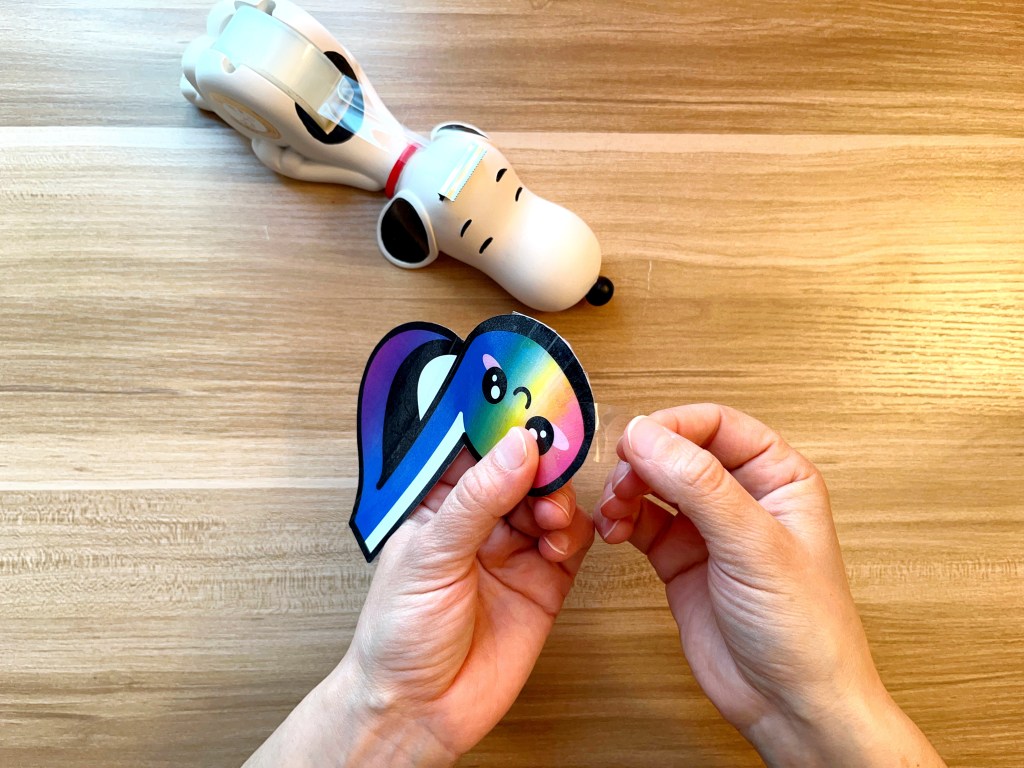
I then used a 1.25″ circle punch (I’ve used this brand in a different size) to cut out the individual pitches.

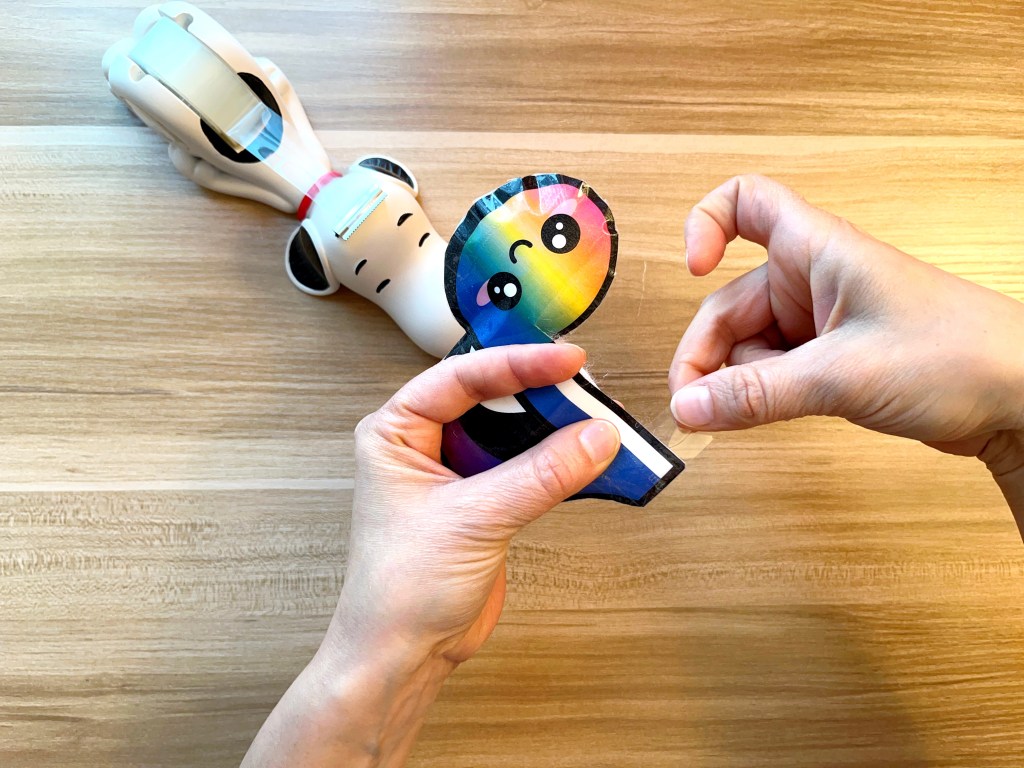
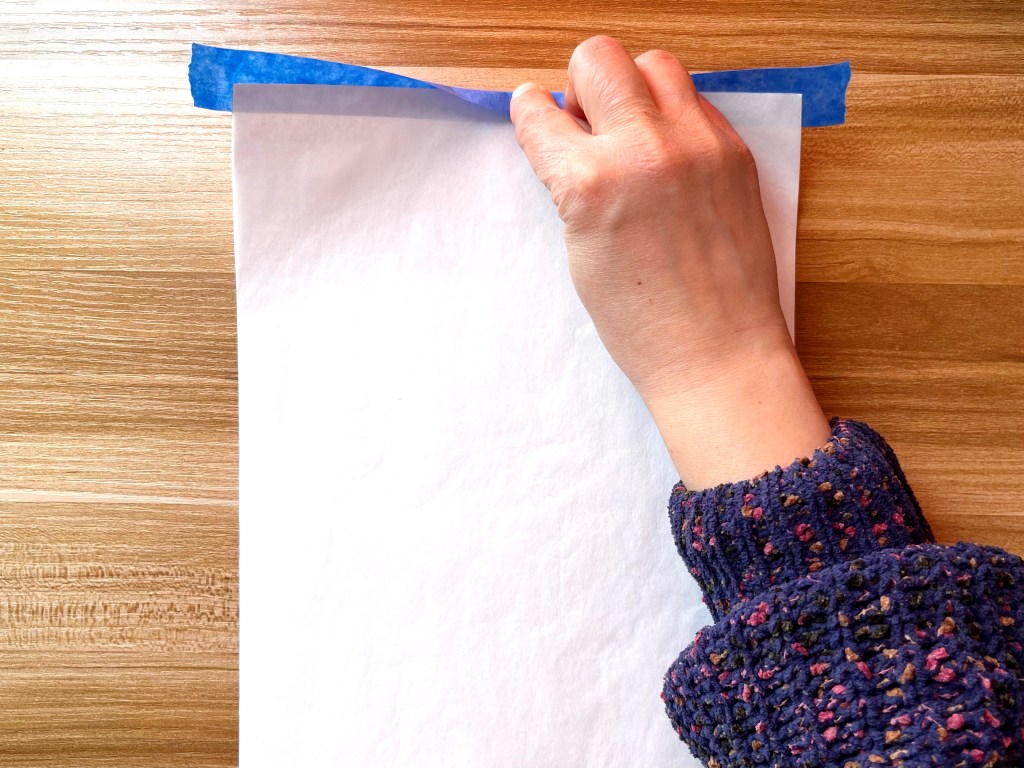
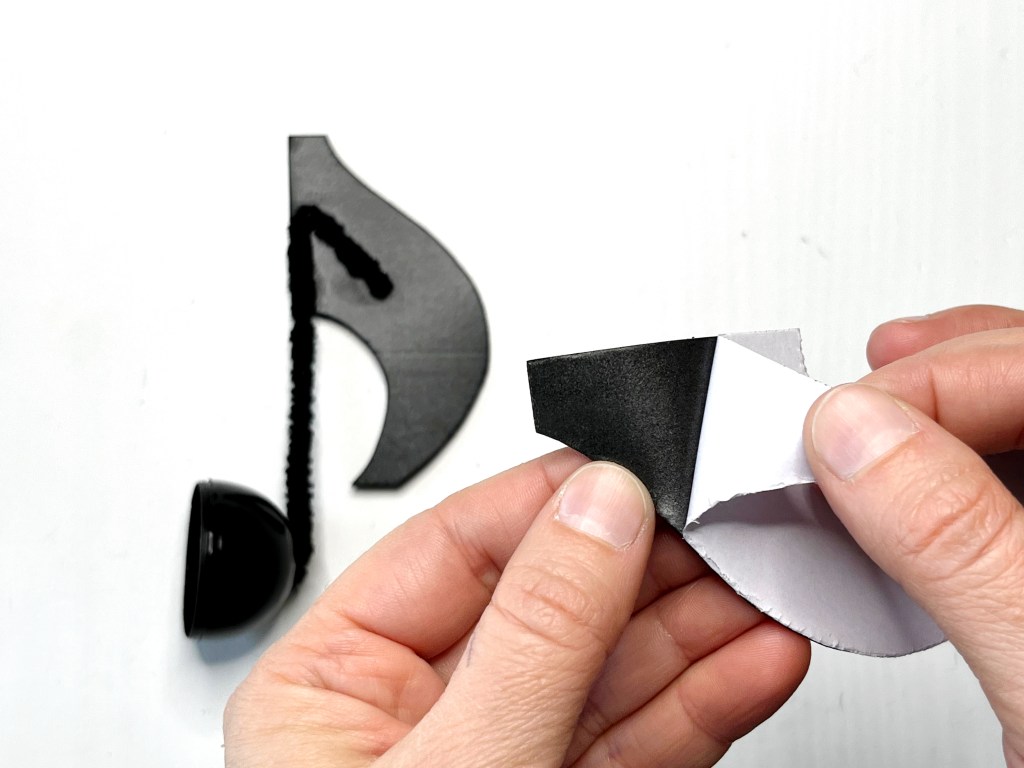
Since the labels are stickers, you can then remove the backing and stick them onto the wood coins.
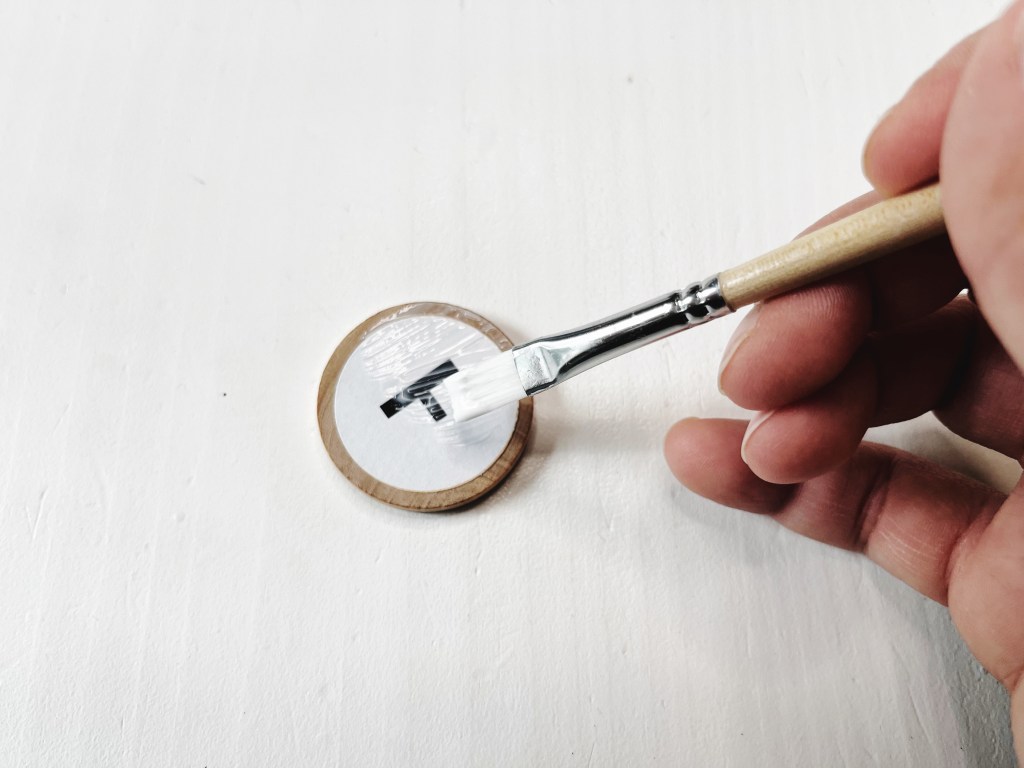
For added protection, I applied a layer of sealant (Mod Podge) over the sticker.
Make as many as you need!!

- Chords Cards – How to Use them with your Students
I love flashcards! They are extremely effective for active recall and the long-term retention of concepts. And the best part? They have SO many uses! From interactive games and hands-on activities to group challenges, the possibilities are endless! - Best in Pass
Note-reading and fine motor skills combined! Students will race to be the first to match the letter ping-pong balls to the notes on their spoons. But there’s a twist! They cannot touch the balls with their hands. - Snowball Rhythm Game
Who will be able to make the longest rhythm train before the dreaded “Busted!” stick is revealed?! Kids will practice their rhythms while also practicing their aim in this fun toss game. - Chord Snowblast
Build chords and collect points while trying to avoid the snow blast! Kids will test their knowledge of building chords AND they will actually be hoping to get all the sharps and flats chords!! - Two Sides of the Same Coin
A game about enharmonics that can be played in several different ways! Students will try to collect the most enharmonic pairs and hope that their coins don’t get stolen by another player.

Let’s stay in touch, join the list!
As a “toucan” of our appreciation download a free set of note flashcards (link in our Welcome email)!
We are a participant in the Amazon Services LLC Associates Program, an affiliate advertising program designed to provide a means for sites to earn advertising fees by advertising and linking to Amazon.com. As an Amazon Associate we earn from qualifying purchases.