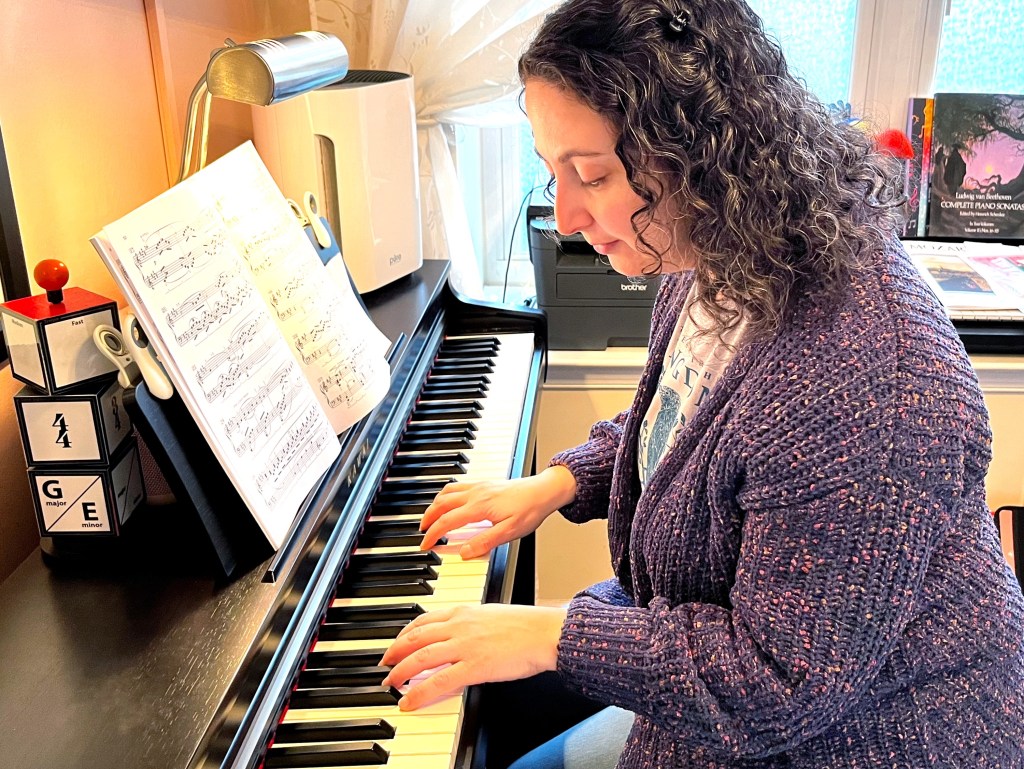
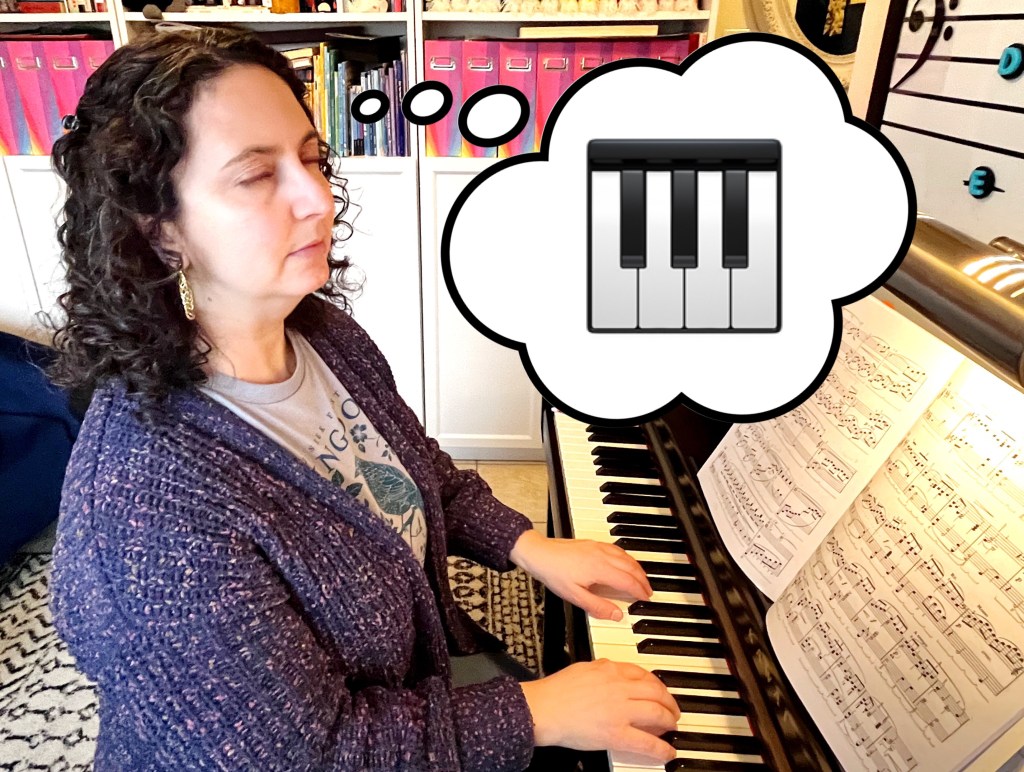
Do your students constantly look down at their hands when their playing?
Beginner students will often look down at their hands because they don’t trust their fingers to navigate the keys soley by touch. In order to avoid mistakes, they look down from their music to visually find the next note they need to play. Their eyes become a crutch which delays the development of the spatial awareness and muscle memory they need to play the piano.
- Why is it important for students to keep their eyes on the music?
- Exercises for Keyboard Awareness
- Practice Strategies to Keep Eyes on the Music
- Can Students EVER look down when playing?
- Let’s stay in touch, join the list!
As teachers, we want our students to trust their fingers, develop a deeper connection with the piano, and, ultimately, become confident pianists. To do so, we can use exercises during our lessons to help students build confidence in finding their way around the piano by touch, as well as suggest practice strategies that encourage them to stay focused on the music by blocking their view of the keys (because let’s face it, habits are very hard to break and sometimes we need a little helping hand… or beard! Or even a hoodie!!).
As teachers, we want our students to trust their fingers, develop a deeper connection with the piano, and, ultimately, become confident pianists.
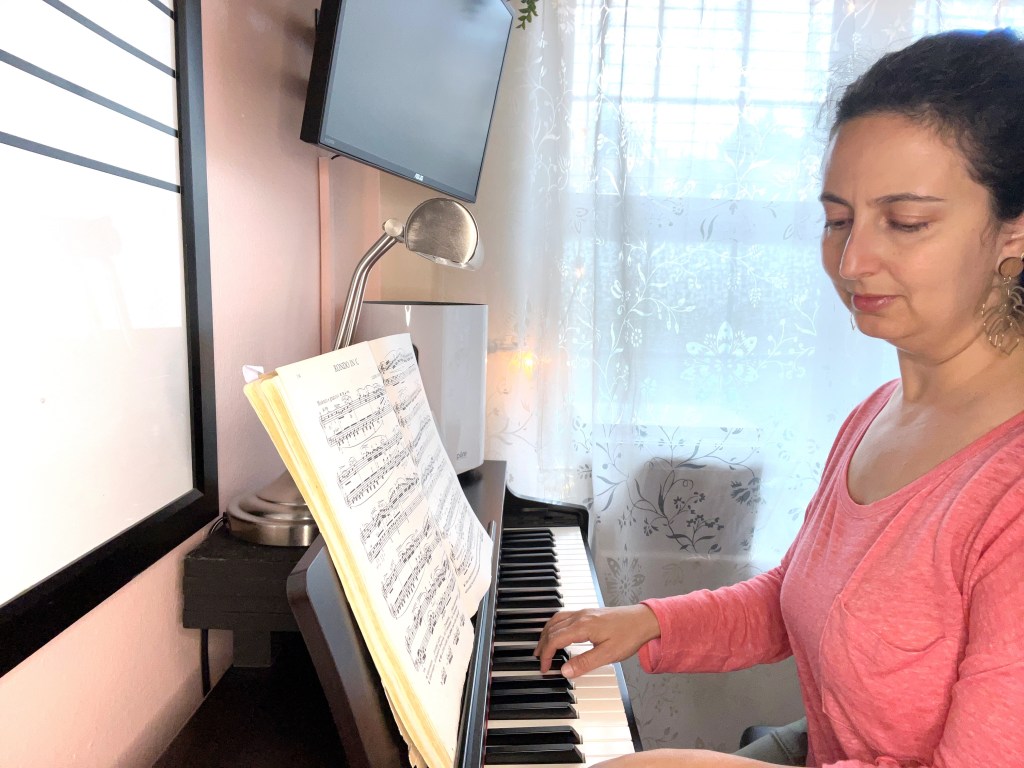
Why is it important for students to keep their eyes on the music?
In the beginning stages of learning a piece, we are teaching our fingers the movements and distances they need to navigate in order to play that particular piece. By constantly looking and placing our hands and fingers on the right keys we are not allowing our fingers to feel their way around the keyboard and learn how far they need to go to play. Just like a basketball player has to be able to dribble a ball without staring down at it, a pianist must be able to navigate the piano without looking down all the time.
Just like a basketball player has to be able to dribble a ball without staring down at it, a pianist must be able to navigate the piano without looking down all the time.
Another reason we don’t want to look down is because it cuts the flow of the music. The small amount of time it takes to look down at the hands and then look up again to find our place in the music is enough to miss a beat or two… or even more. Looking down becomes a crutch for students and introduces pauses in the music, which can become ingrained and end up compromising the overall flow and structure of the piece.
Exercises for Keyboard Awareness
1) What Key is that?
This is a great exercise for students to really think about what key each individual finger is resting on. Have the student find the starting position of their piece. Close their book and have the student close their eyes. Then ask them, “What key is finger 2 of your right hand sitting on?” When the student has answered, ask about a different finger, “What key is finger 4 of your left hand sitting on?” And so forth, alternating hands and scrambling the finger numbers you call on.
I encourage students to visualize the piano in their mind’s eye and tap the finger I’m asking about on the key (without actually playing it).
As students become more confident, you can move their hands to random positions on the piano or increase the speed of your questions.
2) Find your Spot
This is a great exercise for students to feel how their arms are also an integral part of placing their hands on the piano (students often become hyperfixated on the fingers and hands and don’t realize how important everything from the wrist up is!). It also helps them to really feel the key patterns on the piano with their fingers.
Cover the piano keys. Open their book to the piece they are working on. Ask the student to place their hands on their head. Have them analyze the starting position of their piece. When they feel they are ready and have a mental image of where their hands should be placed on the piano, have them close their eyes.

Uncover the piano keys and tell them to find their starting position by just feeling their way around the piano. With their eyes still closed, the student will lower their hands and attempt to place their hands on the correct keys. When they think they have it, they can open their eyes and see if they are right.
3) One Small Leap…
A lot of beginner music has students playing in one position throughout the entire piece. This exercise helps students make small moves around the playing position to build awareness of the keys that are close by.
Have the student place their hands in the starting position of their piece, then ask them to close their eyes.
Give instructions such as:
- Move your left hand thumb up a step. What key is it on now?
- Move your right hand pinky up a step. What key is it on now?
- Move your entire right hand down a step. Play and name all the keys your fingers are touching.
- Move your entire left hand up a skip. Play and name all the keys your fingers are touching.
- Cross the second finger of your right hand over your thumb. Play the key and name it. Then return your hand to the starting position.
- Move finger 3 of your right hand onto the black key a half step below it. Play the key and name it.
- Any other movement that is in their practice piece or variation you can think of.

Practice Strategies to Keep Eyes on the Music
Habits can be hard to break in general and if a student has become reliant on looking at their hands while playing, they may need some extra help to not peek… especially because sometimes they don’t even realize they are doing it!
So, how can we encourage students to keep their eyes on their music?
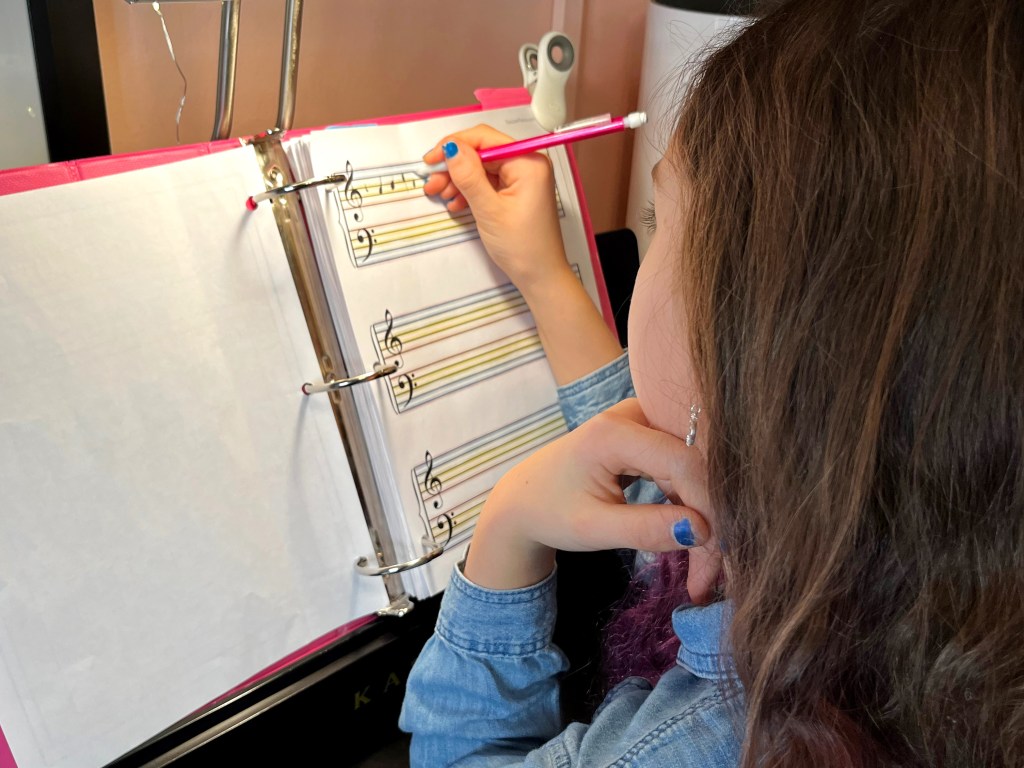
1) Cover the Student’s Hands with a Book
If a student is constantly looking down at their hands during a lesson, a quick fix is to hold a book over their hands, obstructing their view. Students are usually amazed with themselves that they can in fact play the piece withouth looking down!
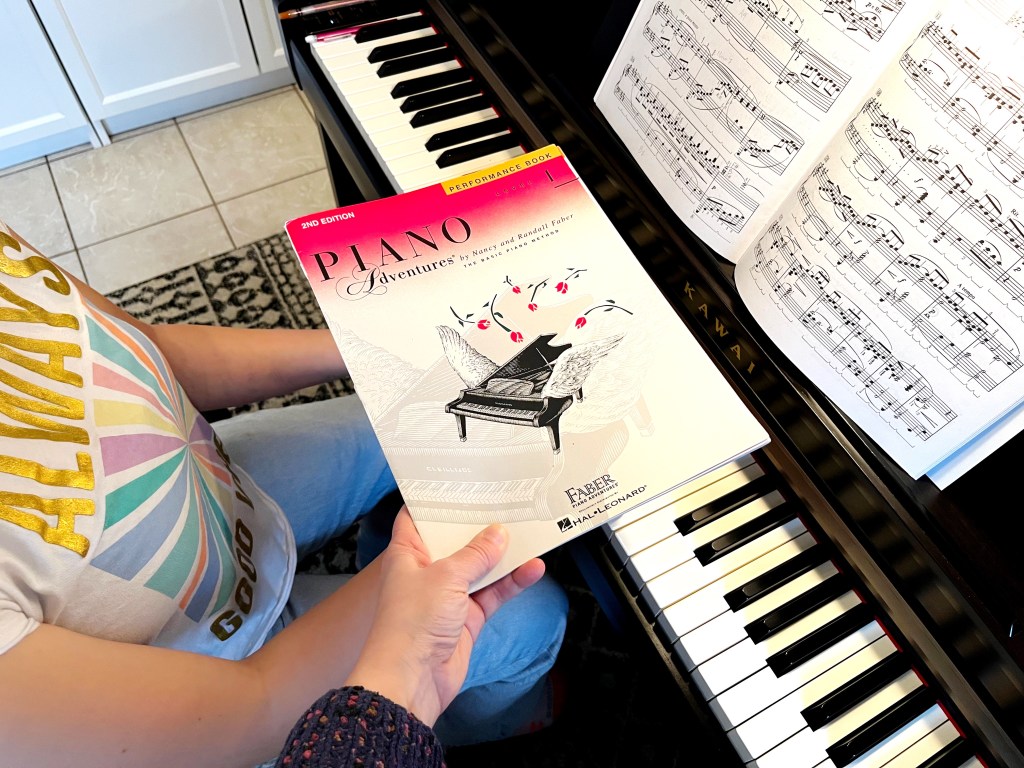
This practice strategy can be used at home as well if a parent is available to help.
2) Use a “Beard”
The second strategy is both fun and effective. I saw a similar trick years ago online and when I saw this Santa beard at the store over the holidays I knew I had to have it for my studio. I extended the beard with some fleece.

The student puts on the glasses. Then the student tucks the end of the beard under their book on the book rack. The beard hides the student’s hands from view.

It’s hilarious and it works! If you’d like to have a one of your own, you can use a pair of toy glasses and connect a piece of cloth to them.
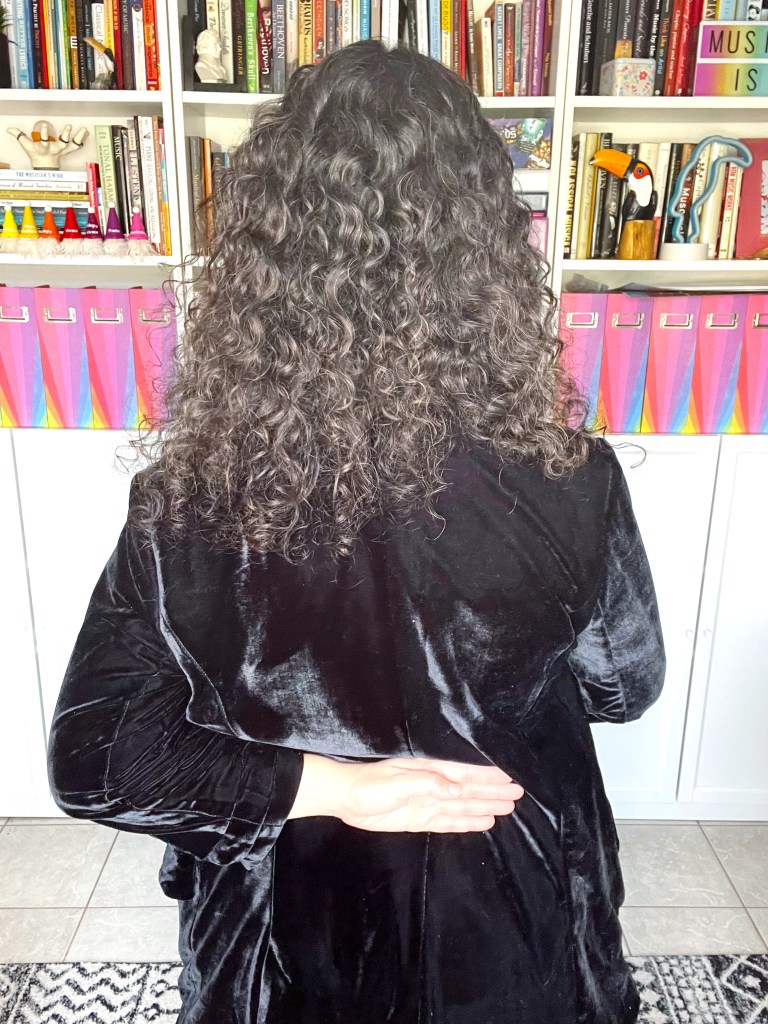
3) Use a Hoodie worn Backwards
But what about home practice? You can’t always lend out your beard and a parent may not be available to sit with a student while they practice. In this case, the student can use something that is ubiquitous with kids nowadays… the hoodie!

This trick works like a charm! Have the student turn their hoodie around, so that the hood is in front of them. The student then adjusts the hood so it is propped up. And there you go! They will not be able to see their hands when they play.
Can Students EVER look down when playing?
Yes! There is a time and place for everything. The real question becomes, “Is what I’m doing benefitting the music? Am I achieving the sound I want from the piano when I look down?”
In general, large leaps and difficult passages require more from us and we do look down at our hands to navigate these passages. BUT at this point, the music is usually memorized and/or looking down has become part of the how the pianist plays the piece. Looking down in this case is not a crutch but adds to the accuracy and flow of the music.

- Slurs & Ladders: The Recital Prep Game
If there is one game my students beg to play year after year (and sometimes when we don’t even have a recital anytime soon!) is this recital prep game. It’s a great de-stressor and it shows students how prepared they are to perform while also injecting some fun and joy back into those recital pieces that may be sounding a little tired. - Top Practice Tools Every Piano Student should Have: #4 Recording Device
When used strategically, a recording device can help students gain valuable insight into their playing and progress faster! I’m sharing my favorite recording equipment and different ways students can use recording themselves as a practice tool to improve their playing. - Top Practice Tools Every Piano Student should Have: Curiosity
Curiosity is the catalyst that gets students to start learning the piano in the first place and can be exactly what’s needed to keep them going for the long haul. Why is it so important and how do we keep it going? What if I don’t play an instrument, but want to encourage my child in their practicing? Check out all the answers plus download a free printable for parents!

Let’s stay in touch, join the list!
As a “toucan” of our appreciation download a free set of note flashcards (link in our Welcome email)!
We are a participant in the Amazon Services LLC Associates Program, an affiliate advertising program designed to provide a means for sites to earn advertising fees by advertising and linking to Amazon.com. As an Amazon Associate we earn from qualifying purchases.