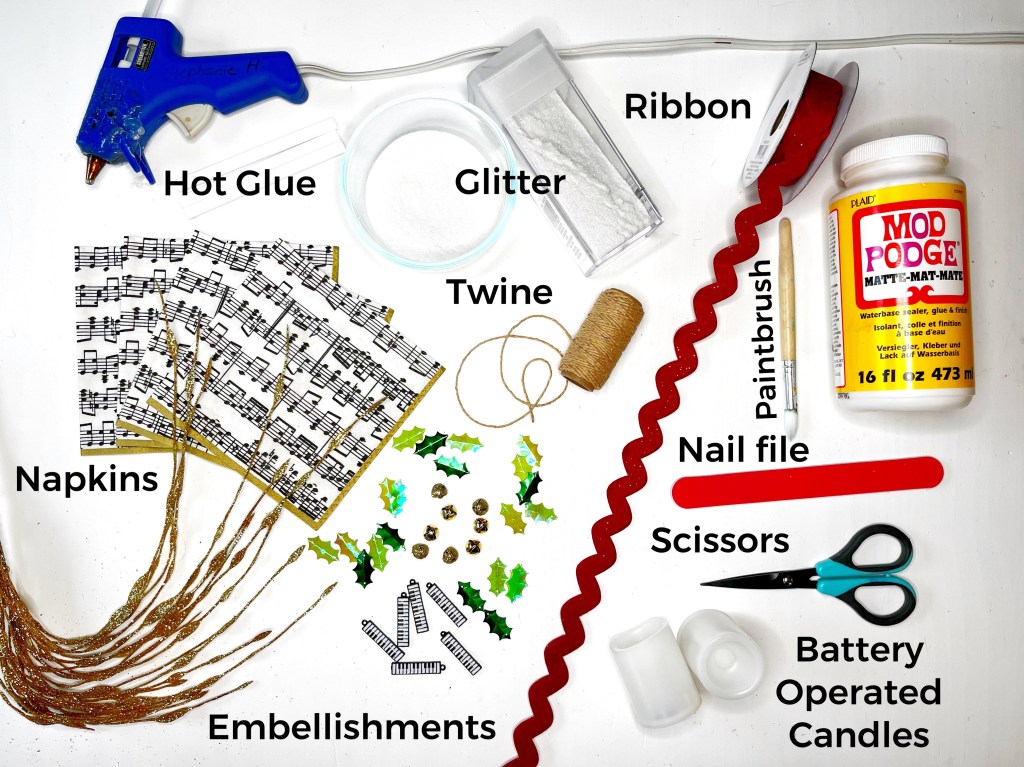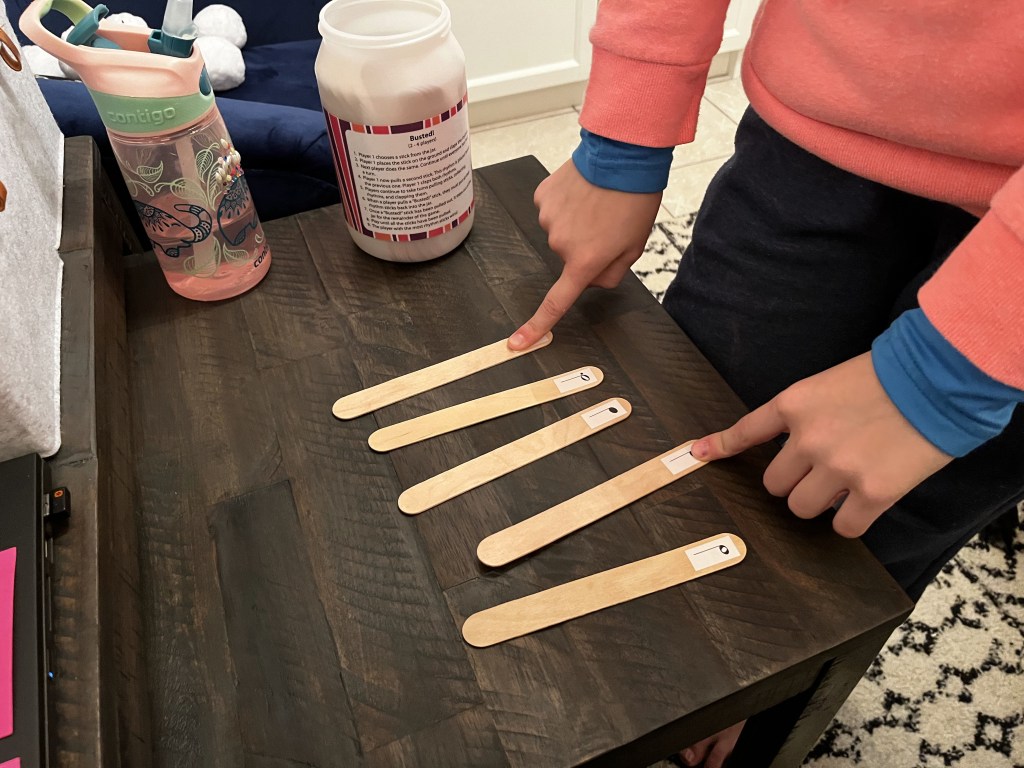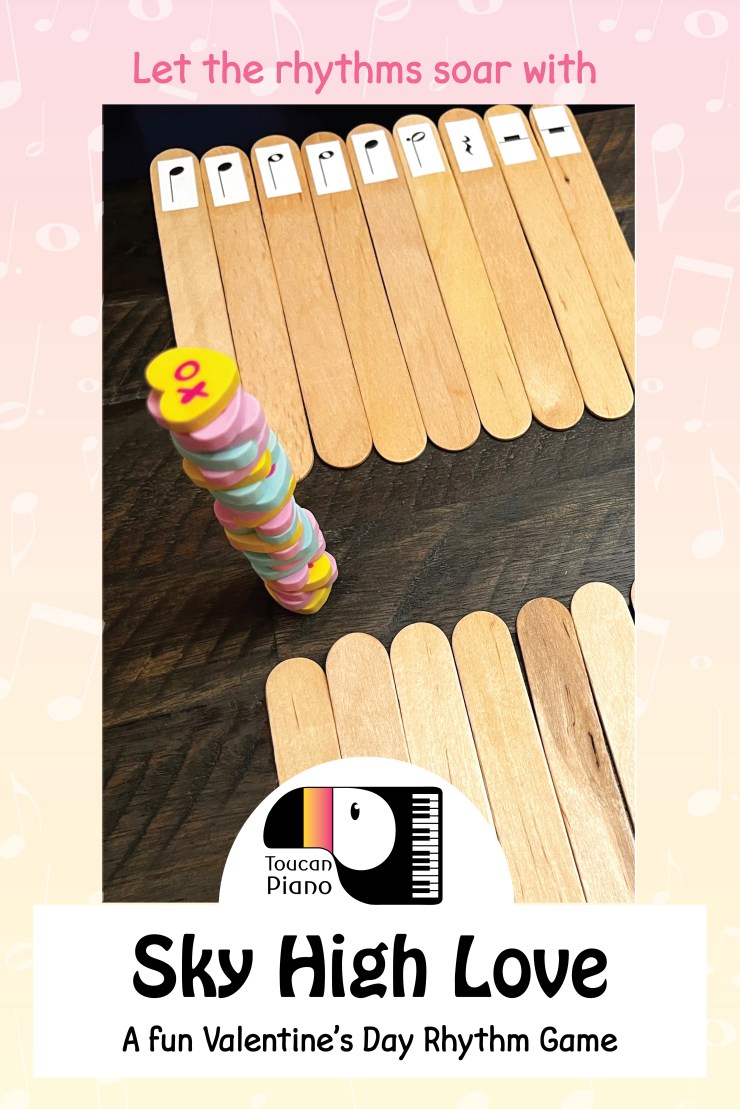
I love fun and easy games that use things I already have around my studio! For this Valentine’s Day game, I used my rhythm popsicle sticks and mini heart-shaped erasers.
Place all the rhythm popsicle sticks in a container so that the student cannot see the rhythms that are written on the popsicle sticks. The mini heart-shaped erasers are placed in the center of the table.

The student pulls a popsicle stick out of the container and claps and counts the rhythm written on the stick. The student will then take the number of mini erasers from the pile that corresponds to the total number of beats that are on the stick. The student stacks the mini erasers to form a tower. For example, if the stick had a half note written on it, the student would take 2 mini erasers and stack them one on top of the other.

When a new popsicle stick is pulled from the container, the player must place the new rhythm stick next to his/her other sticks and clap and count them all as a sequence. Just as the tower of mini erasers will get taller with each round of play, the rhythm sequence each player must clap and count will also get longer.
Players take turns until one of the towers topples over.

The player whose tower is still standing at the end, wins! This is a great game to get the energy up at the beginning of a lesson! I’ve been playing this all week with my students. It has been so much fun to see how they each have a strategy for stacking their heart erasers. They really get into it!!

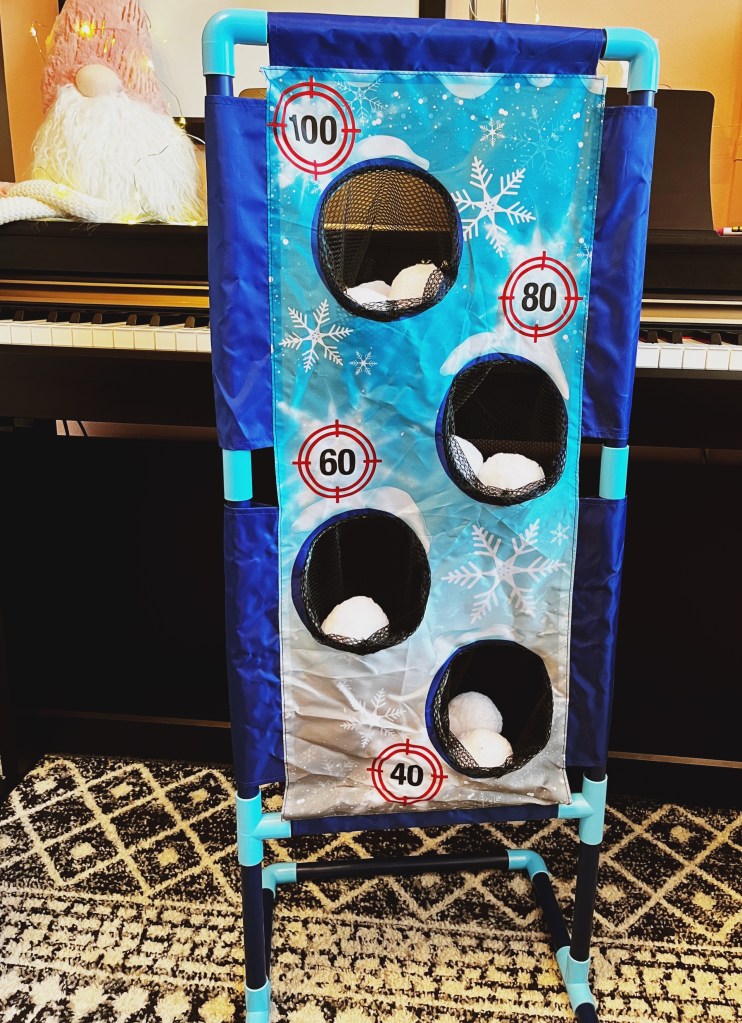
I always get excited about teaching aids that I can find multiple uses for… my rhythm popsicle sticks are one of them! Another game I love to play with my rhythm popsicle sticks is this Snowball Rhythm Game. It is a favorite every winter with my students.

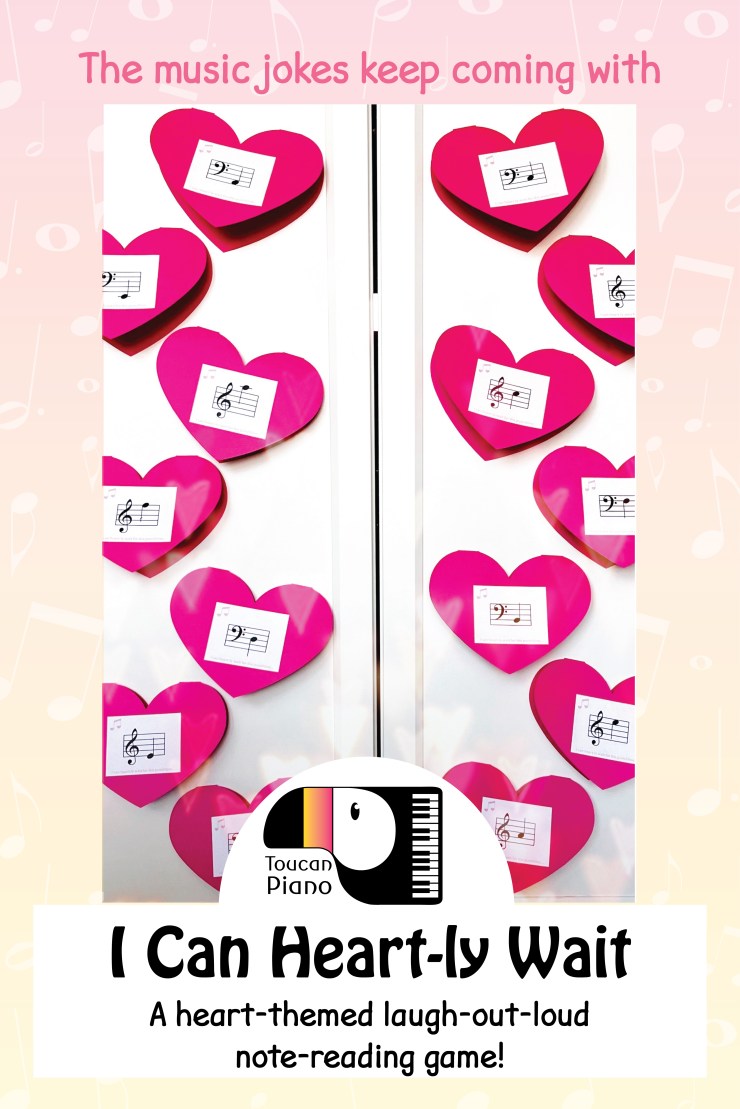
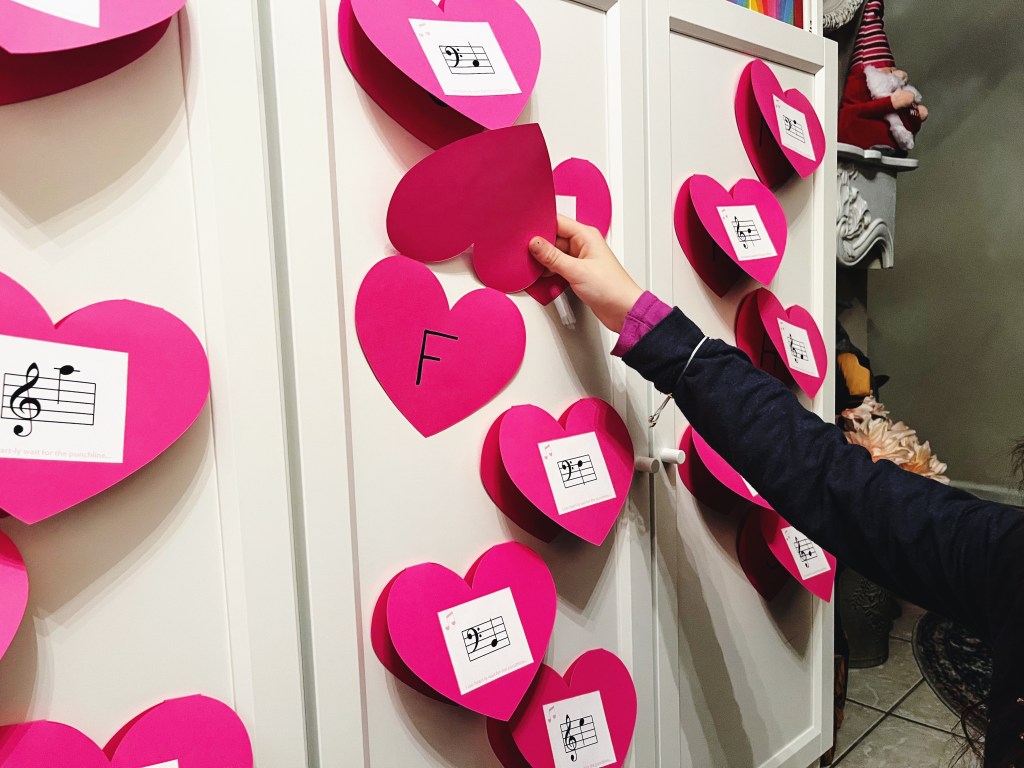
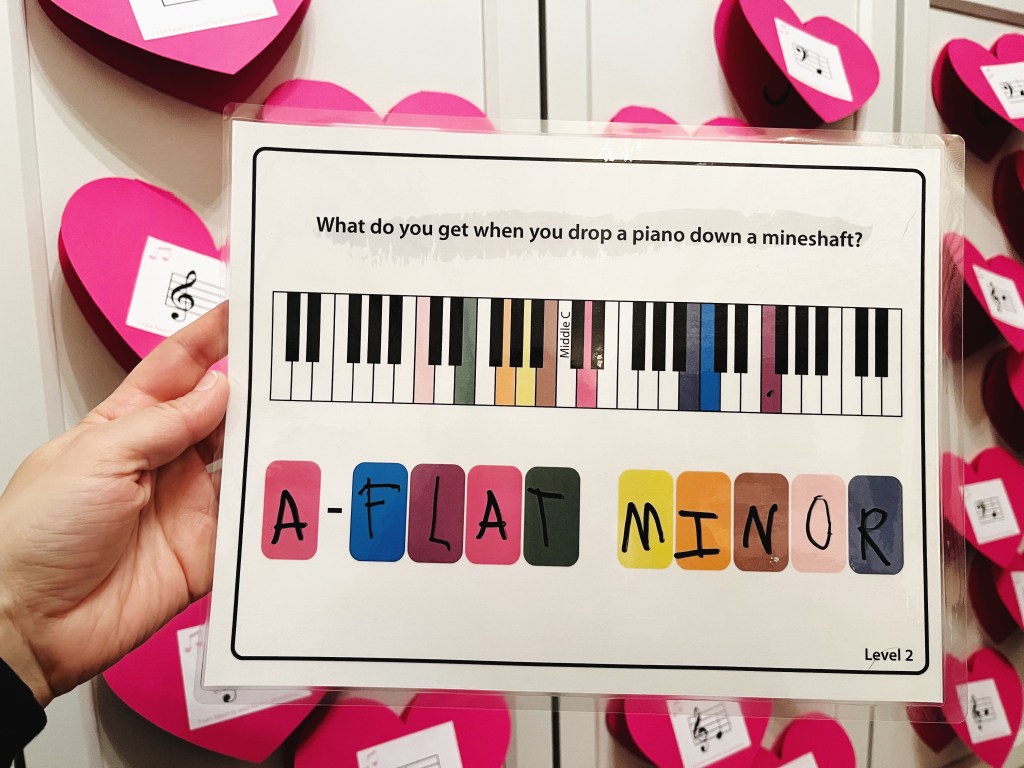
- I Can Heart-ly Wait for the Punchline
A heart themed laugh-out-loud note reading game.
I love this game because not only do students have to think about keyboard geography, they also have to be able to associate the notes with their exact location on the piano. - Sweet Words
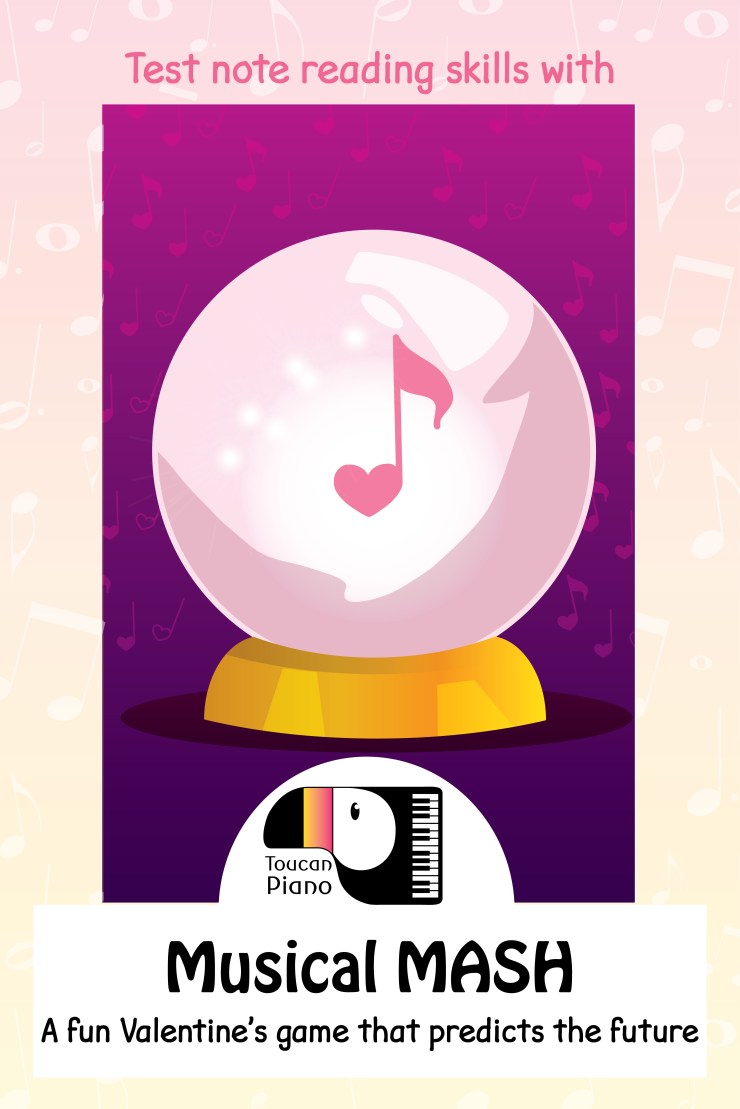
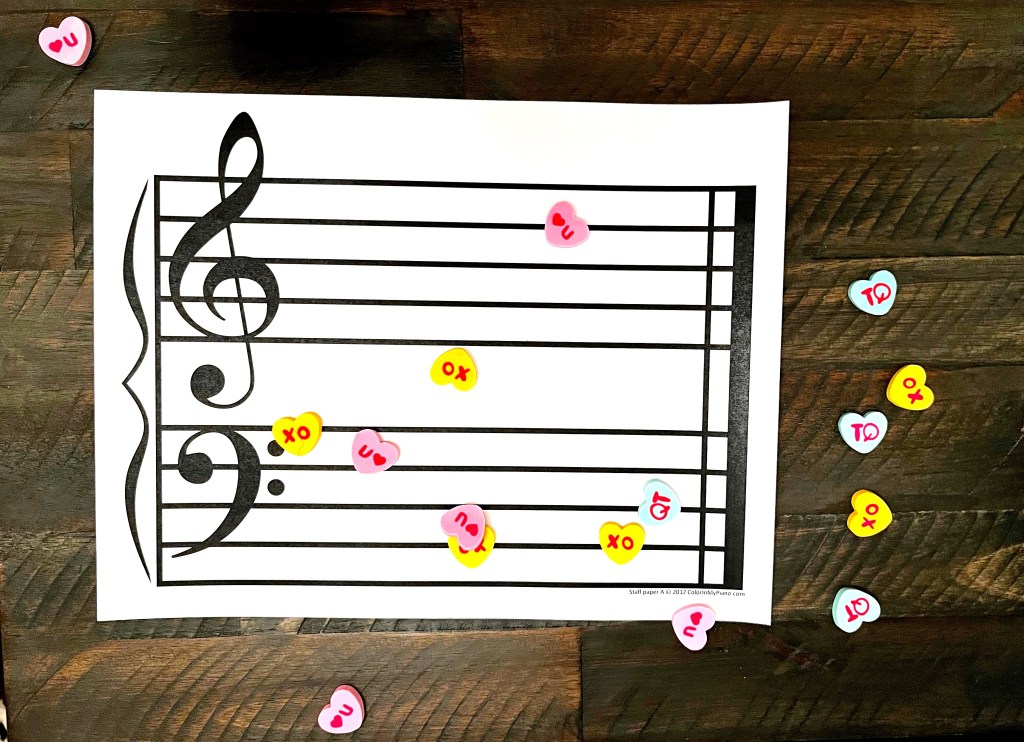
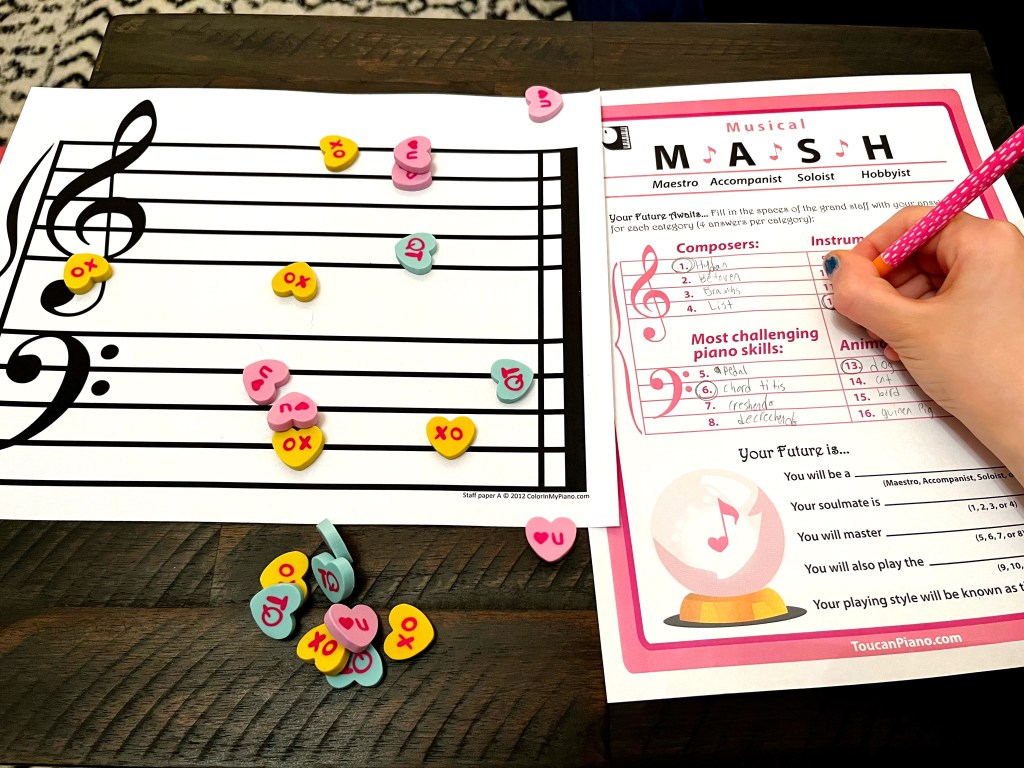
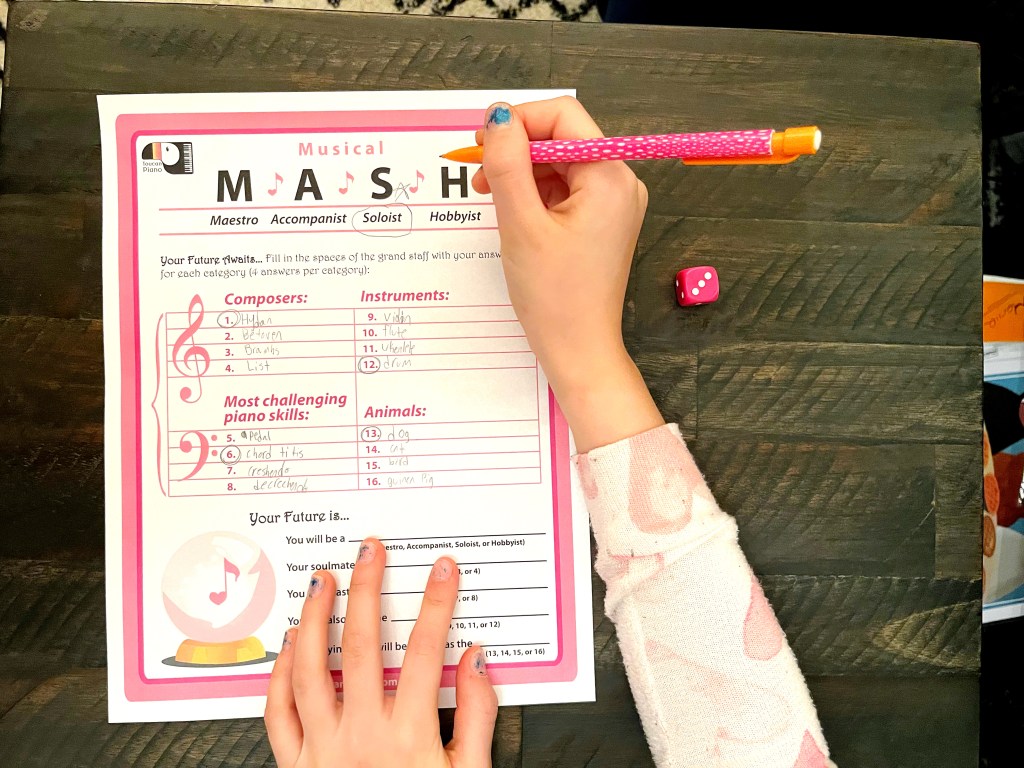
Students will have fun reading the notes on the staff (or naming the white keys on the piano) to try to fill in the missing letters of their sweet word(s) first. - Musical M.A.S.H
This free printable game tests your student’s knowledge of the spaces on the grand staff. It’s a fast, easy game to play, and will predict your student’s musical future with hilarious results!

Let’s stay in touch, join the list!
As a “toucan” of our appreciation download a free set of note flashcards (link in our Welcome email)!
We are a participant in the Amazon Services LLC Associates Program, an affiliate advertising program designed to provide a means for sites to earn advertising fees by advertising and linking to Amazon.com. As an Amazon Associate we earn from qualifying purchases.