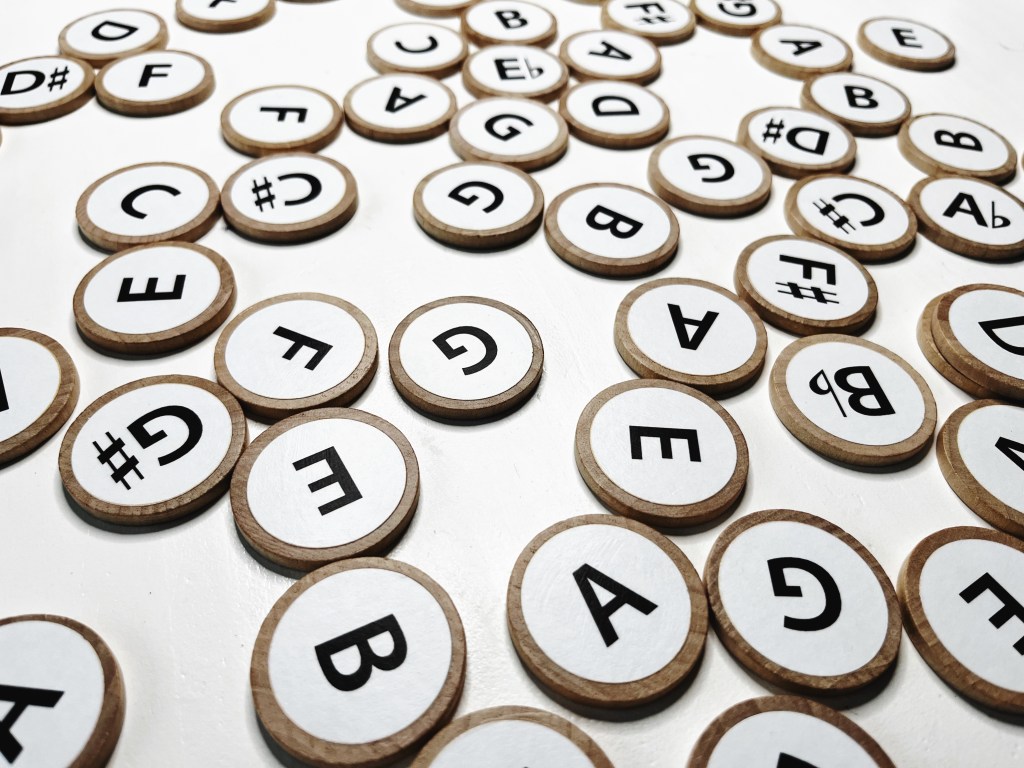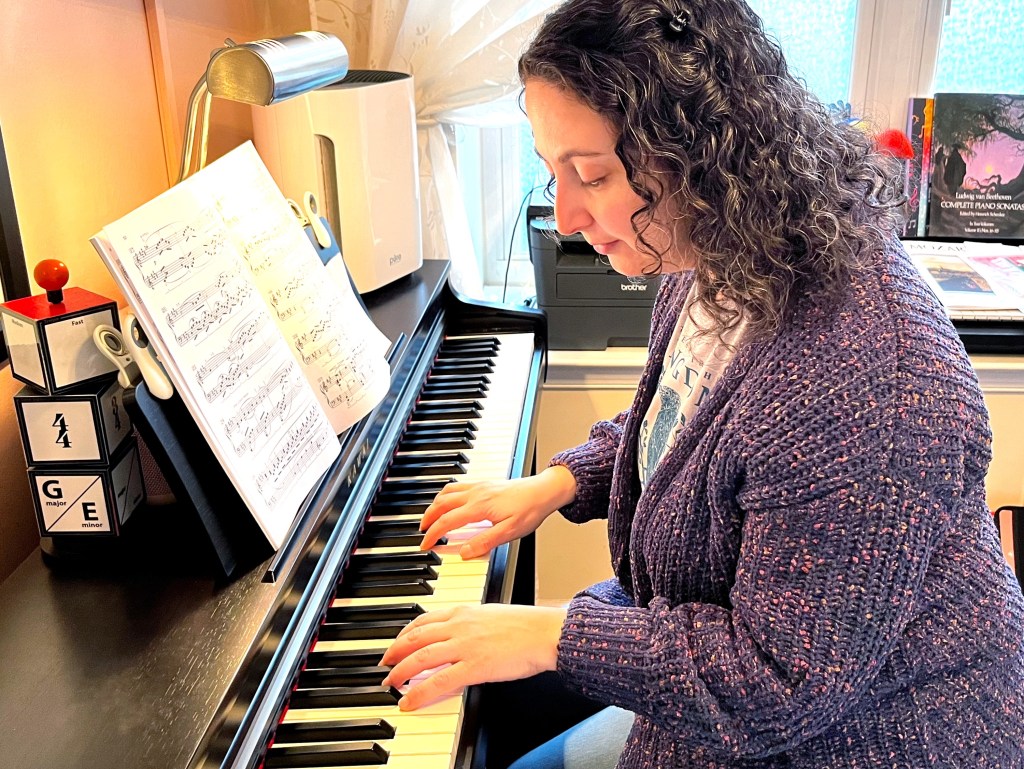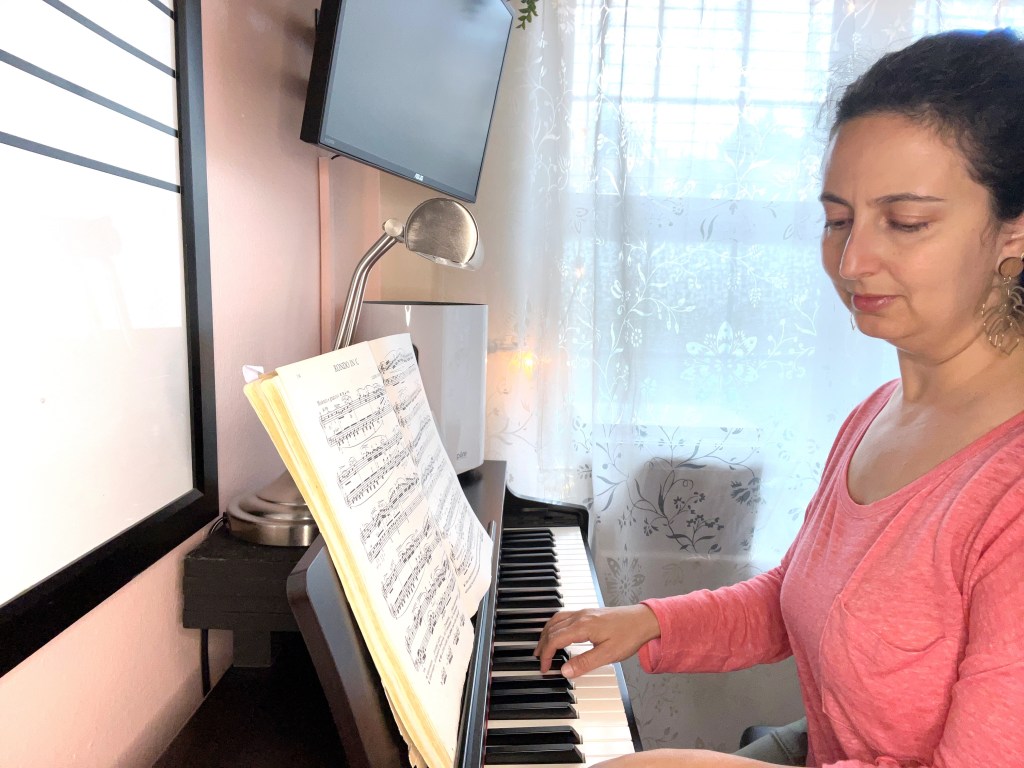
I’m going to just come out and say it… I love flashcards!

Flashcards are often stereotyped as being boring, repetitive, and only useful for basic memorization or geared towards younger kids. Some argue that they don’t suit creative learners or that digital tools have made them outdated. However, flashcards are extremely effective for active recall and the long-term retention of concepts.
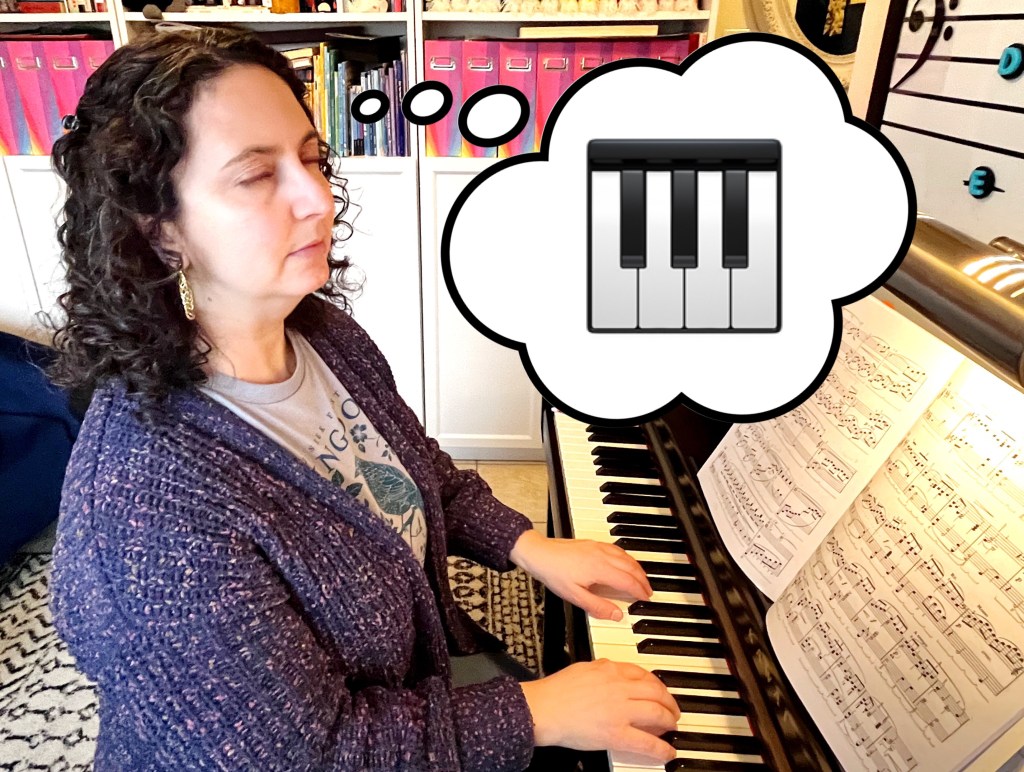
And the best part? They have SO many uses! From interactive games and hands-on activities to group challenges, the possibilities are endless!
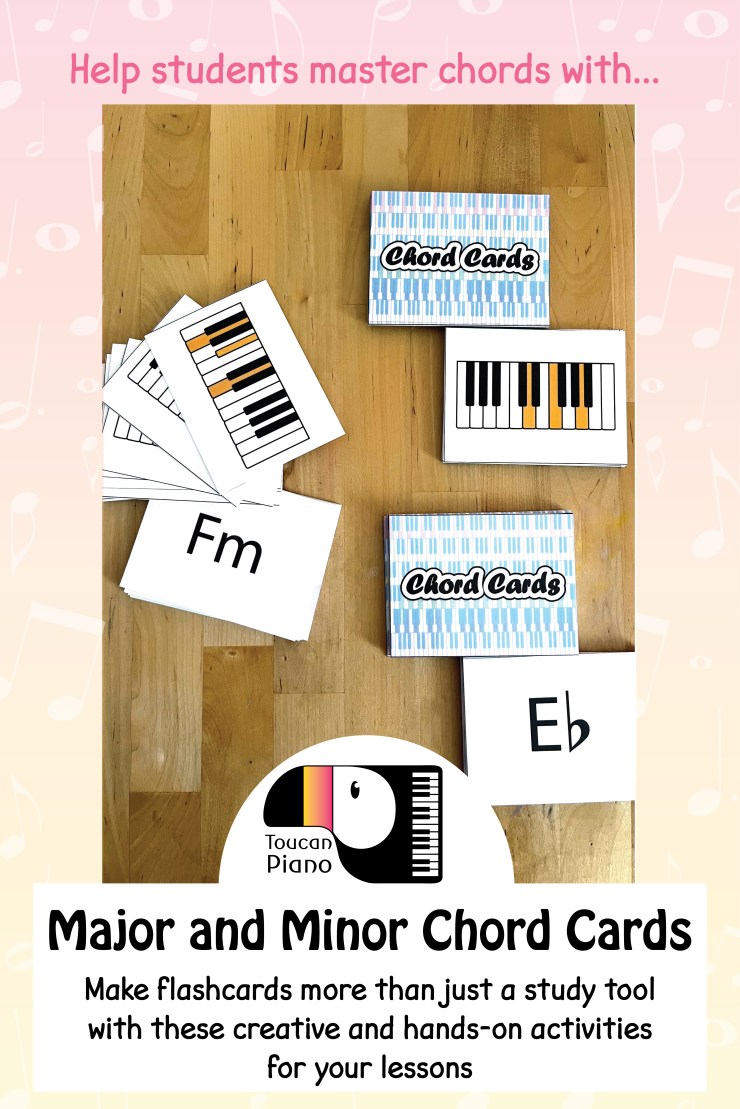
Sending flashcards home for students to drill (the Toucan Piano double-sided chord cards are a great option for home study!) is a fantastic way to reinforce their learning between lessons. But flashcards aren’t just for independent review — there are countless creative and engaging ways to use them during lesson time, helping students see just how much creative thinking can come from this simple tool!
The Toucan Piano major and minor chord flashcards are available as a free download in the shop here.
Chord Activities
Hands-on activities during lessons are a fantastic way to engage students in learning about chords. Taking just a few minutes during a lesson to review chords can reap enormous benefits over time… Students will gain confidence in playing chords, recognizing them in their music, and using them in their own improvisations and compositions.
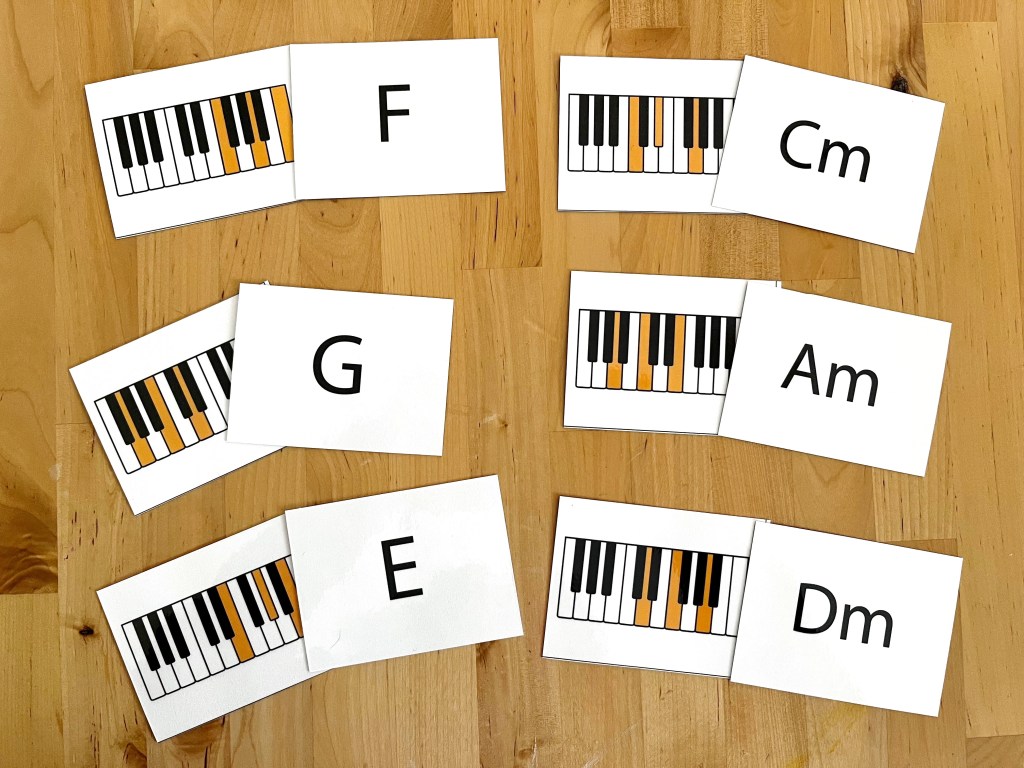
Name that Chord
Students starting out with chords initially work on feeling the shape of chords, using the correct fingering, and identifying the difference in the sound produced by a major or minor chord.
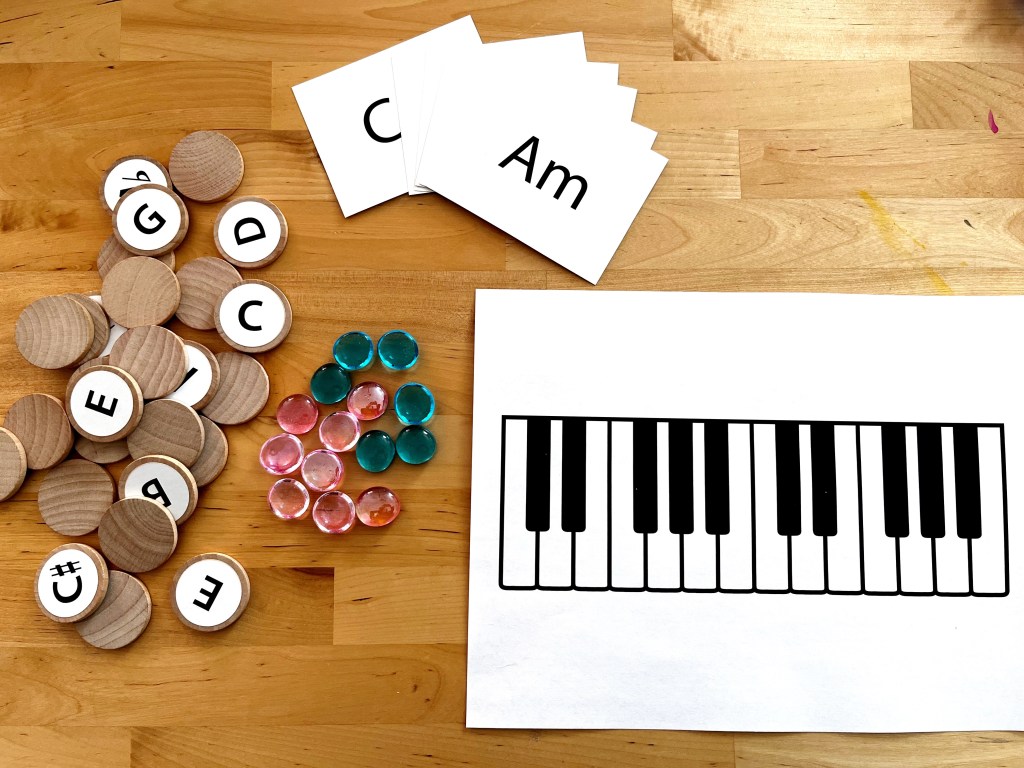
Using the keyboard chord cards, draw a card from the deck. Have the student find the keys on the piano that match the card (start with either the right hand or the left hand). Have the student play the chord and then try to name it.
Taking it one step further, can the student then transform that chord into its major or minor version?

Build a Chord
Another beginner activity, this has students trying to build the chord from its symbol.
Using the chord symbol cards, draw a card from the deck and have the student place mini-erasers or gems on the keys that constitute that chord.

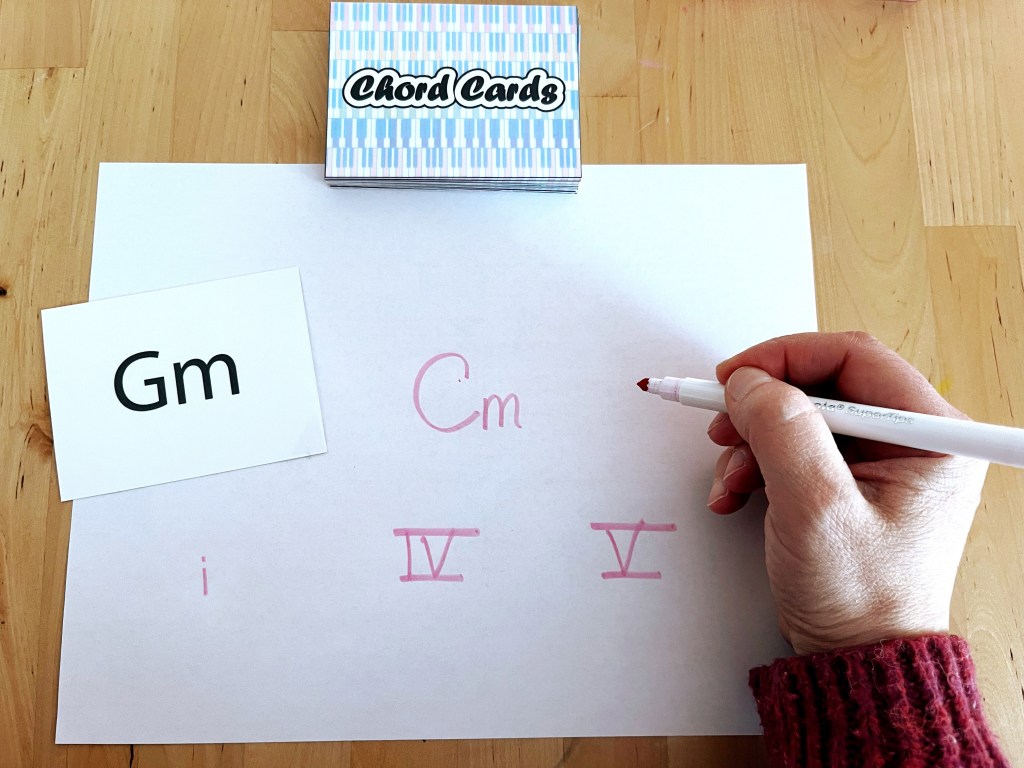
Part of the Family
Understanding which chords belong to a particular key family is an essential skill for coming up with chord progressions, improvising, and recognizing the harmonic progression in a piece.
Using the chord symbol cards, draw a card from the deck. The chord on the card is the “One” chord (I or i in Roman Numerals). Have the student write out the IV and V chords of the key.
Progressions
Once students have a solid understanding of key families, they can experiment with building different chord progressions.
For added fun, have them also experiment with chords outside the key. Ask the student how that chord affects the progression? What sort of emotion or mood does it introduce? If you were to continue the chord progression from the new chord, which chord would make sense to use next?

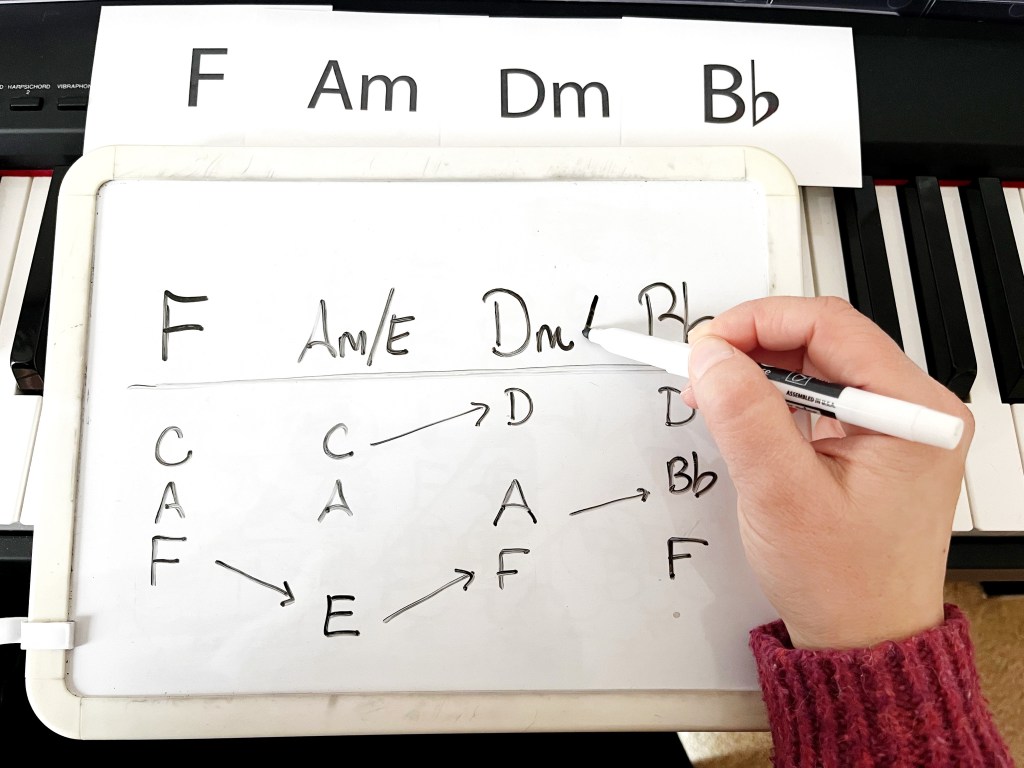
Inversions
Moving between chords is another essential skill for playing chords smoothly and with ease. Jumping from a root position chord to another can result in a large leap on the piano, which can be technically challenging for a student to manage. Additionally, these large jumps can create abrupt shifts in the sounds which, depending on the music, can negatively affect the overall mood.
Pick a chord progression. Have the student write out the chords. The student should then analyze the chords (what pitches do they have in common? Are any of the pitches neighbors?, etc.). From their observations, rewrite the chords in different inversions and play the chord progression. Experiment with different inversions. Which was easier to play? How did the inversions sound with the melody (if using a chord progression from a lead sheet)?
Thinking about inversions in this sense, turns the activity into a puzzle with multiple solutions!
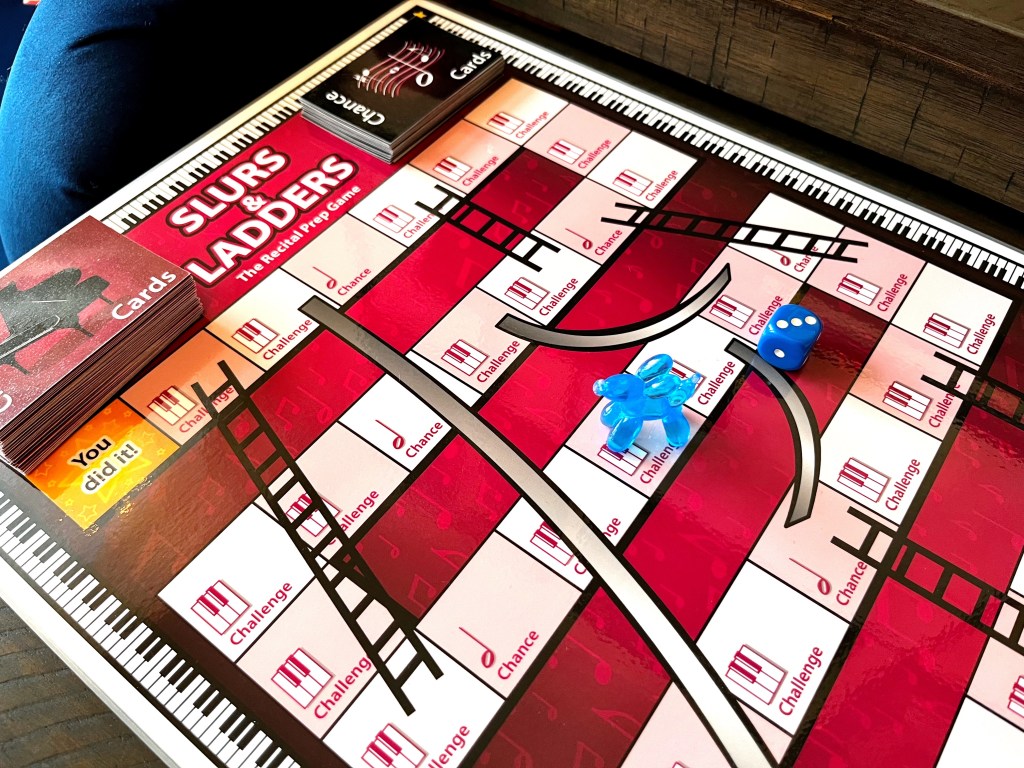
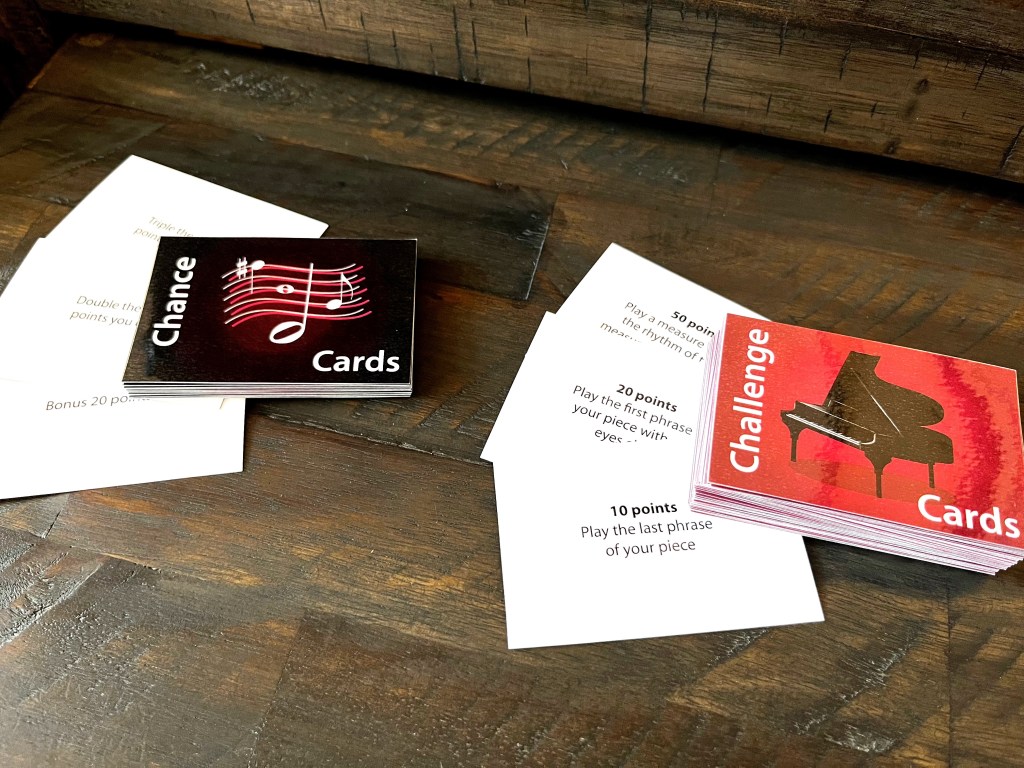
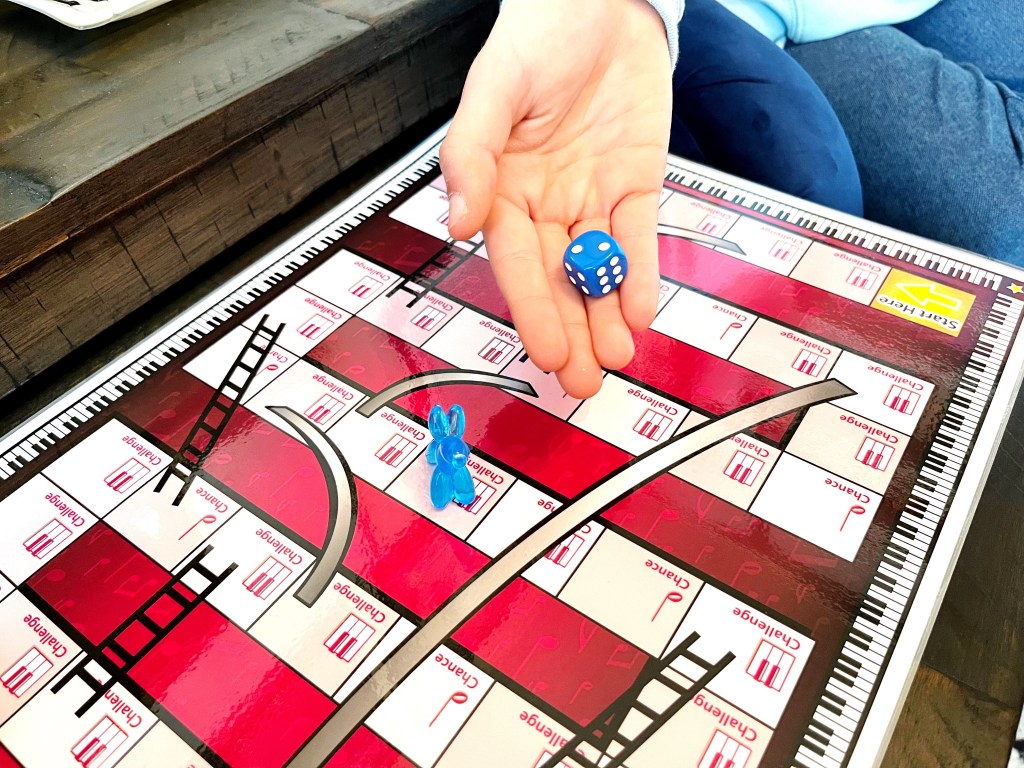
Chord Games
Kids love games and they are a great way to test their knowledge! Here a few games that can be played with things you probably already have in your studion!
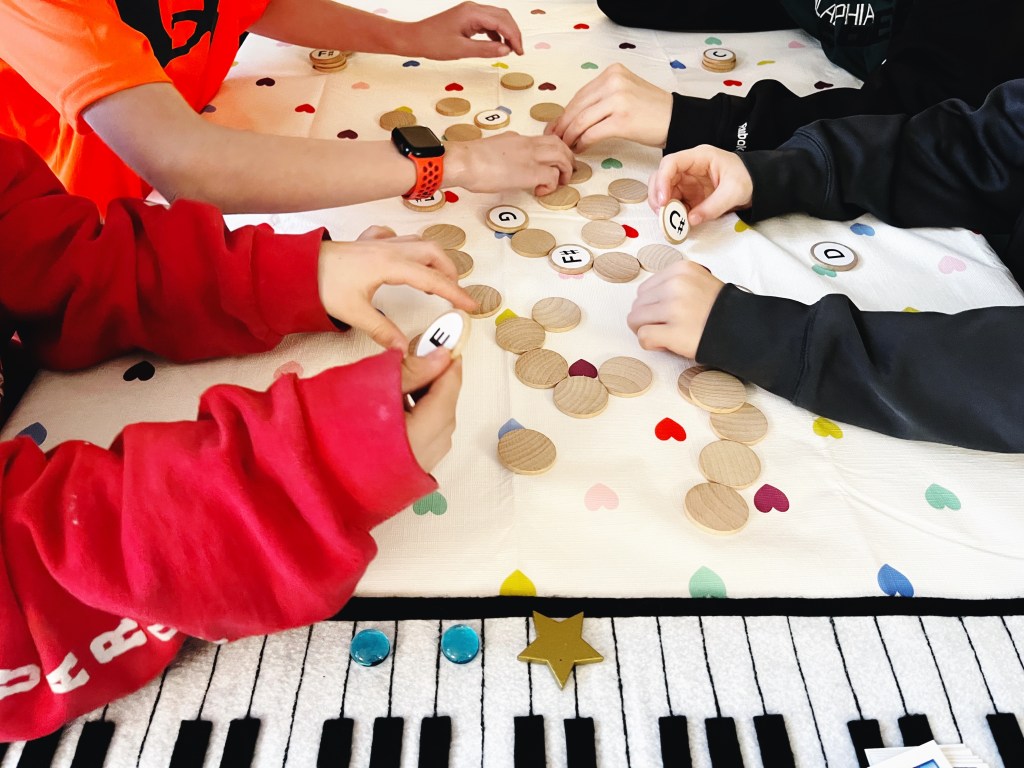
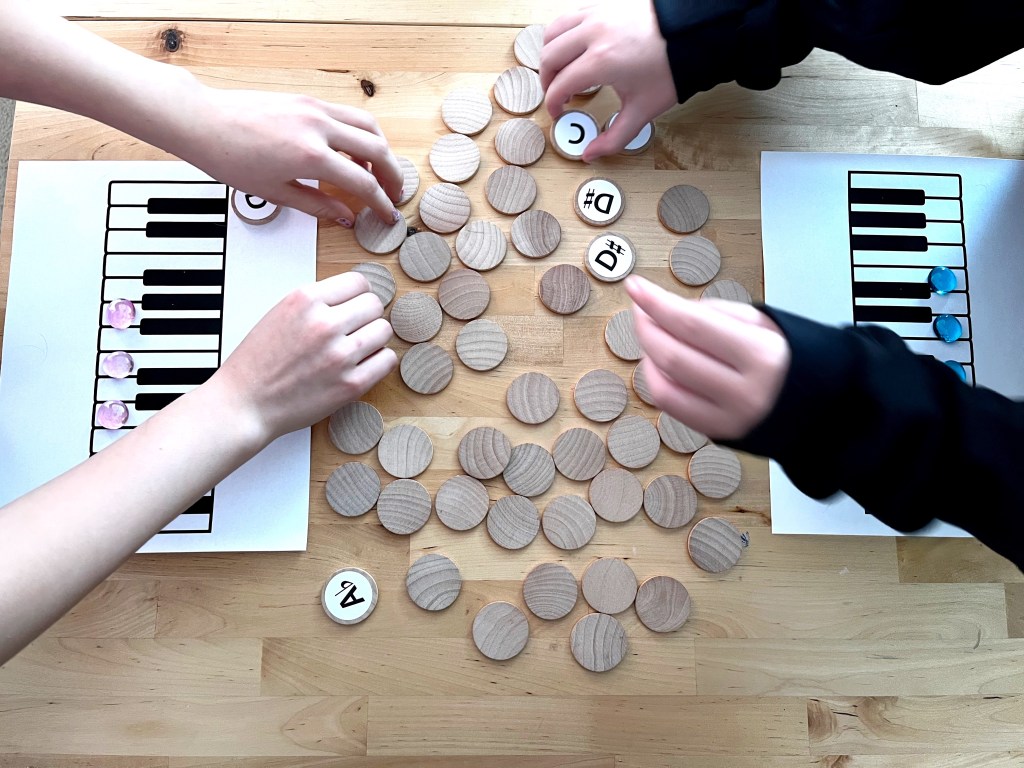
Chord Match/Memory
Using the keyboard chord cards and the chord symbols cards, select matching chords from each deck that the student is working on (for example, the C minor keyboard card and the C minor symbol card).
Lay them face down on a table. Play a game of Memory, where players take turns flipping over two cards, trying to make a match.
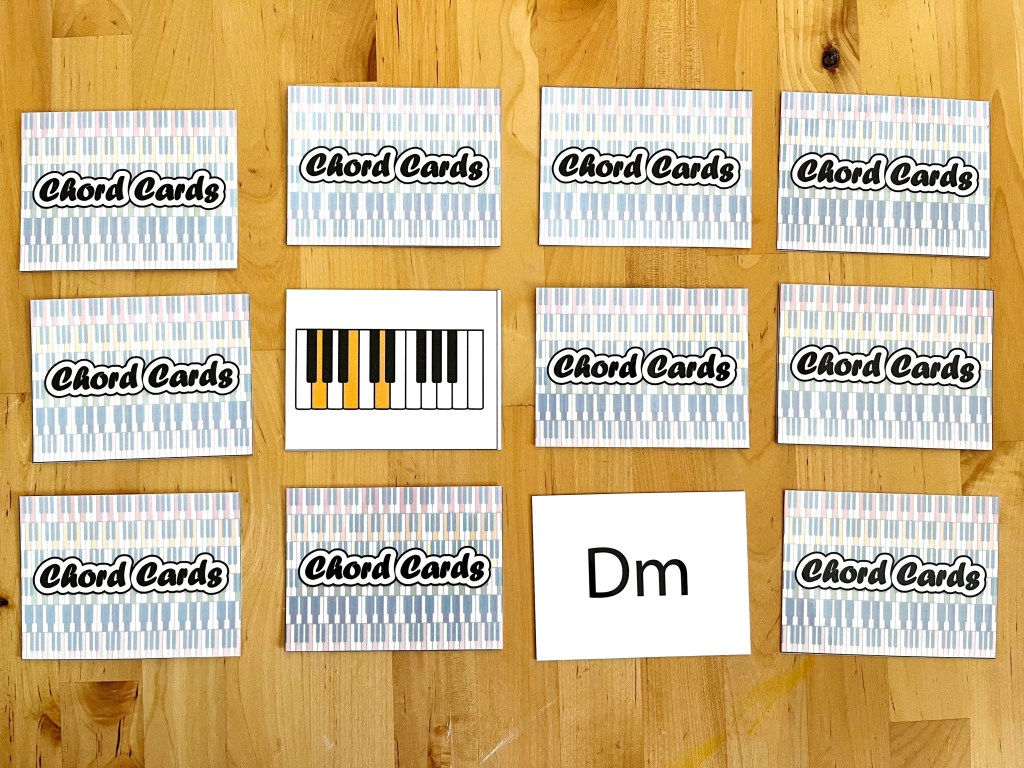
Whoever has the most matches at the end of the game, wins!
Speed Chords
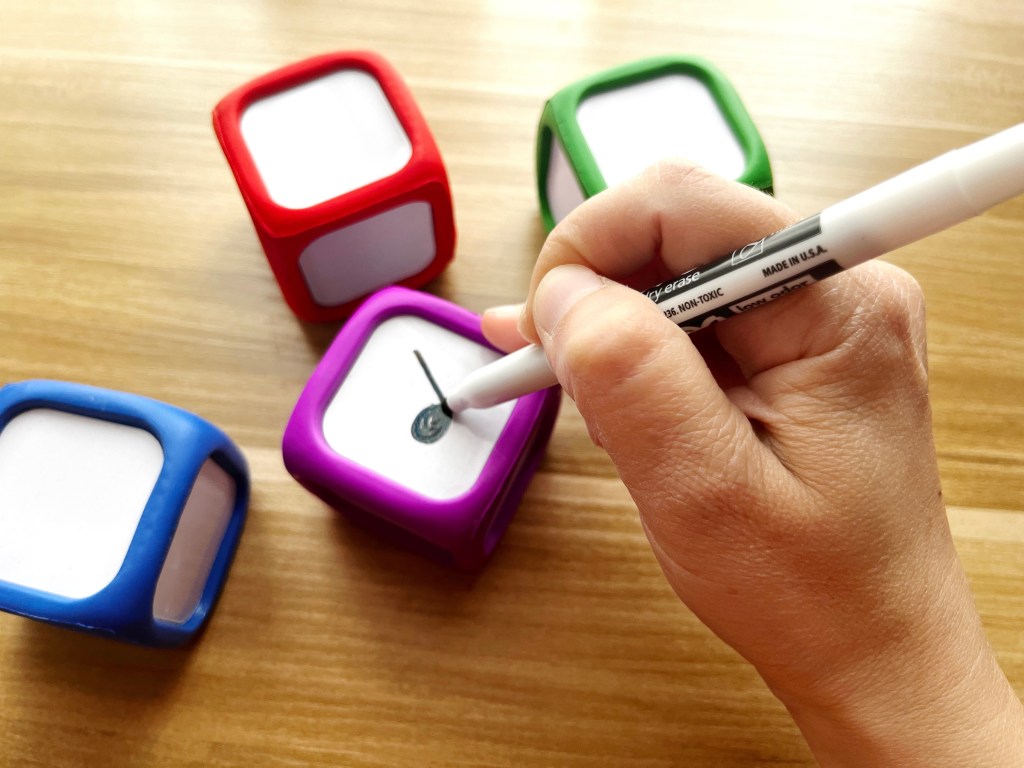
This game uses the chord cards, a stopwatch, dry erase board and marker, and mini-erasers.
Player 1 draws a chord card while Player 2 controls the stopwatch. As soon as the Player 1 flips over the card, Player 2 should start the stopwatch.
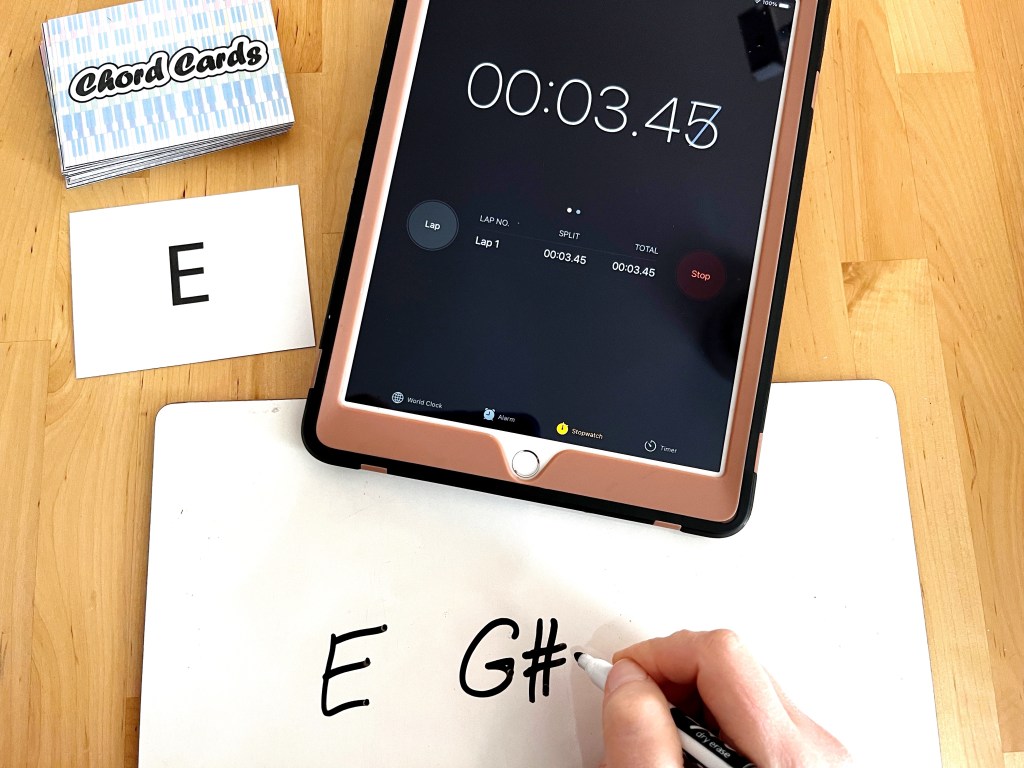
Player 1 must write out the chord on the dry erase board as quickly as possible. When Player 1 says, “Done!” Player 2 should stop the stopwatch. Player 2 checks Player 1’s work. If the chord is correct, Player 2 tells Player 1 how long it took for them to write the chord. The number of seconds is how many mini-erasers Player 1 must stack. For example, if it took Player 1 five seconds to write out the chord, they should stack 5 mini-erasers.

If the chord is incorrect, Player 2 unpauses the stopwatch and Player 1 must try again!
When Player 1 has stacked their mini-erasers it is then Player 2’s turn and the above procedure is repeated for Player 2 (with Player 1 now being in charge of the stopwatch). Play continues back and forth, with players adding more mini-erasers to their towers each round.
Players should work fast because whoever’s tower falls over first loses!
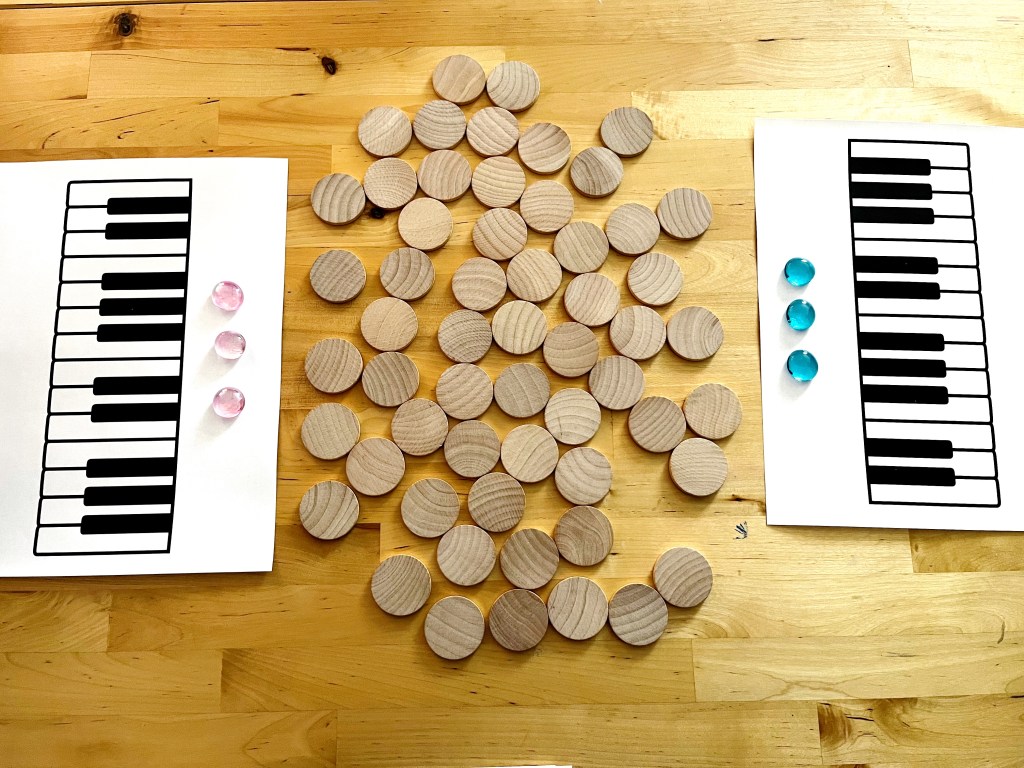
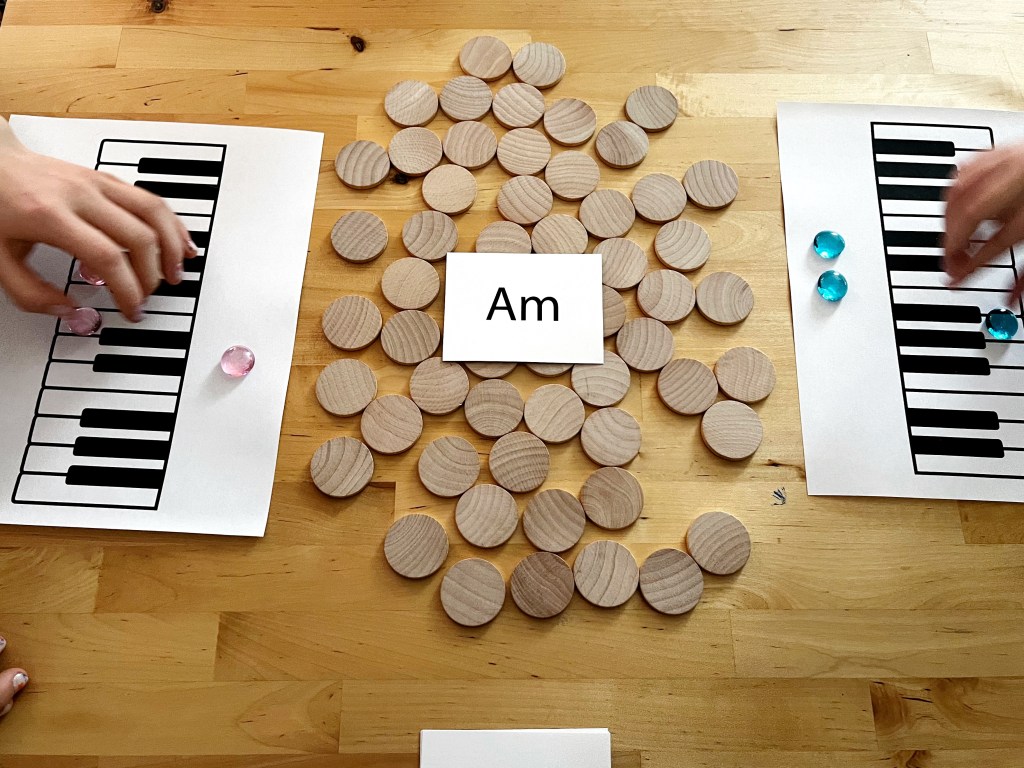
Chord Relay
This is a fun group game! All you need are the chord cards, two dry erase boards, and two dry-erase markers.
Divide the group into two teams and have them sit in two lines. Give each team their own set of dry-erase board and marker.
The first player of each line should have the board and marker. The teacher hands a chord card to the first player of each team and says, “Go!” The two players must write down the pitches that make up their chord as quickly as possible.
When they have finished, they should pass the dry erase board and marker to the next player in line. The teacher should then give the second player a new chord card.
Play continues down the line until all the players from one team have had a turn. The teacher then checks their work. If all their chords are correct, they win the round. If not, the other team has a chance to finish up. When they are done, the teacher will check their work. If all of their chords are correct, they win. If not, the team with the fewest mistakes is the winner.

- Three-Chord Dash
Boost your students’ chord skills with this fun, fast-paced game! In Three Chord Dash, students race to build their chords quickly and accurately. Who will be the fastest?! On your mark, get set, go! - Chord Snowblast
Build chords and collect points while trying to avoid the snow blast! Kids will test their knowledge of building chords AND they will actually be hoping to get all the chords with sharps and flats!!

Let’s stay in touch, join the list!
As a “toucan” of our appreciation download a free set of note flashcards (link in our Welcome email)!
We are a participant in the Amazon Services LLC Associates Program, an affiliate advertising program designed to provide a means for sites to earn advertising fees by advertising and linking to Amazon.com. As an Amazon Associate we earn from qualifying purchases.