October, November, and December seem to be three of the four busiest months of the year (along with May here in the States because of all the end-school-year activities). But despite all that, my piano families love our annual Christmas Concert in early December and were unanimous in keeping it when I offered to do a Halloween recital instead (my thoughts were to ease up their December schedules but they shot me down LOL).
This is a small recital where my students perform only one Christmas carol and that carol is a duet or ensemble piece played alongside another student, family member, or friend.. their choice! We’ve had not only piano duets but performances with violins, drums, guitars, flutes, saxophones, and even voice! I love the creative ways my students find to involve their collaborators in sharing music and the holiday spirit with others! It is such a special evening!
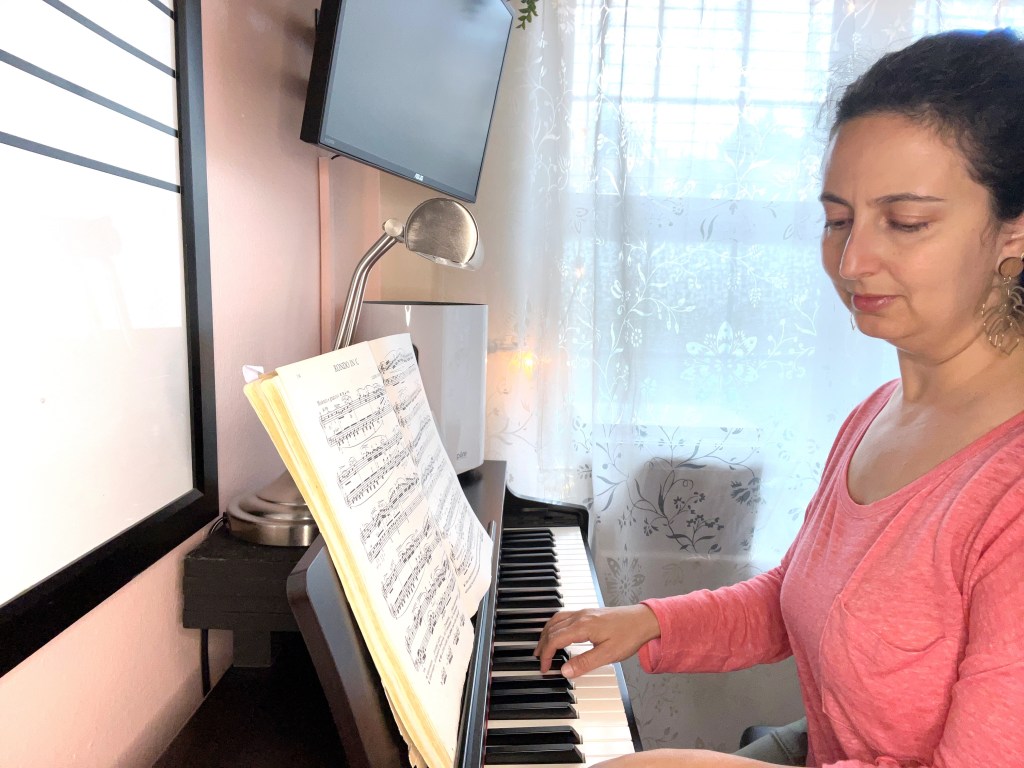
We usually start learning the Christmas carol to be performed in September or October (depending on the complexity of the piece). But the weeks leading up to the concert are critical for getting the piece performance ready.
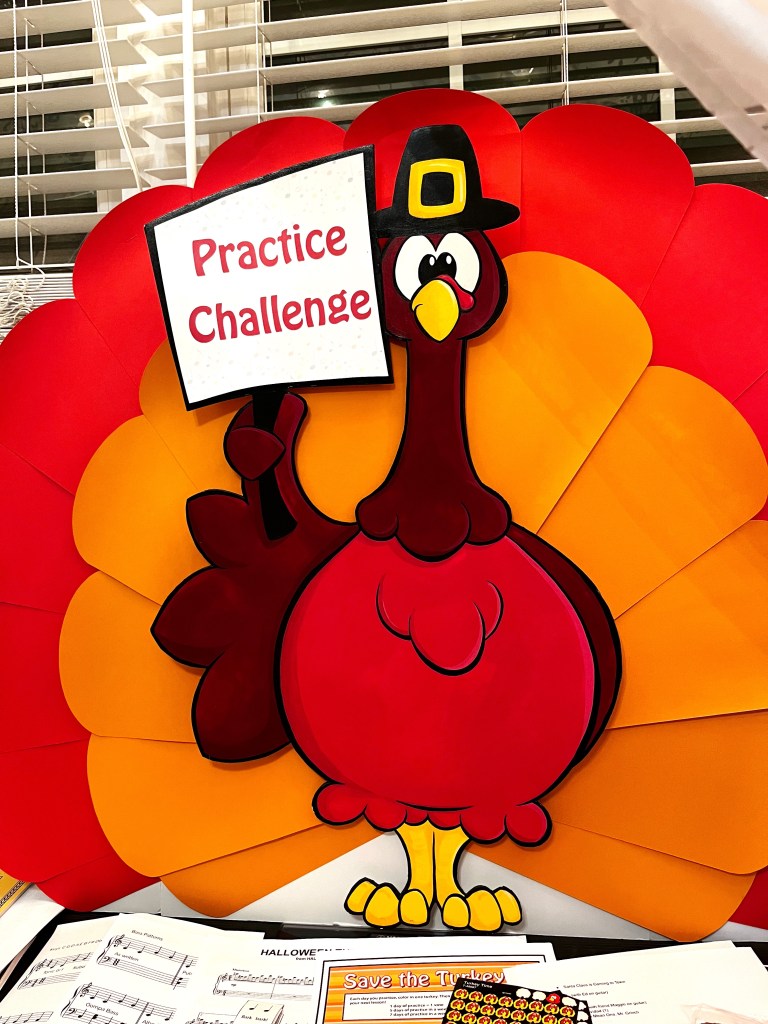
That’s where our annual “Save the Turkeys!” Practice Challenge comes in! My students LOVE this practice challenge (even my teens!) and are always so eager to meet the turkeys. They earn votes for their favorite turkey(s) by practicing, and the turkey with the most votes at the end of the challenge gets symbolically “adopted” by our studio! It’s a fun way to encourage more intentional practice while also supporting a good cause.
Let’s get into the details of the practice challenge:
- How to Set up the Practice Challenge
- How it Works
- My Visit to Farm Sanctuary
- Let’s stay in touch, join the list!
How to Set up the Practice Challenge
Farm Sanctuary holds an annual Adopt a Turkey Project. It is a fundraiser that helps support their mission of ending farm animal cruelty. The money goes towards supporting the everyday needs of the animals they rescue (including food, bedding, shelter, and veterinary care) as well as their efforts to build public awareness, education projects, advocacy, and the direct rescue of animals suffering abuse.
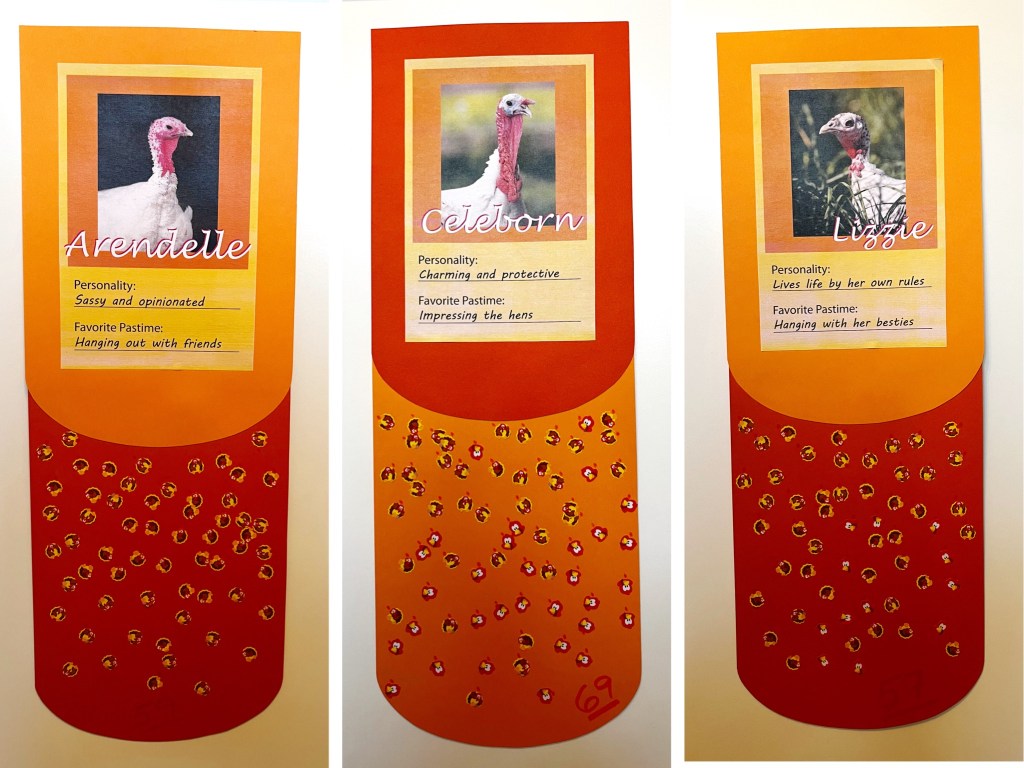
Each year, five turkeys are selected from their flock to be their ambassador turkeys for the fundraiser. On the Adopt a Turkey Project website they provide each turkey’s backstory along with their personality traits (I never tell the kids their backstories… they are heartbreaking… We only concentrate on their cute personalities!).
I print out a photo of each turkey along with their personality traits and favorite pastimes then cut them out.
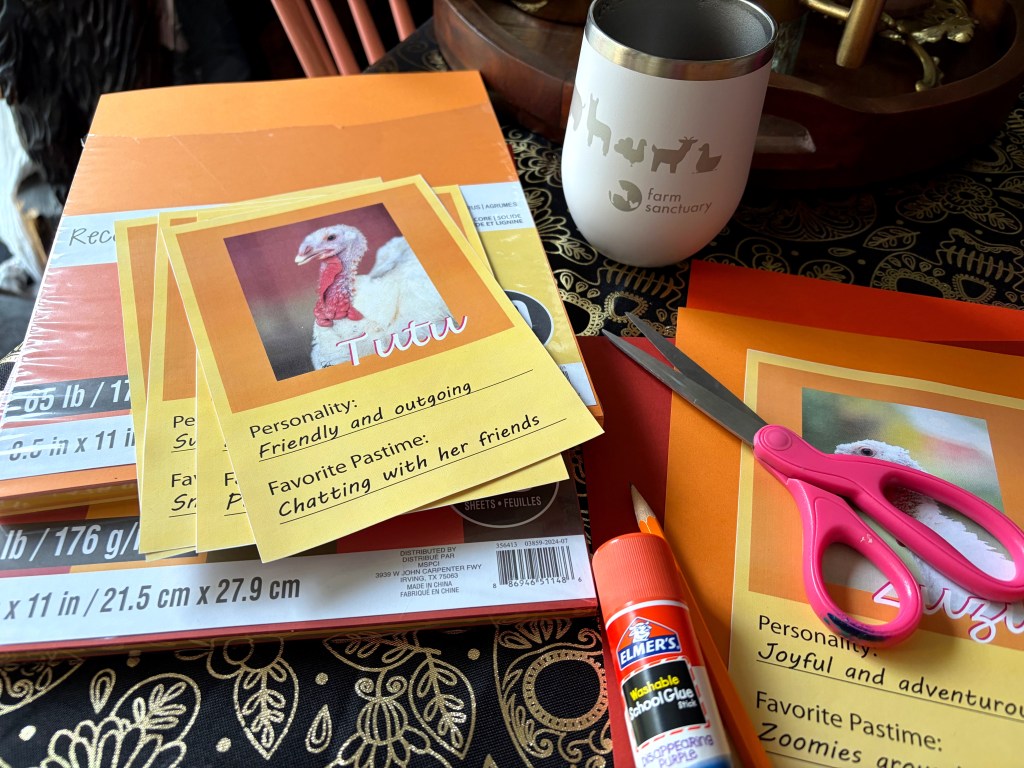
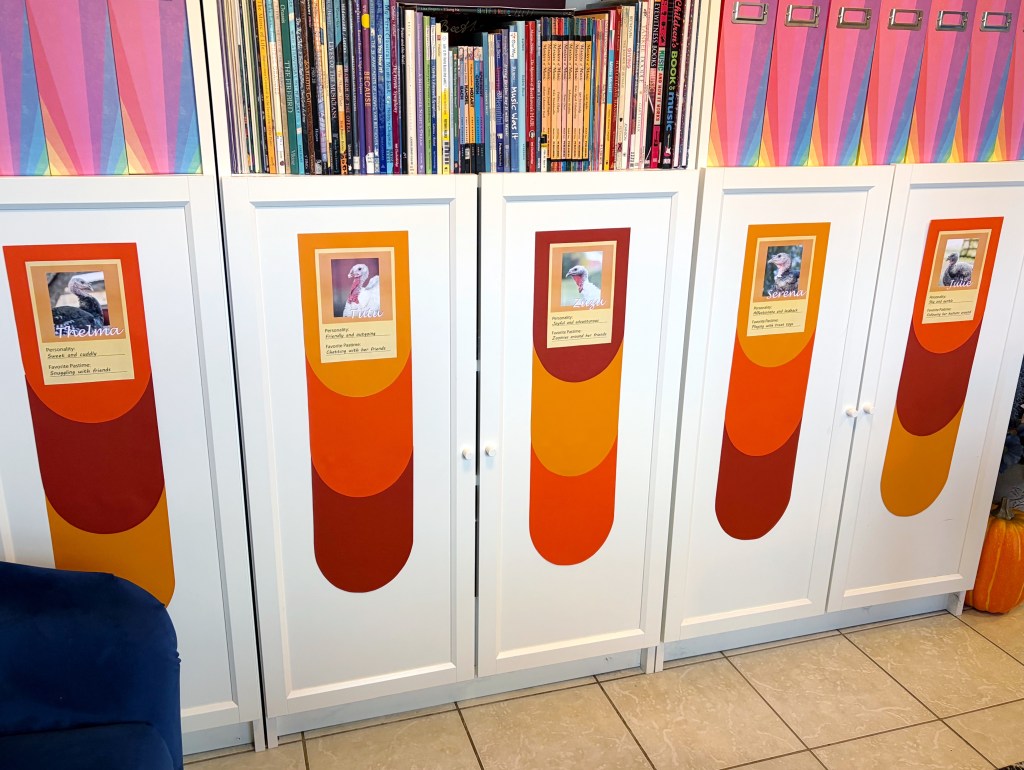
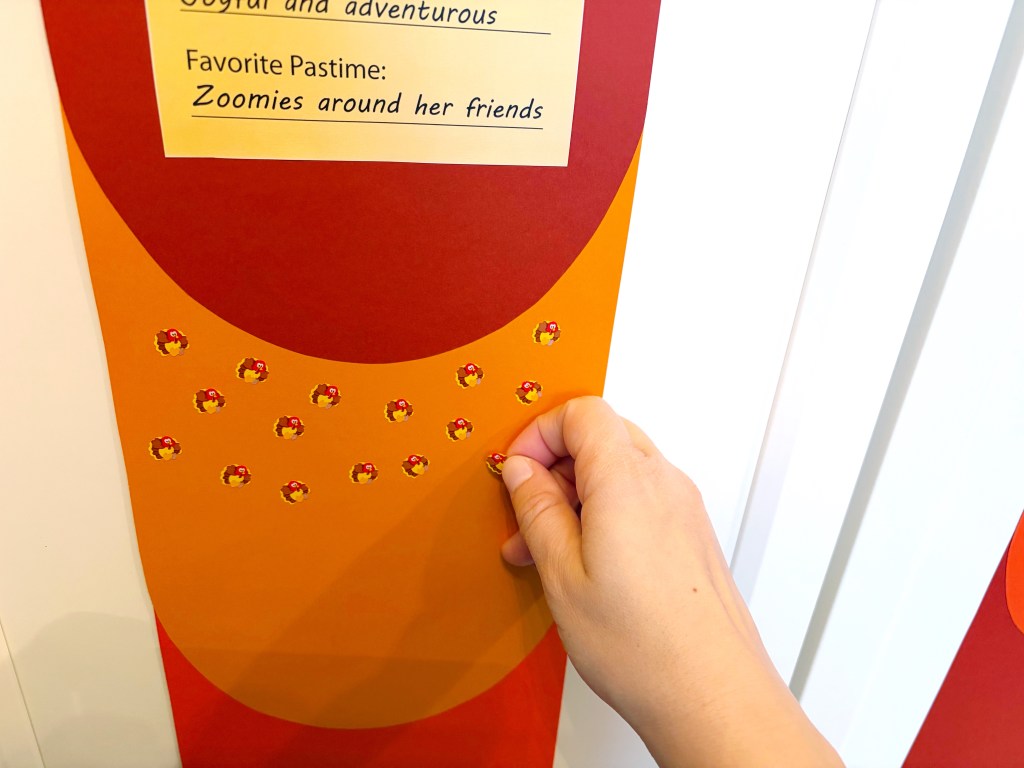
Using orange cardstock, I cut out fifteen feather-like shapes (three feathers for each turkey). I glue the turkeys to a feather and then glue two feathers below it. These feathers are where the kids will place their votes.
Then I hang the feathers in my teaching studio.
Next, I then print out my “Save the Turkeys” practice tracker, one per student. Because I don’t want to overlap Halloween and Thanksgiving too much, the practice challenge runs for just three weeks.
If you would like to do your own “Save the Turkeys” practice challenge, you can download the free practice tracker in the Toucan Piano shop!

I always send out an email to my piano families the week the students will be receiving their practice charts. In the email I explain the practice challenge, give them a quick background on Farm Sanctuary’s mission, and a link to an additional fun activity: the Who’s your Turkey Twin? quiz.
Each year Farm Sanctuary provides this short and endearing quiz on their website (this year one of the questions was “What is your dream job?” And one of the possible answers was music teacher!!).
The kids who decide to take the quiz always want to know who my turkey twin is. This year my turkey twin is Serena:
“Like Serena, you are quite affectionate. You have uttered the phrase, “I’m a hugger!” on more than one occasion, and people love you for your warmth! You are known to others as laidback, charming, and fun to be around.” (Source: Farm Sanctuary)
How it Works
At our first lesson of the practice challenge, we meet the turkeys and I explain the challenge to them. I also make a point of saying that all the turkeys are safe and happy no matter which one wins (one year a student thought that the others would be eaten, so I always make sure to add that they are all safe no matter what before any questions pop up!).
Each student then receives a “Save the Turkeys” practice tracker.
For each day they practice, they color or check off a turkey on the practice tracker.
At our next lesson, we tally up the number of days they practiced that week to determine how many votes they will be casting for the turkeys:
- 1 day of practice = 1 vote
- 5 days of practice in a week = 5 votes plus 2 bonus votes (7 votes total)
- 7 days of practice in a week = 7 votes plus 4 bonus votes (11 votes total)
The bonus votes are extra incentive to keep the practicing going!

Once we tally up the votes for the week, the student then receives Turkey Stickers representing their votes (for example, 4 votes equals 4 turkey stickers).
The student can then place the stickers on the feather of their chosen turkey (or turkeys! My students usually have multiple favorites and want to distribute their votes).
At the end of the three weeks and after all the votes have been cast, I count all the stickers for each turkey. The turkeys with the most stickers/votes is our winner!
(Side note: I usually keep a spreadsheet and write down how many stickers each turkey is getting along the way. It’s SO much easier than counting the stickers at the end.)
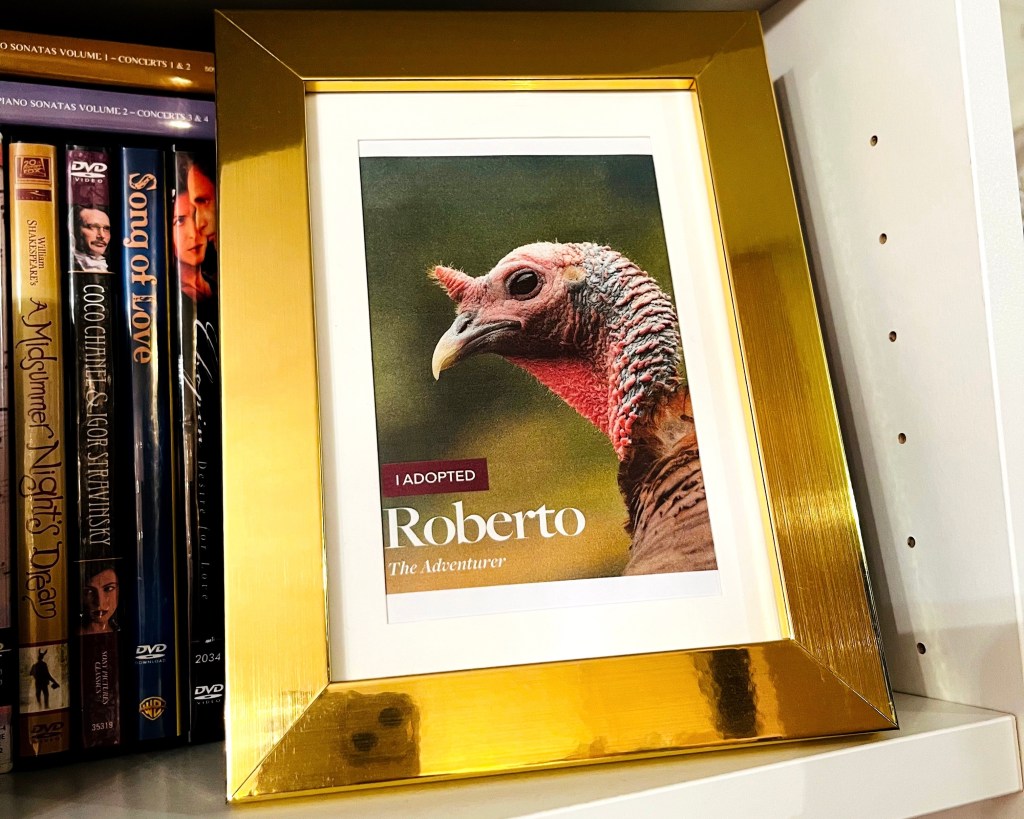
Before Thanksgiving, I visit the Adopt a Turkey project website and symbolically adopt the turkey with the most votes (i.e., make a donation in that turkey’s name).
Farm Sanctuary then sends me a digital adoption certificate, which I print out and place in a gold frame on my book case in my teaching studio. The winning turkey is our studio mascot for the year and watches over us as we learn.
The “Save the Turkeys” practice challenge has become a fun, annual tradition at my studio and the kids are always so excited to meet the new turkeys each year.
My Visit to Farm Sanctuary
I started this practice challenge back in 2018 and it is by far my students’ favorite practice challenge. They would often ask me if I had ever met the turkeys…
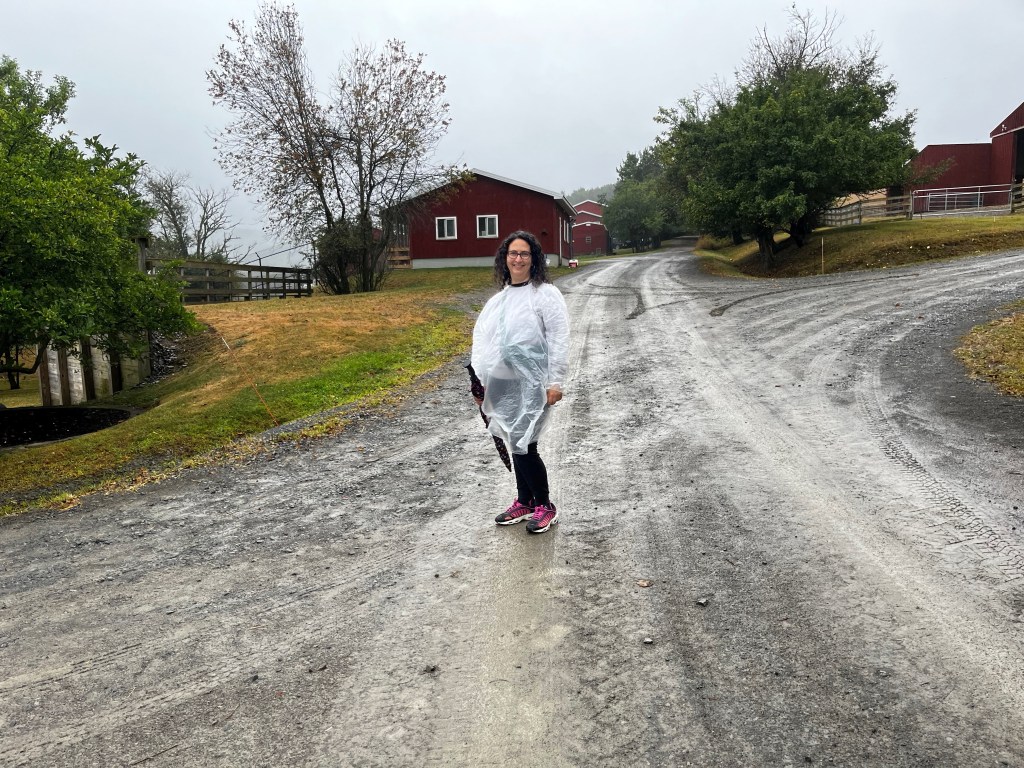
This past summer I had the enormous pleasure of visiting Farm Sanctuary’s Watkins Glen location in New York State!

Serendipity is such a wonderful thing! We were in Watkins Glen to visit the Watkins Glen State Park and its beautiful waterfalls (it did not disappoint! What a unique and gorgeous place!).
We were looking for more things to do in the area (we already had the Corning Museum of Glass on our list but we still had a morning to fill). I asked ChatGPT for some suggestions of activities in the Watkins Glen area and Farm Sanctuary popped up on the list.
I literally did a facepalm… How did I not put 2 and 2 together?! I immediately reserved a tour and it was the perfect way to finish up our vacation!

It was a rainy morning but the rain stopped during our hour-long tour. And we lucked out; we were the only ones in our group tour and we basically got a private tour!
As we walked the grounds, we learned about the history of Farm Sanctuary and visited Hilda the sheep’s grave (Farm Sanctuary’s first rescue).
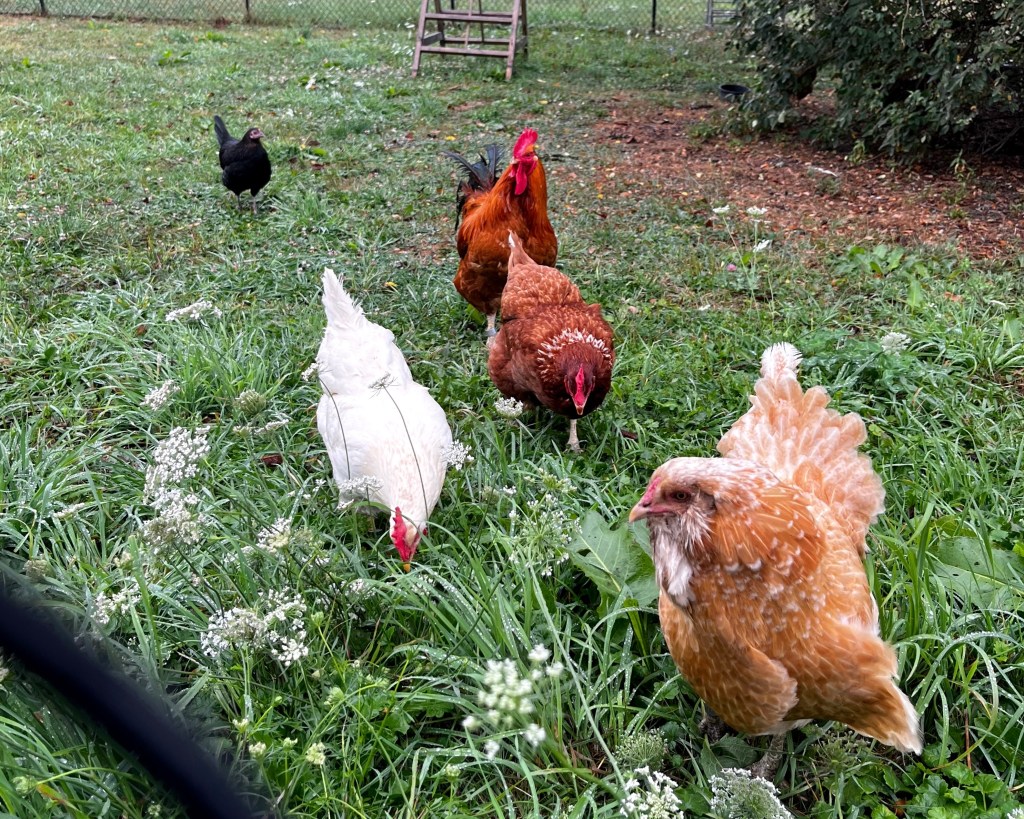
We got to meet and pet cows, sheep, goats, and pigs. We saw the turkeys (!!!), chickens, geese, and ducks. We learned about their backstories and how they are thriving and living their best lives on the farm.
I had always wanted to visit the farm and it was such a dream come true! They even had a turkey tote that I snatched up in the gift shop! It had the names of past turkeys from their Adopt a Turkey project, including my all-time favorite turkey, Roberto! (I don’t know, there is just something so endearing and funny about a turkey named Roberto. And his personality was just so cute!).

I highly recommend a visit to Farm Sanctuary if you are in the Watkins Glen area or their Southern California location.
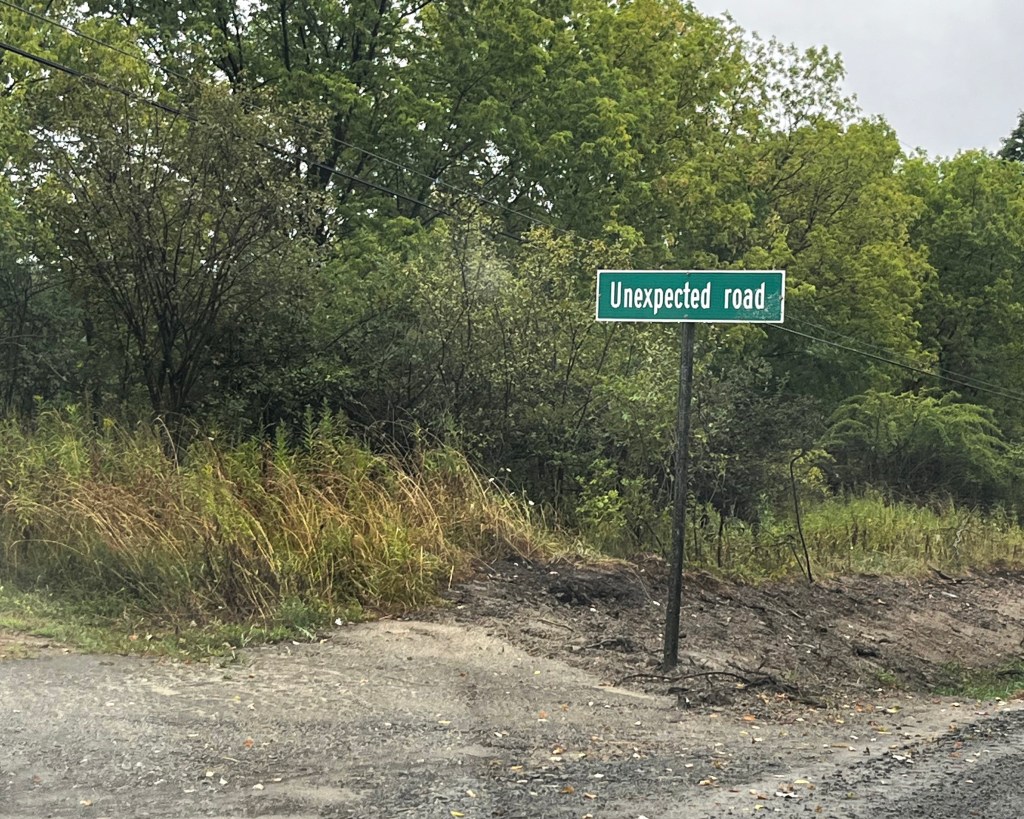
We got a little laugh upon leaving the farm when we saw this street sign for “Unexpected Road”. It was a dirt road that was best not to go down because of all the mud from the rain. But it got me thinking about how compassion and acts of kindness (like the founder’s impulse decision to rescue a sheep left for dead) can completely change the course of our lives and lead us to a new purpose.
I am deeply thankful for the unexpected twists that led me to teaching piano. I am enormously grateful for my wonderful students and families and I look forward to keeping our “Save the Turkeys” practice challenge tradition going strong for years to come!
Happy Thanksgiving!!!

- 25 Piano Gifts for Young Musicians
Looking for a gift to inspire your child to pick up their instrument and practice more in the new year? The list is a mixture of useful and fun stuff that kids can use for their practicing or to show off their piano pride! - Slurs & Ladders: The Recital Prep Game
If there is one game my students beg to play year after year (and sometimes when we don’t even have a recital anytime soon!) is this recital prep game. It’s a great de-stressor and it shows students how prepared they are to perform while also injecting some fun and joy back into those recital pieces that may be sounding a little tired. - Positive Notes: Recital Encouragement
Spread some positivity and encouragement to your students this recital season with these adorable Positive Notes! They will help remind them of how hard they work and how much you believe in them. - Snowball Rhythm Game
Who will be able to make the longest rhythm train before the dreaded “Busted!” stick is revealed?! Kids will practice their rhythms while also practicing their aim in this fun toss game. - Chord Snowblast
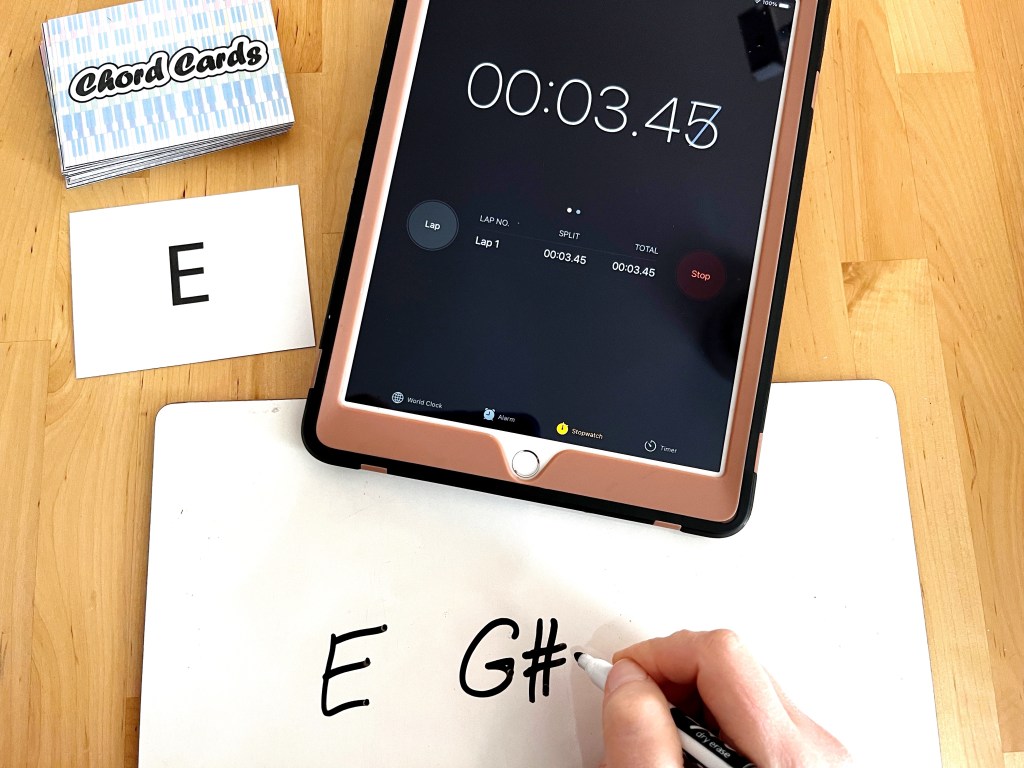
Build chords and collect points while trying to avoid the snow blast! Kids will test their knowledge of building chords AND they will actually be hoping to get all the chords with sharps and flats!!

Let’s stay in touch, join the list!
As a “toucan” of our appreciation download a free set of note flashcards (link in our Welcome email)!
We are a participant in the Amazon Services LLC Associates Program, an affiliate advertising program designed to provide a means for sites to earn advertising fees by advertising and linking to Amazon.com. As an Amazon Associate we earn from qualifying purchases.