Starting piano lessons should feel exciting—not stressful. But I found myself frustrated when students showed up without the basic supplies they needed. Instead of spending precious lesson time chasing down binders and notebooks, I decided to simplify everything with a new student packet. Now, kids feel like they’re getting a “piano swag bag,” and I have peace of mind knowing we can dive straight into the music from day one.
I started charging a new student registration fee (approximately one-third of a month’s tuition) and purchased all the materials to give to the student at their first lesson. The fee covers the materials as well as my time to prepare it.
With everything ready to go for our first lesson, we can fully concentrate on the fun of learning!
Let’s take a closer look at what I give my students at their first piano lesson!
New Student Packet
I will always cater the contents of a new student packet according to the age and experience of the student. The items below represent what every elementary-age beginner student receives at their first lesson at my studio. If they are older or a transfer student, I will adapt the packet to their needs.
Tote Bag
If you decide to use nothing from this post except one thing, let it be a tote bag! My students very rarely forget their books and I attribute that to the tote bag.

I use 13.5”x13.5” canvas tote bags and I personalize them using my Cricut and my own designs. These totes are the perfect size to fit piano books, binders, and all sorts of odds and ends. If you don’t own a Cricut or want a simpler way to make it “a piano bag”, you can add a charm to the strap or iron on a small piano patch (this one is so cute and so is this one!) to give the bag some extra pizzaz.
Kids and parents know that this is their piano bag and it has a single purpose: keep their piano materials together in one place. When kids are done practicing they can place their books back in their tote (which is an especially useful habit when siblings are taking lessons and have different books). And it’s easy to grab on the way out the door… no one has to hunt down a missing book!
Having a dedicated place for their piano materials is a life saver and helps kids be responsible for their belongings and take ownership over their piano journey.
Binder
Every student receives a 1.5-inch binder. A pet peeve of mine is seeing loose papers all over the place… I’m not the most organized person in the world, believe me, but I do like having all my music together and in order.
I place the Studio Calendar in a sheet protector at the front of the binder for easy reference (plus the sheet protector helps create a buffer between the cover and the pages inside the binder, which helps avoid tearing).
The binder is the perfect place to hold the theory sheets I make as well as studio-licensed music, free music downloads, or digital music students purchase.
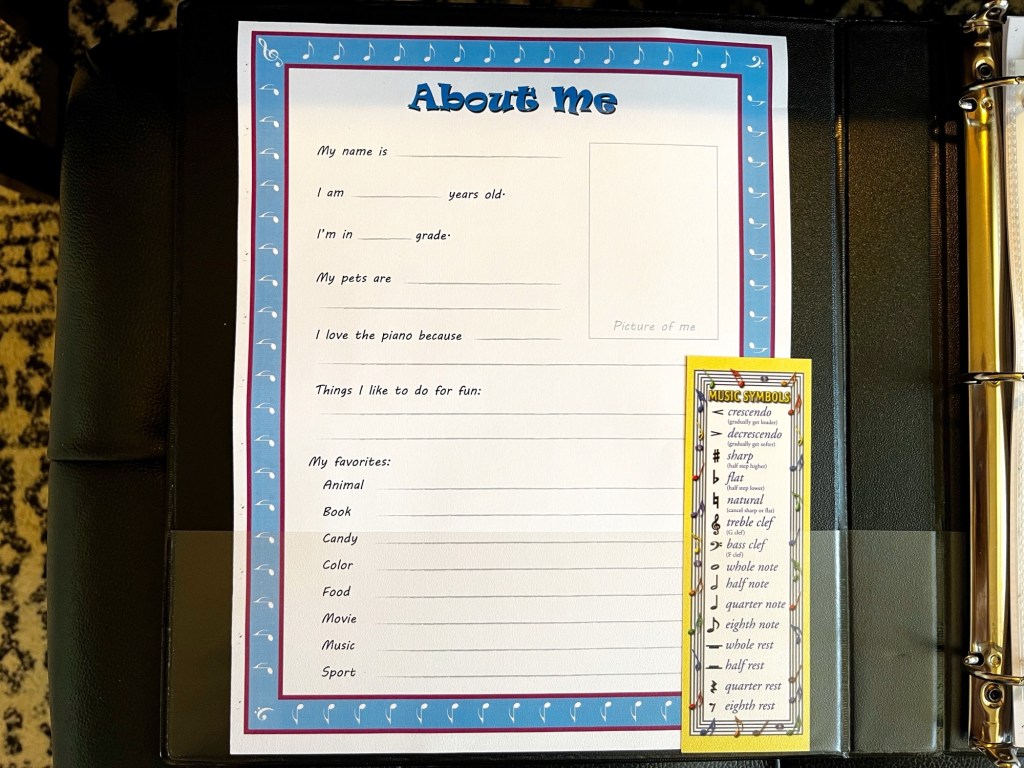
Younger students also receive an “About Me” worksheet to take home at their first lesson. It asks them simple things like what their favorite candy is, what they do for fun, etc., which can be great conversation starters in those initial lessons where we are building the teacher-student relationship.
Notebook
Notebooks are a catch-all for random things. Sometimes we use them to write out a song we are working out by ear or to explain a theory concept. They are great for those moments when you just need a piece of paper.

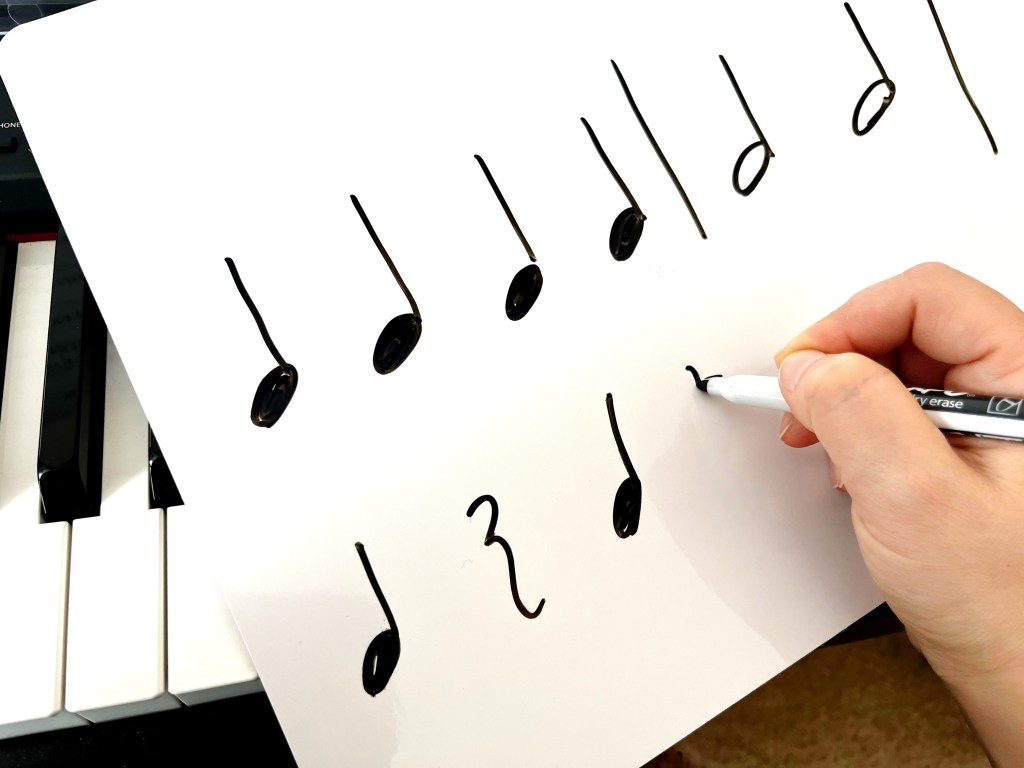
Manuscript Paper
I am a strong believer in putting pencil to paper. I think students focus better and learn more effectively when they are writing things out. I go into detail about why I consider manuscript paper one of the top practice tools a student can have in a this blogpost.
Every time a student finds a manuscript notebook in their packets, I can see their eyes light up… they love to receive it. I think it makes them feel like they are on the road to becoming musicians.
For beginners, we bust it out when they start learning to read music (and sometimes when we open the notebook for the first time, I find some notes in it already because they got excited to use it! That always makes me smile). We will write out notes and do simple compositions to practice using the new notes they are learning.

Another possibility is to use single sheets of manuscript paper instead of purchasing a dedicated notebook. These printed sheets can be placed in the student’s binder. The Toucan Piano Manuscript Paper and Rainbow Manuscript paper available as free printables in the Toucan Piano shop are great options!
Pencil Pouch
A pencil pouch is useful for storing pencils and other practice tools I give my students. It keeps everything in one place instead of swimming around inside their tote bags.

Pencil and Erasable Colored Pencils
I tell my students that if they only have one tool at their piano, it must be a pencil! I have a whole blogpost about why I think the humble pencil is the most important practice tool for students.
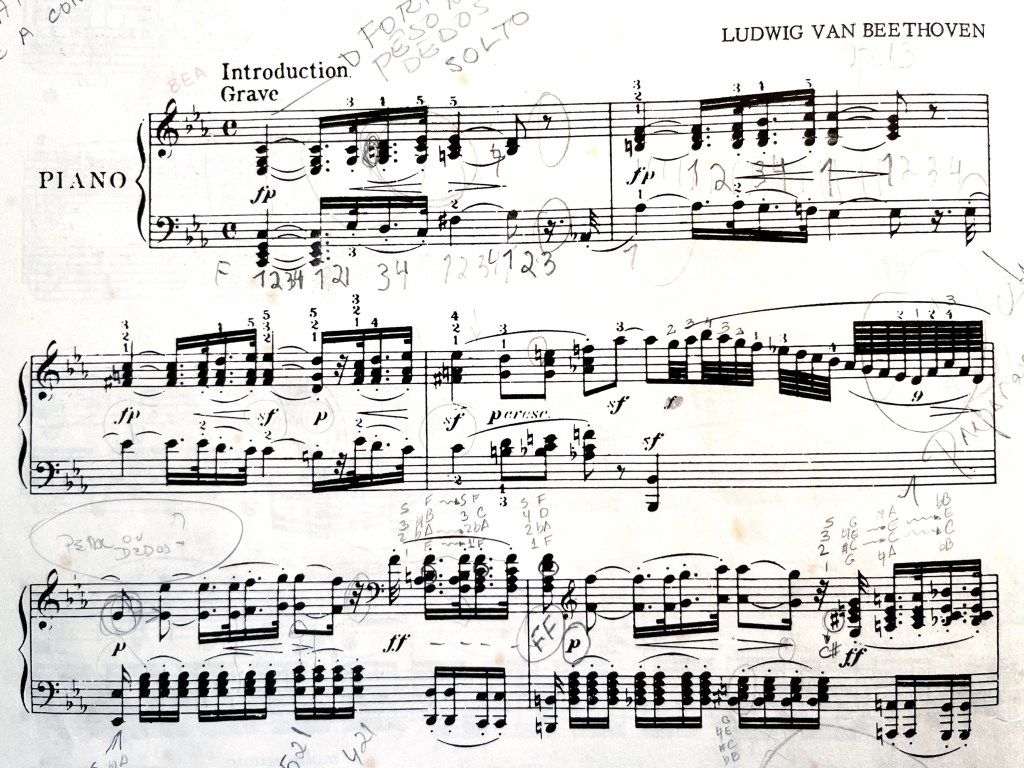
As mundane as it may sound, a pencil should always be available at the piano. It can be used to:
- Write in or circle notes that need fixing
- Write in the proper rhythmic counting
- Section off measures or phrases that need extra practice
- Circle dynamic markings that need to be incorporated
- Refine the pedal markings to get the desired sound for a passage
- Write in performance reminders
- Write in ornamentation
- Keep track of repetitions (especially for younger and beginner students)
- And this list could go on and on!
I also provide my students with a few erasable colored pencils, because color makes the annotations in the score more fun for the kids and we can color code which helps kids recognize patterns or specific notes we may be learning. I also love for kids to take ownership of their learning and write things in, search for things, and highlight things on their own. Using writing tools that are erasable is key!
Practice Aids
I give my students a bunch of little extras to help with practicing at home. As we work on pieces during our lessons I show them how to use the practice aids at home to help them work through difficulties and build good practice skills. I usually include:
- Pompoms: Useful for reminding students to keep a rounded hand-shape when they play (we place them on the keys under the student’s palms and we are extra careful not to squish Mr. Fuzzy!)
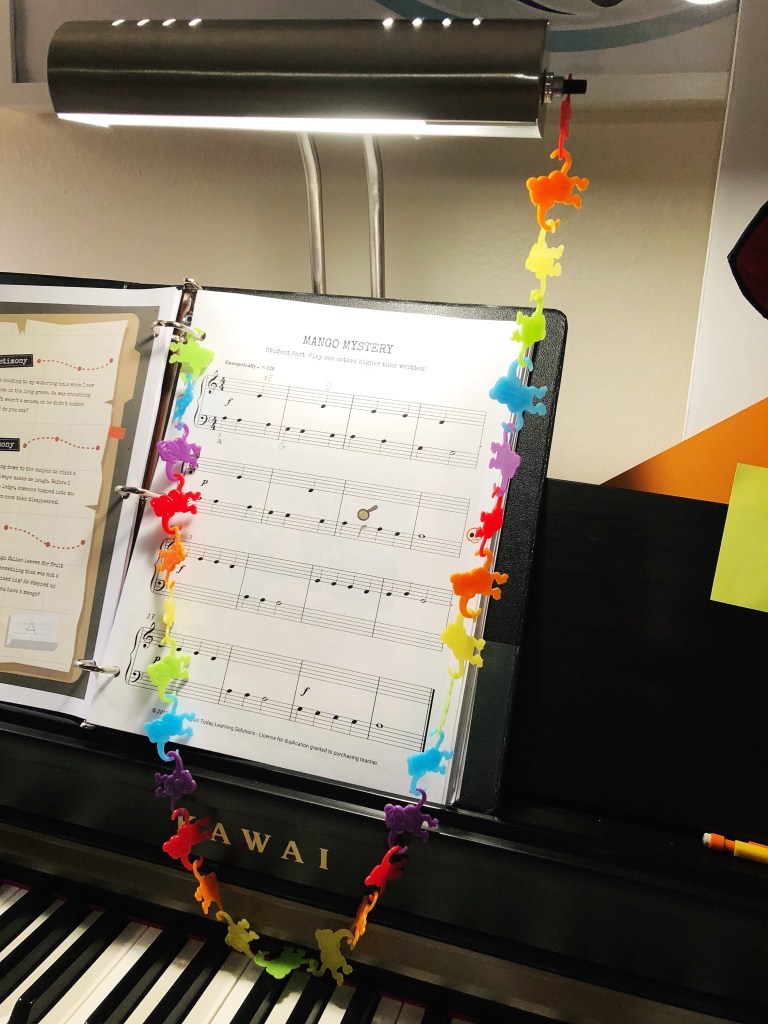
- Barrel Monkeys: These little guys are fantastic for doing repetitions (I used them all the time in my lessons!). I hang them from my piano lamp or a binder ring at our lessons and every time they play the passage correctly, they can add a monkey to the chain. But it they make a mistake, all the monkeys fall down.
- Mini-erasers: Check out this blogpost for lots of ideas for using them in lessons and at home.
- Die: A student can roll the die to determine the number of repetitions of a particular passage or to pick a random measure to start playing from in their piece.
Materials Parents Purchase
I provide all the extras to make lessons run smoothly, but I do require parents to purchase a few things for lessons:
Method Books
In my Studio Policy, it states that parents are responsible for purchasing all the lessons books and I like to set that in motion right from the beginning. Parents expect their kids to need books and it’s a much easier ask than the supplemental materials I provide through the registration fee.
In case you are wondering, my favorite Primer level books are from Alfred’s Premier Piano Course (I only use the Lesson book and the Performance book since I supplement a lot in the beginning with materials in the binder). I use these with every beginner elementary-aged student.
Practice Journal
I use a practice journal to help students remember which pieces they are working on each week. But it is so much more, really.

(Full disclosure: I designed and self-published the practice journal I use with my students because I wanted specific things from a practice journal that I wasn’t finding on the market).
What I love about using a practice journal:
- It’s a one-stop spot for kids and parents to find all the information about what is being practiced each week
- It is a space me to provide detailed practice instructions
- It is a log of which pieces we worked on and how long we worked on them
- It is a place to go over music theory and write out personalized theory exercises
- It is a place for students to write down questions that come up during practice at home
- It is a place for self-reflection and to keep track of different things they tried during their practicing
- It is a practice tracker (the journal has both a tracker for the week at the top of each weekly page as well as a tracker for the whole year at the beginning of the journal)
- It is a place for students to write down goals
- It is a place for students to keep track of the names and locations (book name, page number, etc.) of favorite pieces that they have completed
Keeping a practice journal is a great habit to instill in students from the very beginning.

Extra Tips
I’ll make a new student packet maybe 1-2 times a year, but even though I don’t make them quite as often as when I was building my studio, I still like to keep all my supplies on hand. I find it easier than having to check what I need to buy each time a new student signs up for lessons and it gives me time to wait to get some deals on some of the items.
Watch for Sales
I will usually visit my local big box stores after the kids are back at school to get some good deals on notebooks (I’ve purchased them for as little as 10 cents a piece in the past), binders, and pencils. Binders, especially, tend to be one of the more expensive items in my new student packets, so I definitely keep my eyes peeled for good deals on them.
I used to buy my tote bags from Jo-Ann Fabrics and Crafts (RIP Jo-Ann, you are very missed!) because I could use coupons (with a 40% coupon I could get three tote bags for under $8). Michaels craft store has been my new go-to for tote bags (sold in packages of 3 and I can use my coupons!) but Amazon sells them in larger quantities, which is helpful if I need to make a bunch of tote bags all at once.
Buy in bulk
Buying in bulk will generally save you money. If you have place to store all the little practice aids, definitely buy them in bulk (I originally bought a 500 pack of barrel monkeys years ago and I’m still working through them! But they were worth every penny, my students and I have really enjoyed using them).
Keep your Receipts
You should be keeping track of everything you purchase for your studio for tax season. I keep a simple spreadsheet where I write the date of the purchase, what was purchased (I have broad categories, like “Supplies”, “Books”, “Sheet Music”, etc.), the name of the vendor, and how much I spent. Then I tuck away the receipt in a bin so I have everything ready for filing my taxes for my piano business.

- Halloween Note-Reading Challenge
Every fall, when students return to lessons after summer break, I feel like we spend the first month just reviewing concepts and note-reading. The summer slide is a real thing… This studio-wide Halloween note-reading challenge gets things back on track. Only the best note-readers will survive the Zombie Pian-o-pocalypse! - Prac-Tris: A Videogame-Inspired Practice Challenge
Music teachers often wish their students would to step up their practice game. So why not turn it into an actual game? And not just any game, but a videogame-inspired practice game? Prac-Tris will have your students stacking practice days as they work their way to the top… of the board and their musical mastery! - Slurs & Ladders: The Recital Prep Game
If there is one game my students beg to play year after year (and sometimes when we don’t even have a recital anytime soon!) is this recital prep game. It’s a great de-stressor and it shows students how prepared they are to perform while also injecting some fun and joy back into those recital pieces that may be sounding a little tired.

Let’s stay in touch, join the list!
As a “toucan” of our appreciation download a free set of note flashcards (link in our Welcome email)!
We are a participant in the Amazon Services LLC Associates Program, an affiliate advertising program designed to provide a means for sites to earn advertising fees by advertising and linking to Amazon.com. As an Amazon Associate we earn from qualifying purchases.