Piano students don’t need a lot of accessories to practice… a quality instrument and sheet music is enough! But there are a few tools that make a practice session easier and more effective (and oftentimes more fun and engaging!).
I’m counting down my Top 7 Piano Practice Tools I think every student should have when they are on the bench (plus a bonus one at the end that you might not expect!).
Coming in at number 7 are:
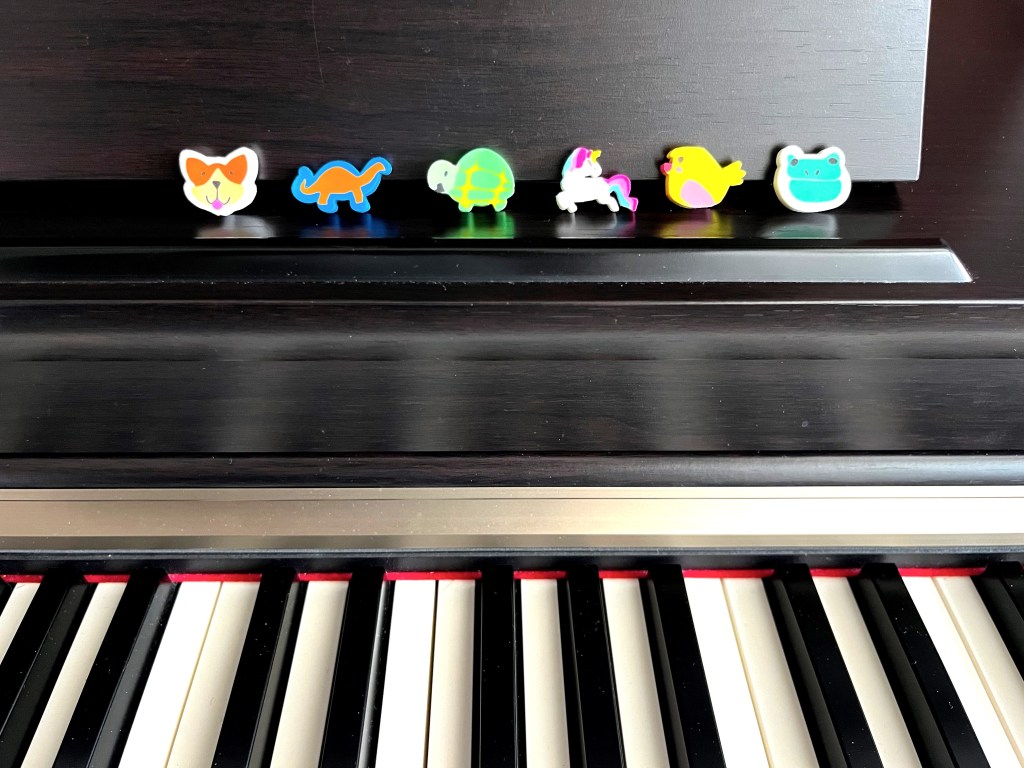
Mini-Erasers
I have a weakness for mini-erasers! They are so cute and so incredibly useful at the same time. Every time I pass the Target Dollar Spot or am wandering around the craft store, I look for new ones to add to my collection. I have mini-erasers for every season, every holiday, and everything in-between! I like to think that my students appreciate my attention to detail and my desire to match our games and activities with the time of year.

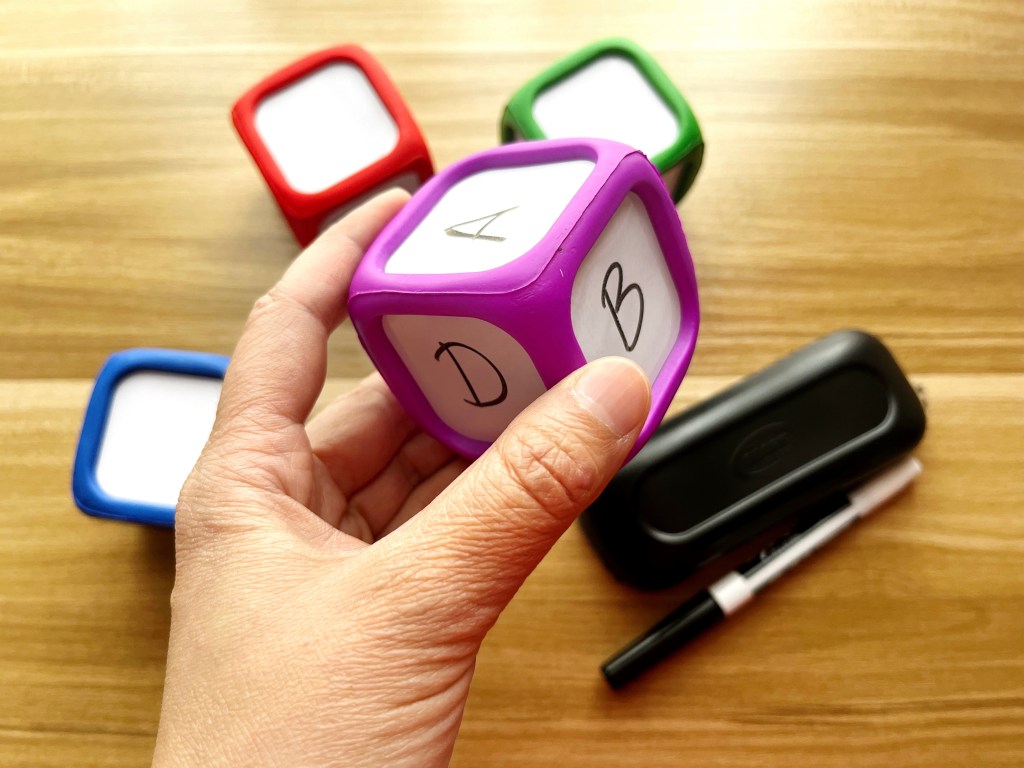
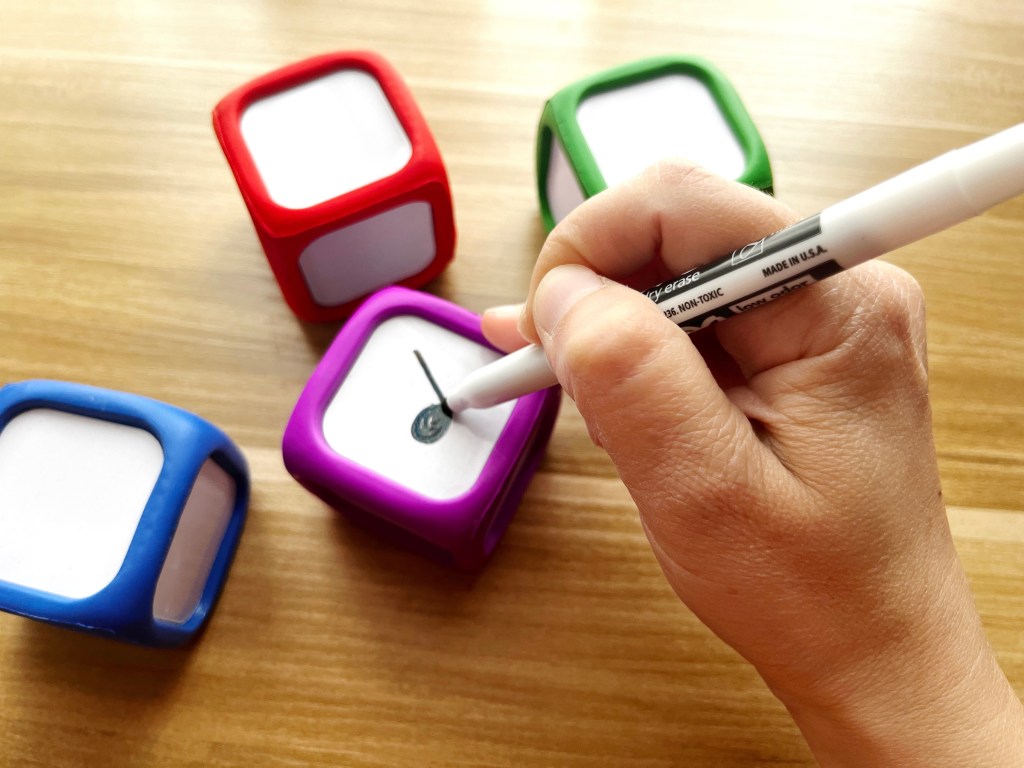
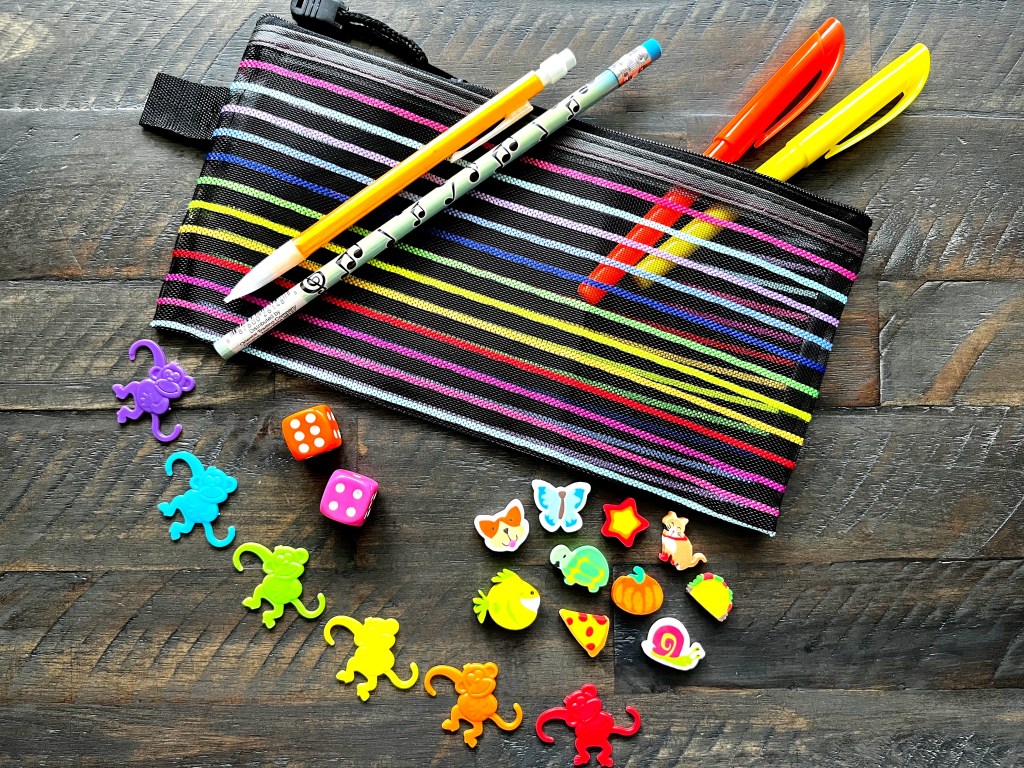
All of my students receive practice pouches when they start lessons (the cost is included in their Registration fee). Inside each pouch is: a music pencil, a mechanical pencil, 2 highlighters, a set of 6 rainbow barrel monkeys (all the colors of the rainbow, because we care about rainbow order!), 2 dice, and mini-erasers.
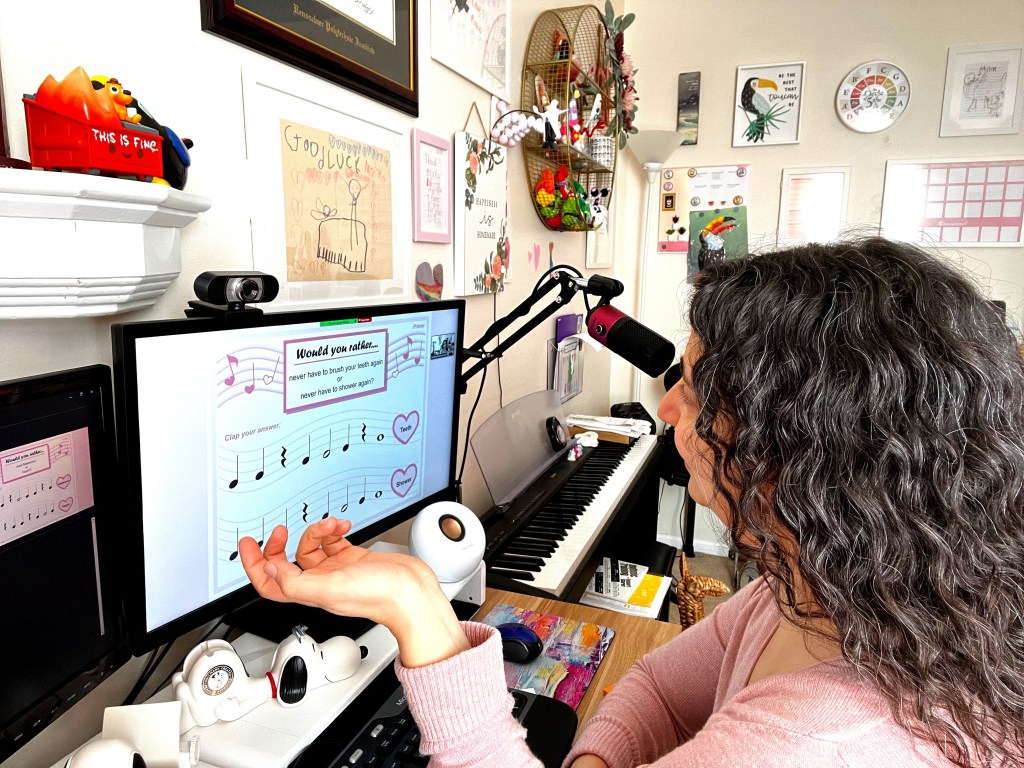
All of the items in the pouch are meant to be used at home for their practicing during the week and if we need to do a virtual lesson for any reason.
The mini-erasers are one of the items from the pouch that get used the most! As I said before, they are adorable but also very useful. During our lesson we go over how the student will use them at home during their practice time (based on what they need to work on that week).
Use Mini-Erasers at home for:
Finger Warm-Ups
This is a very simple exercise but SO effective at helping students gain control over their fingers and build speed.
Place your hand on the fall board of the piano or on a table. Your hand should be held in a proper piano hand posture. Place five erasers on the fall board or table, one in front of each finger.
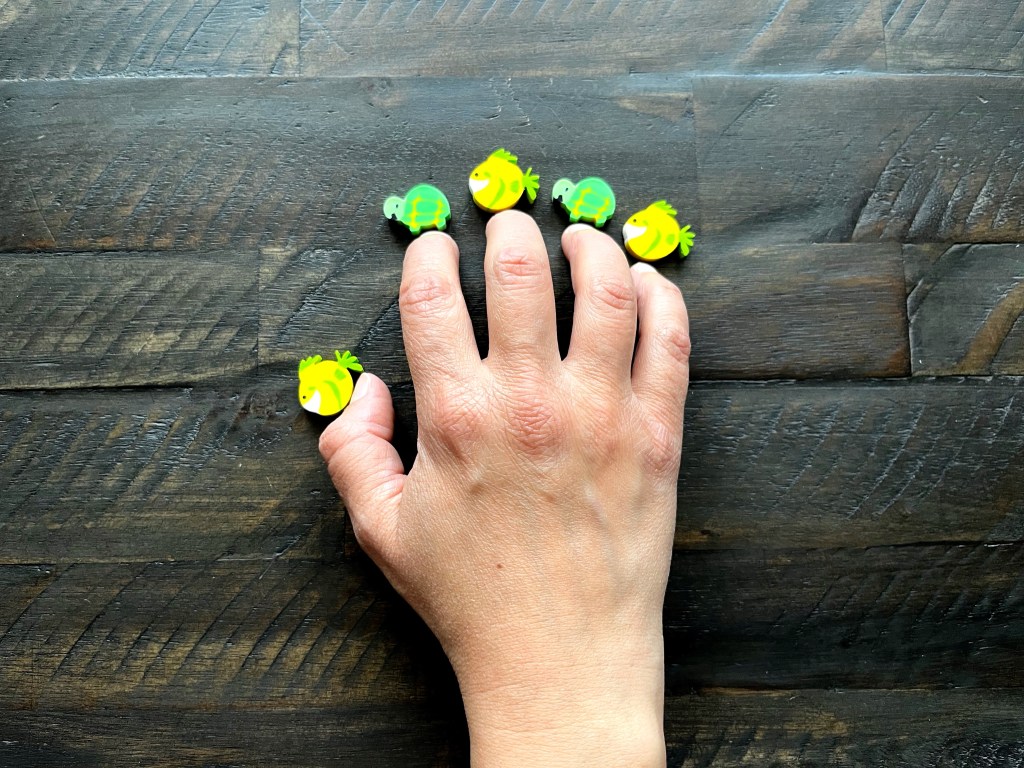
One by one the fingers should kick the eraser that is sitting in front of them. When a finger is kicking, the other fingers should remain in the their positions and the hand should maintain its posture.

Do this exercise twice for each hand.
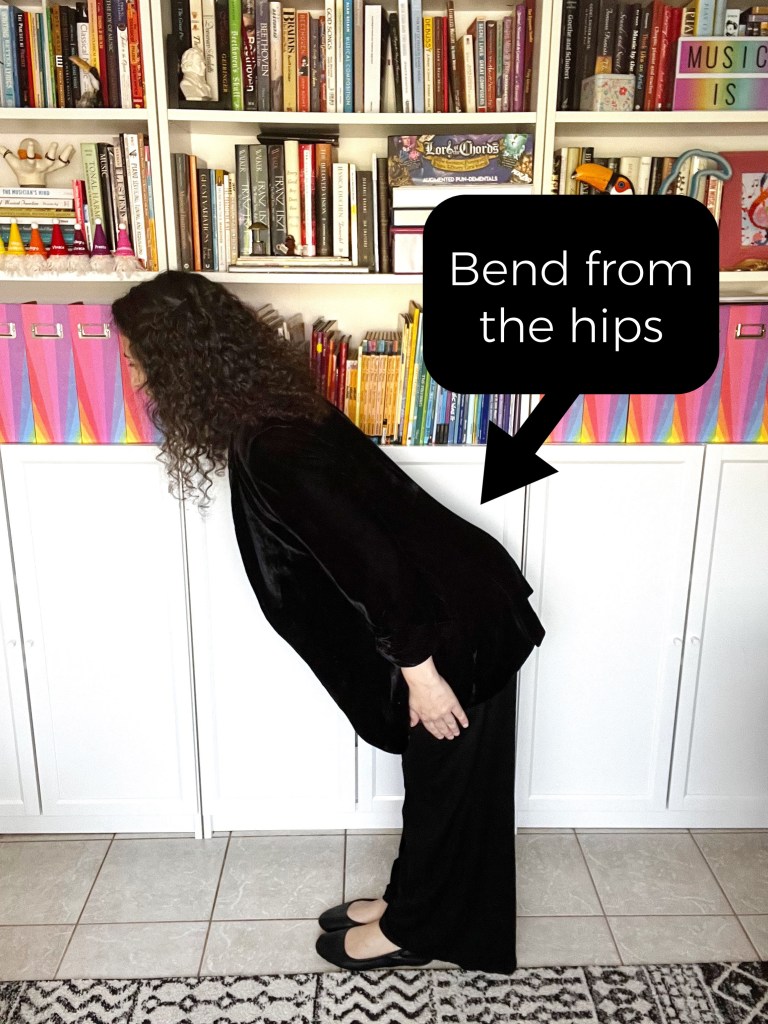
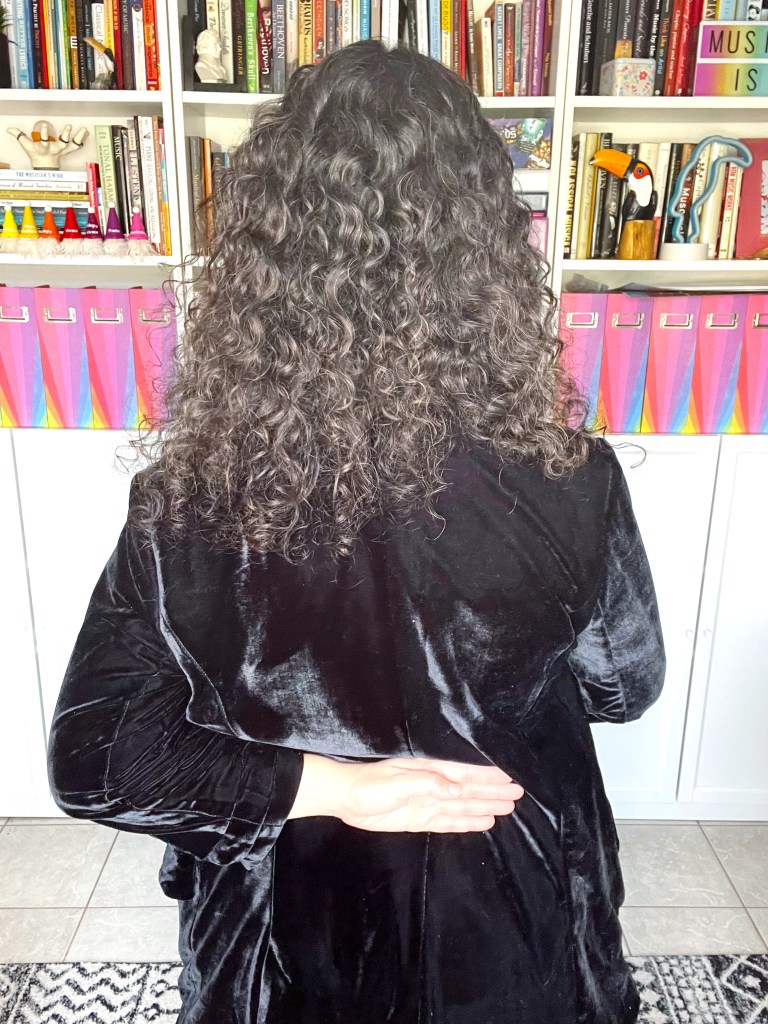
Hand Posture Exercise
This exercise is done at the piano to work on keeping the palm of the hand parallel to the keys.
Place your hand on the piano in the starting position of your practice piece. Your hand should be held in a proper piano hand posture. Place a mini-eraser on top of your hand (I suggest placing it between the 3rd and 4th finger).

Play your piece with the eraser on top of your hand. If your hand shape changes (wrist sags, hand leans towards the pinky, wrist lifts too high, etc.), the eraser will fall off your hand and you need to start over.
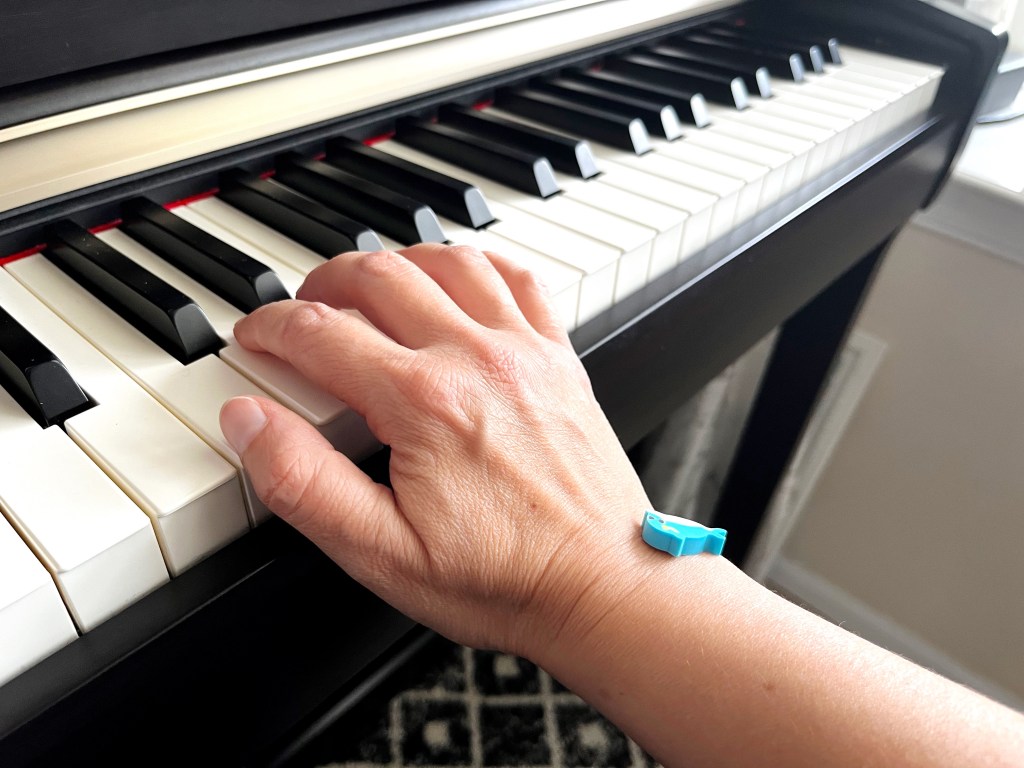
The eraser gives the student immediate feedback on their hand posture and helps them focus their attention on proper posture when playing. Proper postures sometimes falls to the wayside because the student is SO focused on all the other things vying for their attention, like pitch, rhythm, and dynamics.
This is not a “quiet hand”/finger independence exercise and should only be used for drawing a beginner student’s attention to their hand posture. It can be used for a phrase or passage where the student is losing the shape of their hand. As students progress in their studies, the hand needs to be in constant motion when we play, changing its shape to handle the music and requiring ample support from the wrist, arms and shoulders for proper technique without tension. Trying to keep the hand in a fixed position at all times will cause strain, tension, and possibly injury.
Counting Correct Repetitions
I encourage my students to work on their music is smaller sections and to aim for accuracy on each repetition. At home they can use the mini-erasers (or barrel monkeys) to play a little game with themselves and keep track of the number of times they play a section correctly.
They must play a section three times in a row without a mistake in order to move onto the next section. The key thing here is “in a row”. If a student plays a section 10 times and plays it correctly on the 3rd, 7th and 10th try (3 times but not in a row),that indicates that the student’s brain and hands are still very confused about what needs to be played. When the hands “get it” they should be able to repeat it.
To play, the student places three mini-erasers on the left side of their music.

If they play their section correctly, one of the erasers is moved to the right side of their music. If they play their section correctly again, another eraser is moved to the right side of their music. If, however, they make a mistake when playing their section, ALL the erasers must be moved back to the left side of their music and the student must start over again.
Fixing a Wrong Note
When a student is trying to fix a wrong note in their music, we always circle or highlight the note in the score to give them a visual reminder to be careful with that note.

But sometimes muscle memory take over and the note proves hard to fix, especially if the student was playing it incorrectly all week.
A mini-eraser can help! Place a mini-eraser on the key the student needs to play and have them place their finger on top of the eraser. This extra tactile reminder will usually fix the problem. Once the student has played the section correctly a few times with the eraser, the student should remove the eraser and try to play without it.

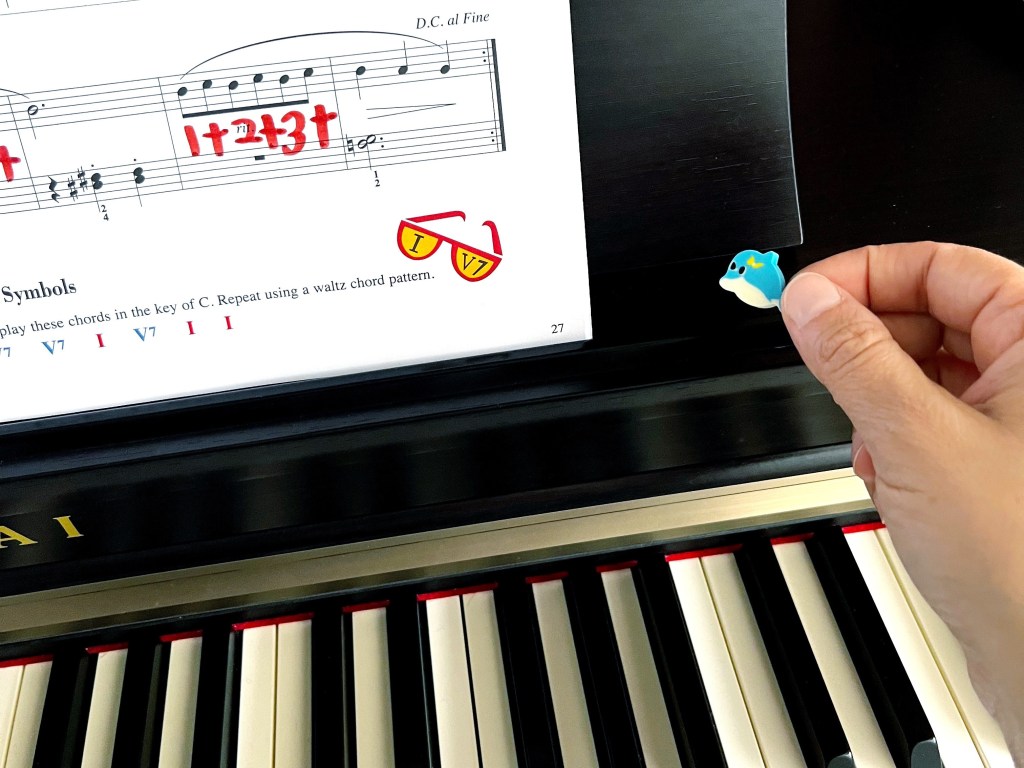
Practicing in Sections
Breaking a piece down into smaller sections is a very efficient way for a student to work through and master a piece. Since the amount of music the student needs to focus on is smaller, the student will feel less overwhelmed and can give the difficulties of each section the amount of attention and focus they require.
Mini-erasers can add a bit of fun (and chance!) to practicing in sections! During your lesson time, divide up the student’s piece into sections with their assistance. Next assign each section to a mini-eraser. For example, line 1 is the pizza eraser, line 2 is the cupcake eraser, etc. Have the student label each section (either with the name of the eraser or a quick drawing).

When the student sits down to practice at home, they will reach inside their practice pouch and randomly pull out an eraser. The student will then work on the section assigned to that eraser. When their practice session is over, they should leave the eraser on the piano (so they remember which section they practiced).

The next day, they will play through the sections they already worked on (indicated by the erasers on the piano) and then select a new eraser from their practice pouch.
If their piece has more sections than days of the week, the student can pull out more than one eraser per day.
Practice Challenges
Kids love a good challenge! Around recital time, especially, I like to give my students extra challenges to give them confidence in their mastery of their pieces. But challenges can be used all year round and mini-erasers can help!
Start by assigning a challenge to each mini-eraser. For example:
- Pizza eraser: Play with your eyes closed
- Cupcake eraser: Play at twice the performance tempo
- Sloth eraser: Play from memory at HALF the performance tempo
- Drum eraser: Tap out the rhythms of your piece
- Glasses eraser: Play your piece for someone (family, friend, etc.)
- Flower eraser: Play your piece pianissimo
When the student sits down to practice at home, they will reach inside their practice pouch and randomly pull out an eraser. The student will then do the challenge assigned to that eraser.
Improvisation Activities
Beginner students love exploring the sounds and capabilities of the piano. So why not use mini-erasers to encourage exploration at home?
They can pick or choose at random a mini-eraser from their practice pouch. At home, they will spend a few minutes of their practice time each day, coming up with sounds that describe the eraser they selected. For example, if they pulled out a lion eraser, they can explore loud sounds on the low end of the piano and even come up with a story for their music.
To make it even more fun, let them choose the eraser without telling you! Then at their lesson they can line up their erasers on the piano and you have to guess which eraser their music describes.
For younger and beginner students, I would recommend using animal mini-erasers. As their skills increase and they learn more, you can bust out some non-animal erasers to inspire improvisation and composition (how fun – and a challenge! – would it be to work on writing music about pizza?!).
Practice Rewards
If you use rewards to encourage practicing at your studio, these mini-erasers can be a fun addition to your arsenal! Students can earn “Piano Pets” every time they complete a certain number of practice days. Their Piano Pets can sit on their pianos at home and they can work on growing their Piano Pet family (or earning-food themed erasers to “feed” them)!

And there we have it!
The number 7 practice tool every piano student should have. Next up is the Number 6 Practice Tool for effective practicing!

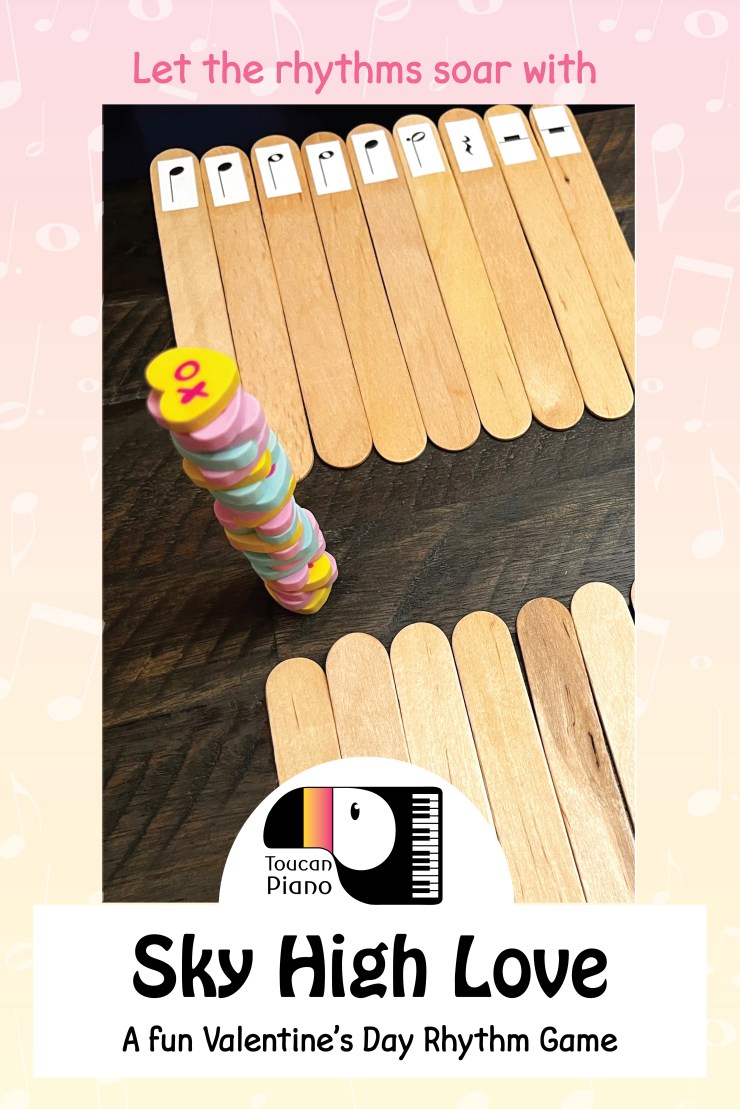
- Sky High Love
Sky High Love is a great game to use mini-erasers during lesson time! The rhythms get longer as the heart towers get higher! Whose tower will remain standing in the end?! This adrenaline-inducing rhythm game is a great way to kick-off a lesson and get the energy up. - Chord Snowblast
A real howler in July! Are you longing for cooler temperatures this summer? Bust out Chord Snowblast (an the mini-erasers) for a cool piano game that covers all the major and minor chords!

Let’s stay in touch, join the list!
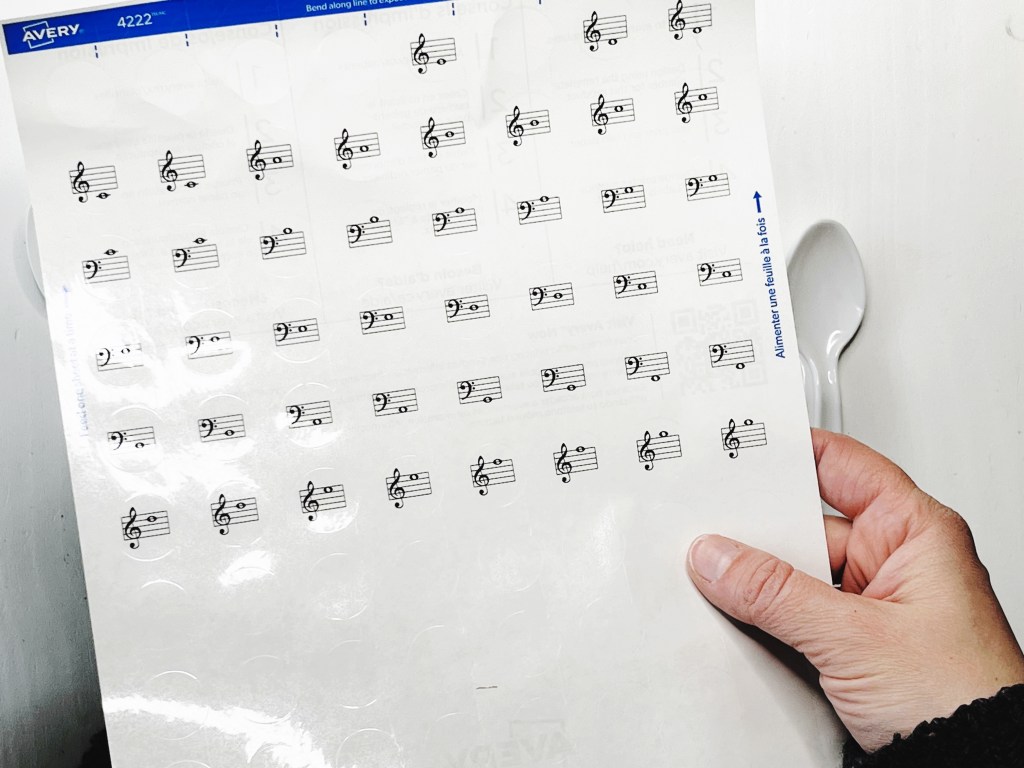
As a “toucan” of our appreciation download a free set of note flashcards (link in our Welcome email)!
We are a participant in the Amazon Services LLC Associates Program, an affiliate advertising program designed to provide a means for sites to earn advertising fees by advertising and linking to Amazon.com. As an Amazon Associate we earn from qualifying purchases.