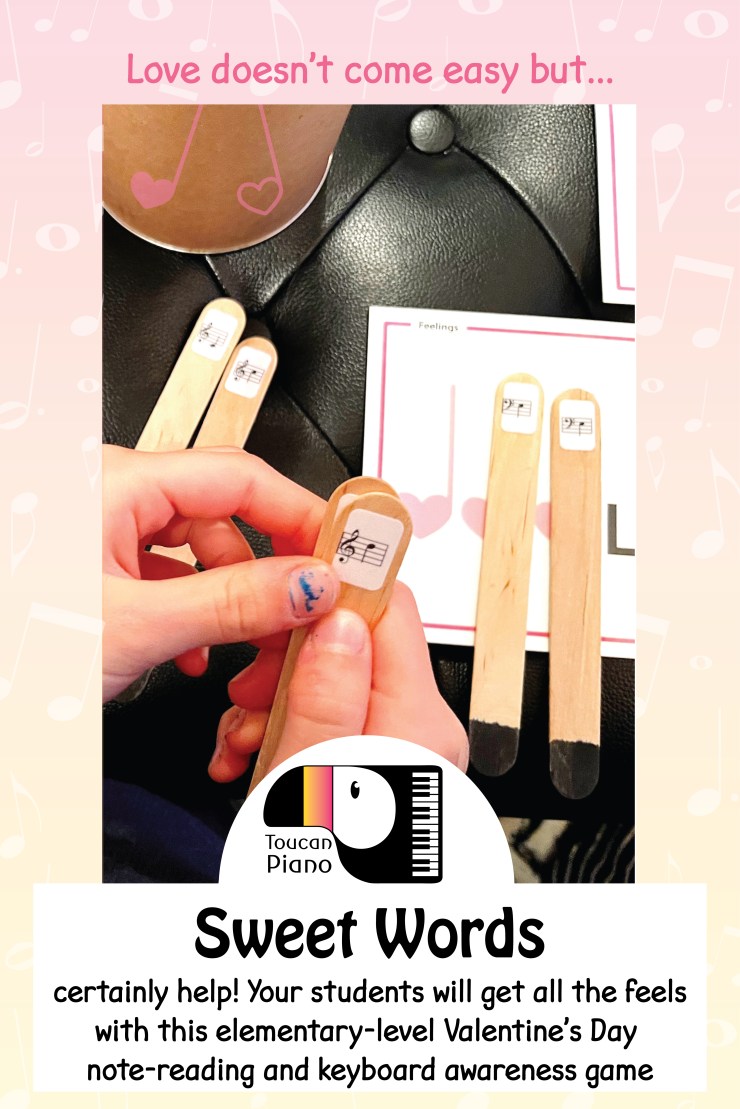
Who doesn’t love to hear Sweet Words?! The right words can make us feel all warm and fuzzy inside!
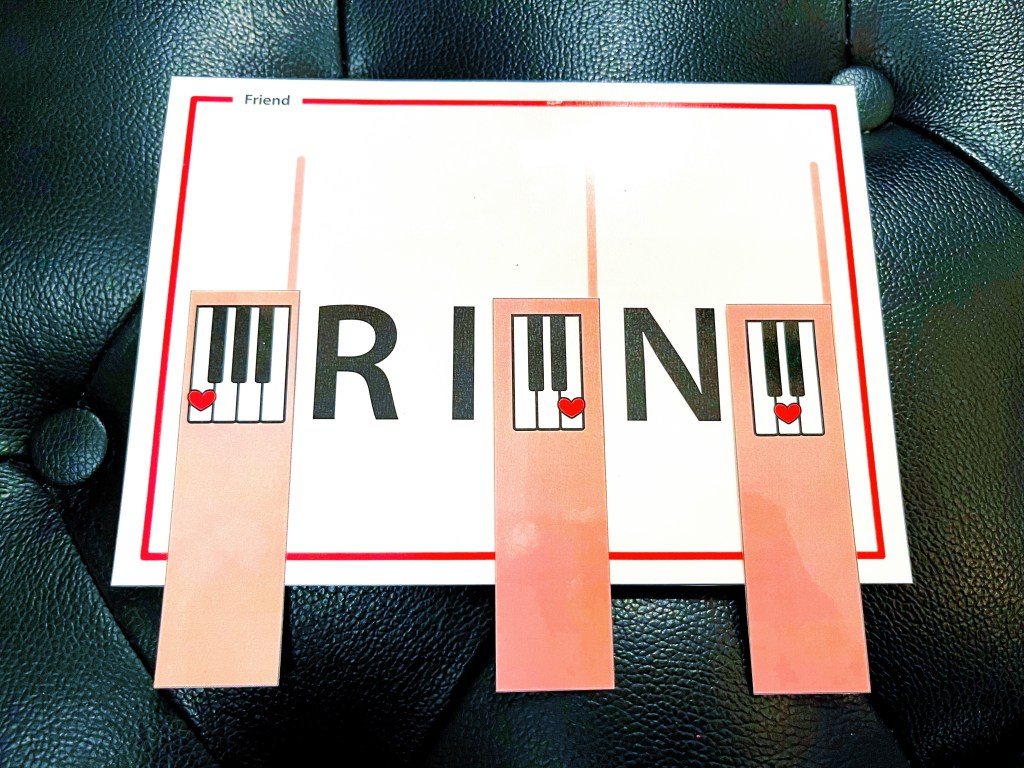
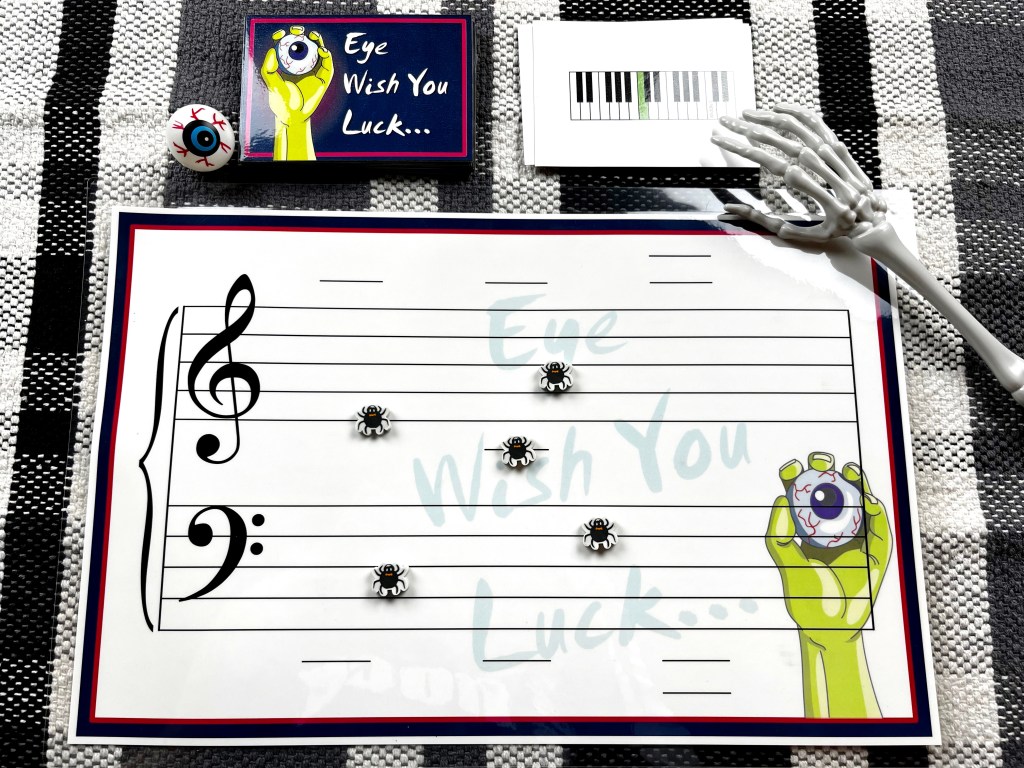
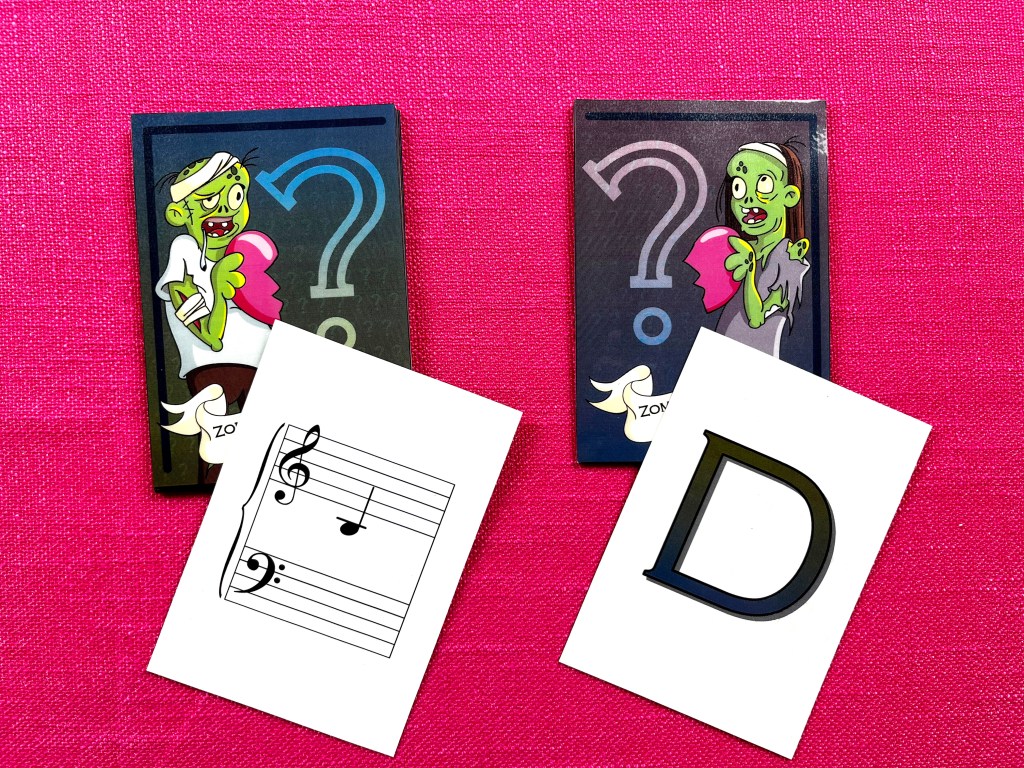
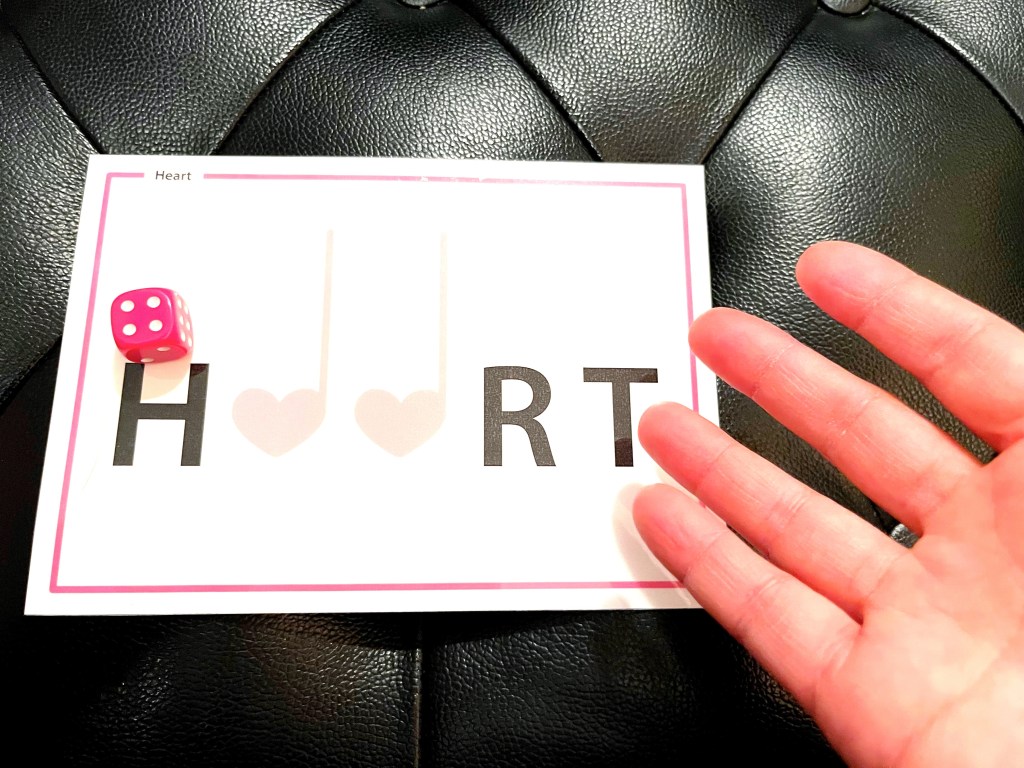
This Valentine’s Day your elementary level students can get all the feels with Sweet Words a note-reading and keyboard awareness game. But love doesn’t come easy… these sweet words are missing letters! Who will be able to find their missing letters and complete their word first? Students will have fun reading the notes on the staff (or naming the white keys on the piano) to try to fill in the missing letters of their sweet word first.
I play this game every year with my students (I use it with my older students as well as a quick review game and to check how fast they are recognizing the notes!). We spent all of last week playing and had a blast!
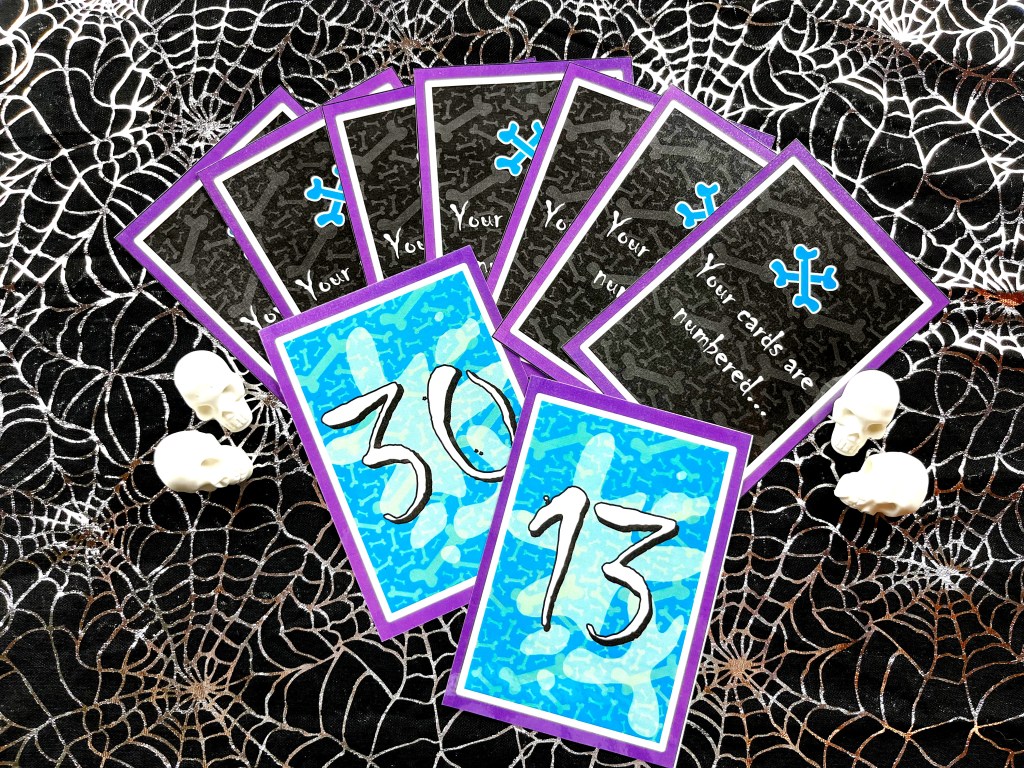
For an easy twist on the game, I have each player draw 3 cards. Each player picks one card to start with and can only move onto their next card once they have filled in their first card. It ups the stakes quite a bit and adds an extra layer of excitement to the game!
Another twist I like to use (especially for my high energy students) it to replace the die for a toss game (like the one I use for my Snowball Rhythm Game – the one I use is out of stock but this one on Amazon is a great alternative and can be used throughout the entire year!). Depending on which hole they land the snowball in will determine how many note cards they will get.
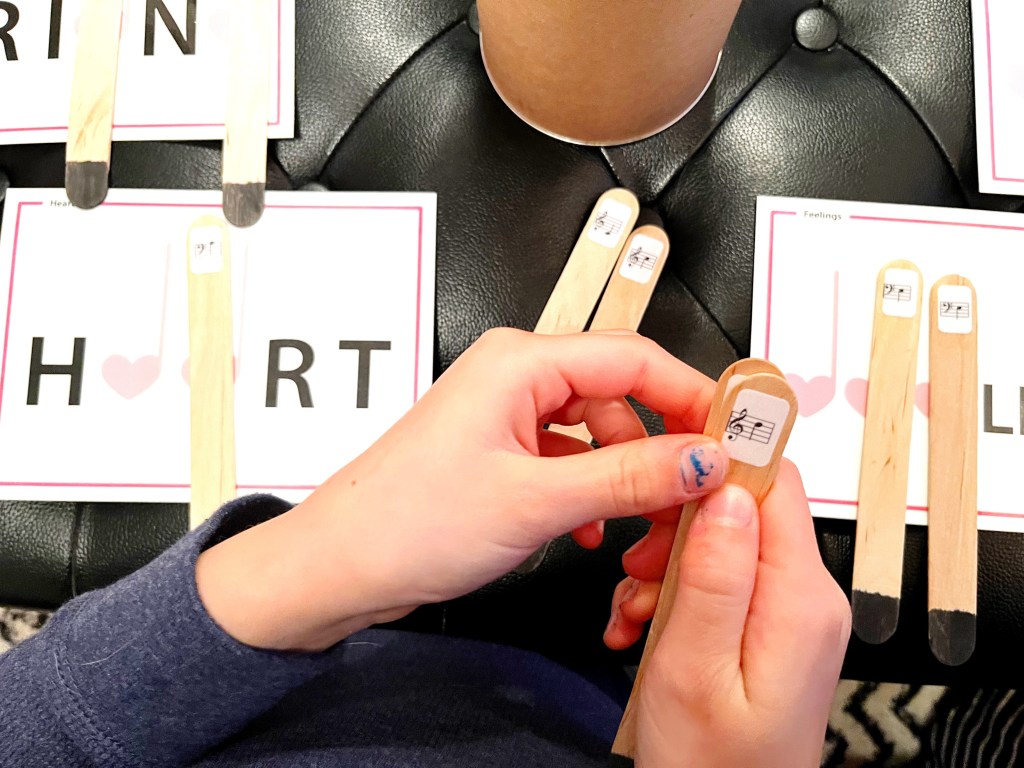
I like to use my popsicle stick notes because I have 3 different sets and can drill specific subsets of notes with my students. Sweet Words comes with all the note and keyboard cards needed for playing. Plus they are pink (nothing screams Valentine’s Day more than the color pink!).

As I mentioned, I played this game last week with all my students and something funny happened. I always ask my students to draw my cards for me (that way no one can complain about the words we get). I shuffle all the cards then I fan out the deck with the cards face down for the student to select their cards and mine. No joke, three different students on the same day drew “Cupid”, “Date”, and “Baby” for me at random. There are 20 cards in the deck, what are the odds?! I don’t know what the universe is trying to tell me! Lol
Sweet Words is available for purchase in the Toucan Piano store. I hope your students enjoy it as much as mine do!
Happy Valentine’s Day!

- Valentine’s Day Round-Up
Make Valentine’s Day special for your students with free downloadable piano-themed Valentine’s cards and lots of music theory games that will have your students seeing hearts! - I Can Heart-ly Wait for the Punchline
A heart themed laugh-out-loud note reading game. I love this game because not only do students have to think about keyboard geography, they also have to be able to associate the notes with their exact location on the piano. - Sky High Love
The rhythms get longer as the heart towers get higher! Whose tower will remain standing in the end?! This adrenaline-inducing rhythm game is a great way to kick-off a lesson and get the energy up. - Musical M.A.S.H
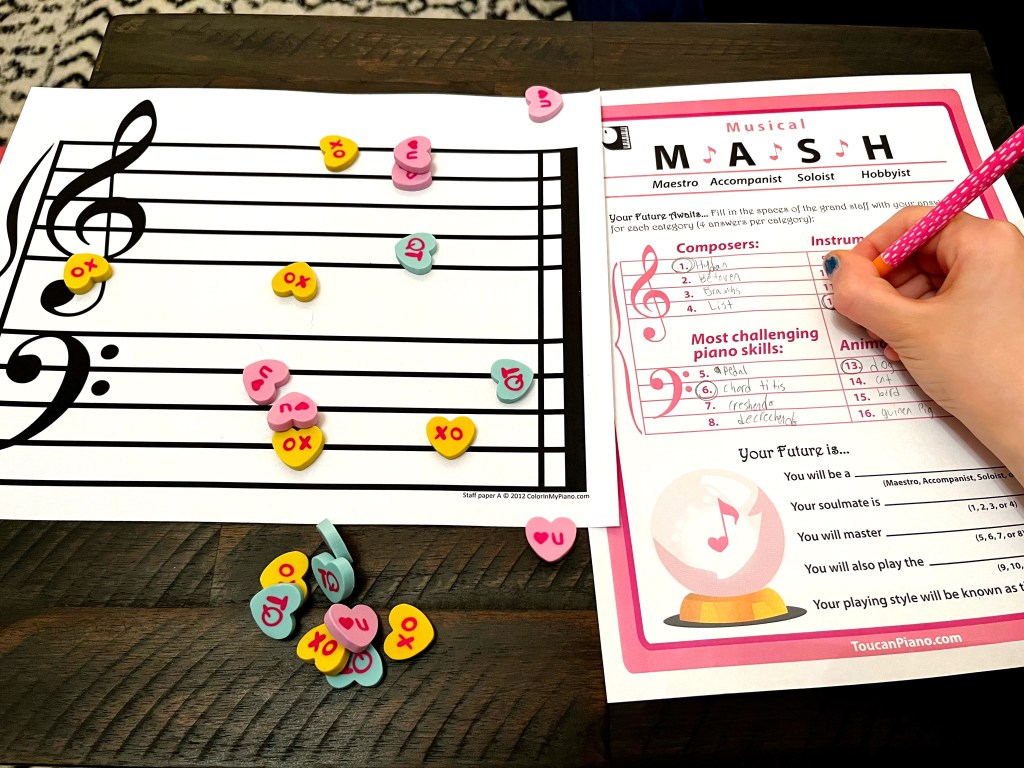
This free printable game tests your student’s knowledge of the spaces on the grand staff. It’s a fast, easy game to play, and will predict your student’s musical future with hilarious results! - Rainbow Manuscript Paper
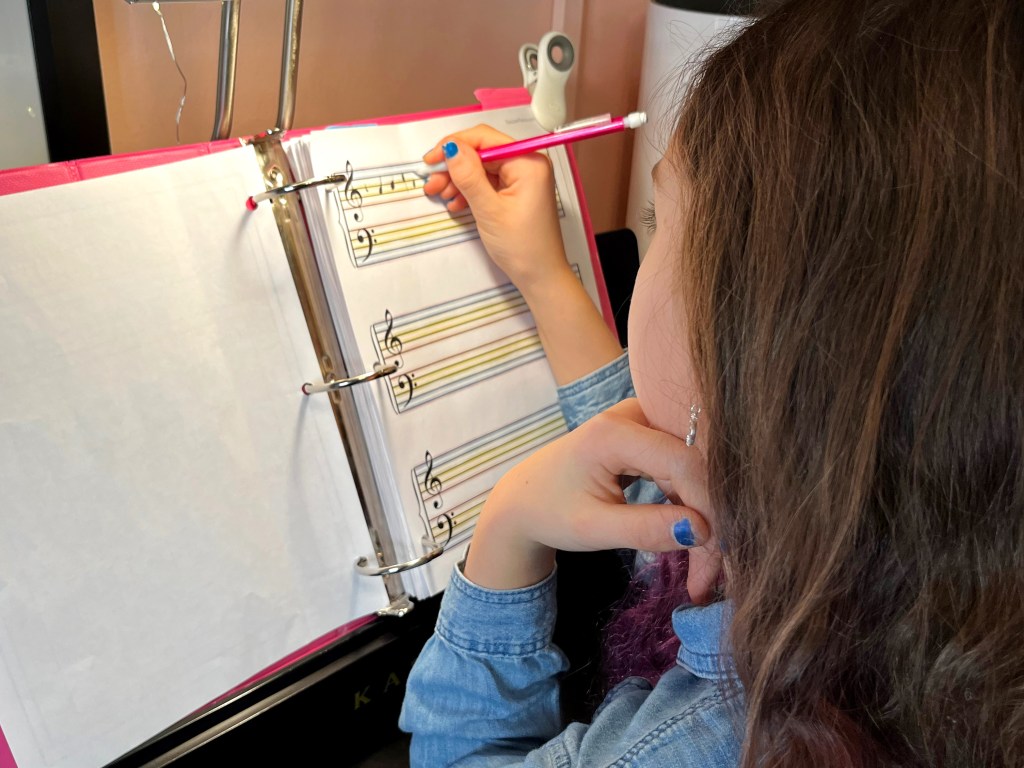
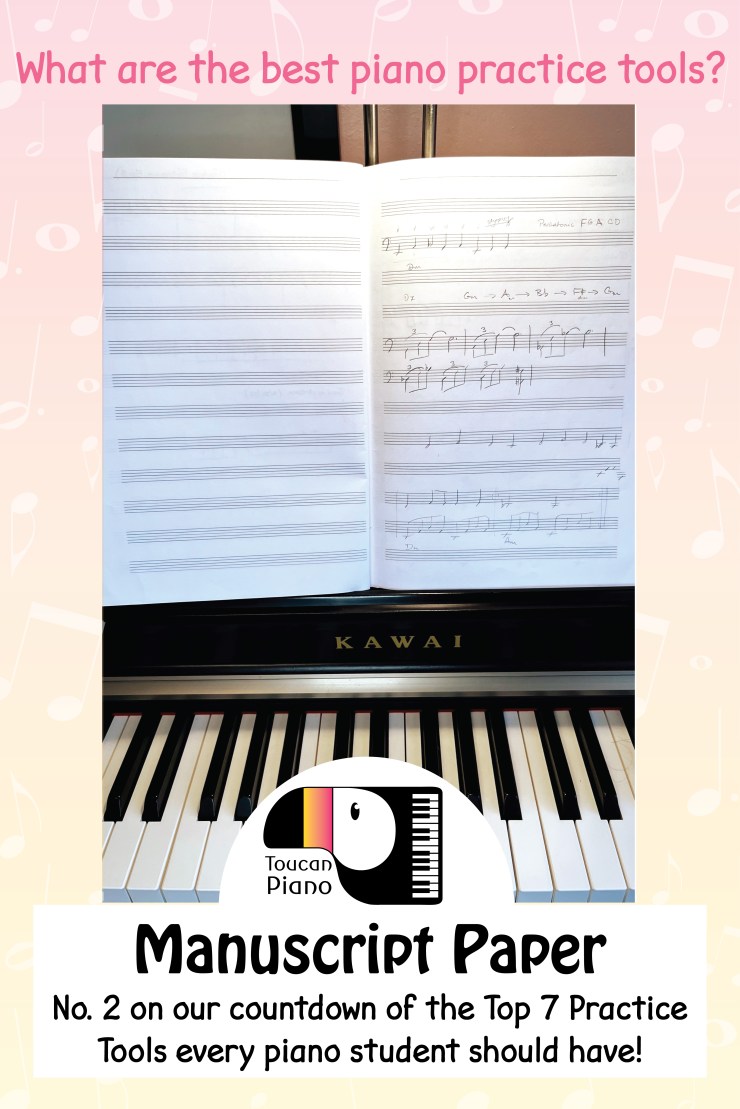
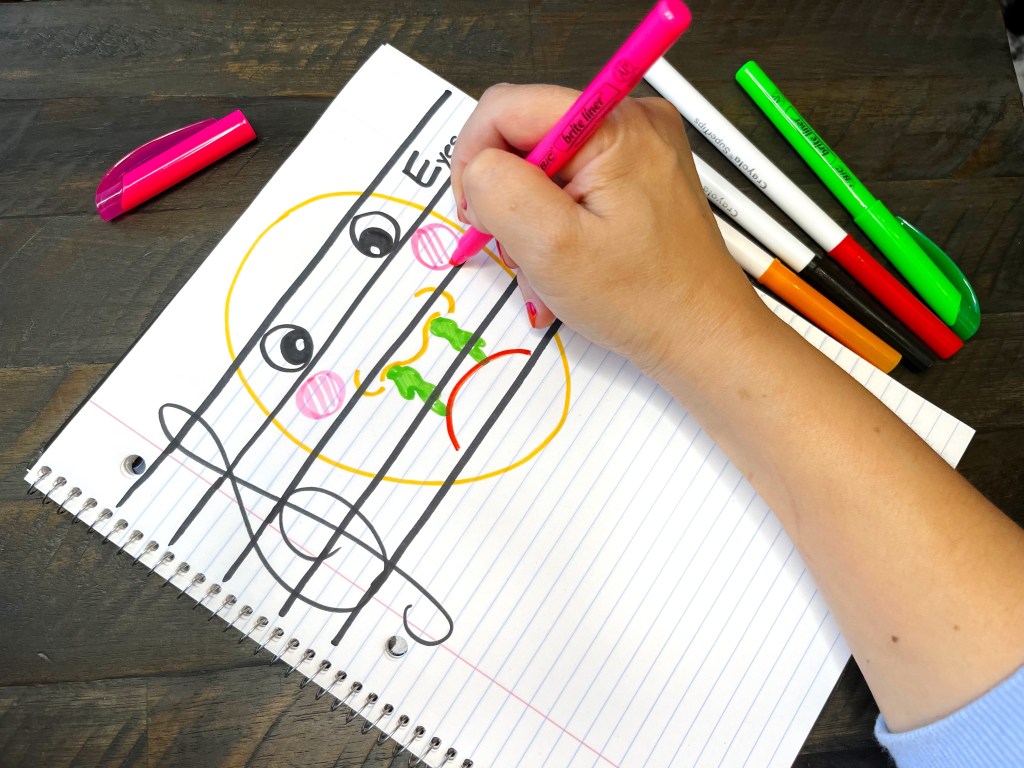
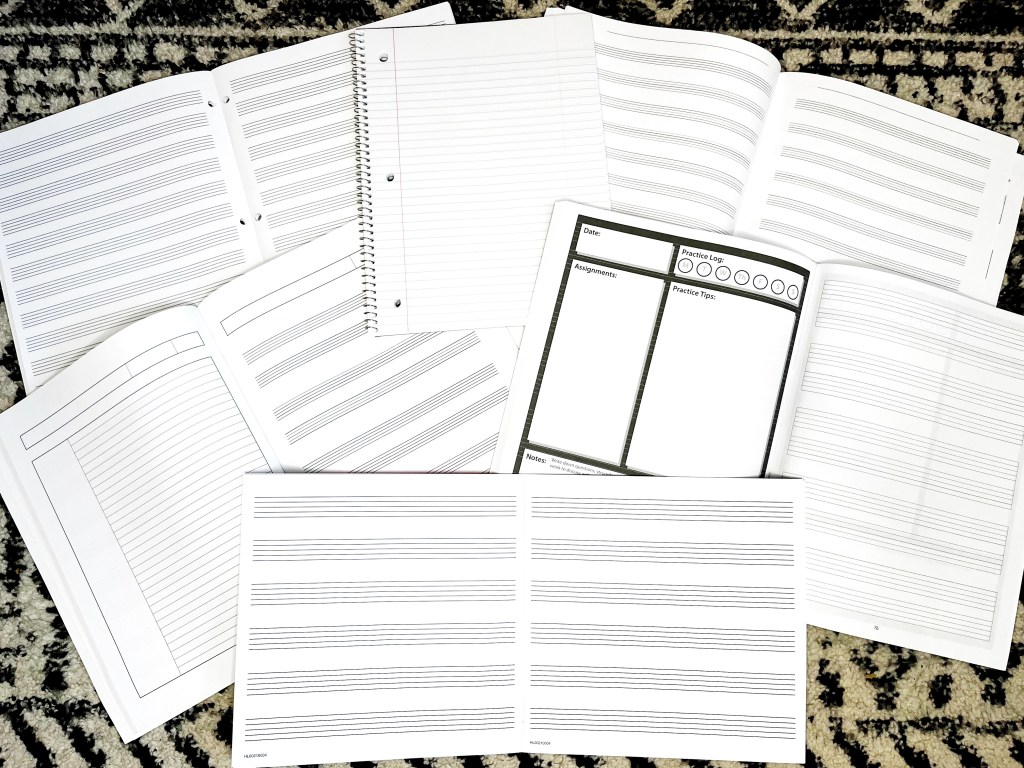
This colorful manuscript paper is available in the Toucan Piano shop as a free printable! They are available in three sizes, so they can be used for a variety of ages and activities, like writing out original compositions, explaining music theory concepts, music dictation, games, and so much more!

Let’s stay in touch, join the list!
As a “toucan” of our appreciation download a free set of note flashcards (link in our Welcome email)!